How to Patch a Hole in the Wall Like a Pro
I was halfway through rearranging my studio—trying to find the perfect spot for a new piece of reclaimed driftwood—when my heavy toolbox slipped, leaving a jagged, unsightly crater in the drywall. It’s that sinking feeling, isn’t it? You look at the damage and immediately think you need to call in a professional or, worse, replace the entire section of the wall. But here’s the truth: learning how to patch a hole in the wall doesn’t have to be a massive, wasteful undertaking that ends with a mountain of construction debris. In fact, mending your space can be a quietly rewarding act of stewardship for the home you live in.
In this guide, I’m stripping away the jargon to give you a straightforward, low-waste approach to home repair. I’ll walk you through selecting non-toxic fillers and using the right tools to ensure your repair is seamless and long-lasting. We aren’t just fixing a blemish; we are practicing mindful mending to keep our sanctuaries beautiful without the excess. Whether it’s a tiny nail puncture or a larger scuff from a moving day, you’ll gain the confidence to handle it yourself with intentionality and ease.
Table of Contents
- Step-by-Step Instructions
- Choosing Your Sustainable Drywall Patch Kit for Small Holes
- Mastering Spackling Compound Application for a Flawless Finish
- Small Wins, Big Impact: Pro-Tips for a Mindful Repair
- Small Fixes, Big Impact: Embracing Mindful Maintenance
- ## The Philosophy of Mending
- Finishing with Intention
- Frequently Asked Questions
Guide Overview
Tools & Supplies
- Putty knife for spreading compound
- Sandpaper (fine grit) for smoothing surfaces
- Spackle knife for small repairs
- Sponge for cleaning dust
- Spackling compound (small tub)
- Sandpaper sheets (120-220 grit)
- Wall patch kit or mesh tape for larger holes
- Interior paint (small sample size)
Step-by-Step Instructions
- 1. Before you dive in, gather your supplies with intention. You’ll need a small container of low-VOC or non-toxic spackle, a putty knife, a fine-grit sanding sponge, and perhaps a bit of scrap drywall if the hole is larger than a nail prick. I always like to clear a little space around the area first, making sure I have a drop cloth—or even an old cotton sheet—down to catch the dust, because minimizing waste starts with a clean workspace.
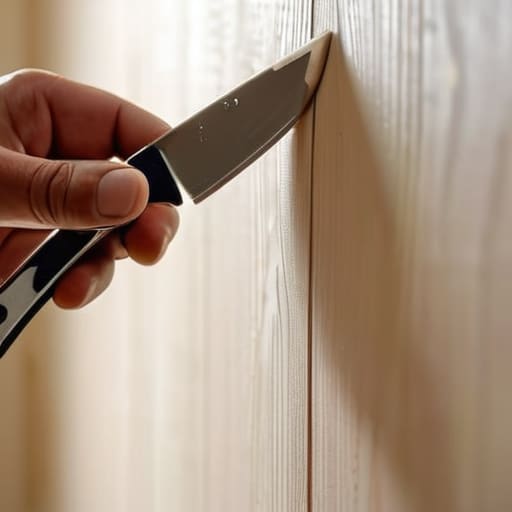
- 2. Assess the damage to see what kind of “healing” is required. For tiny nail holes, you can skip straight to filling, but if you’re looking at a larger gap, you might need to trim the edges of the hole with a utility knife to create a clean, even surface. Think of it like prepping a canvas; the smoother the foundation, the more seamless your final result will be.
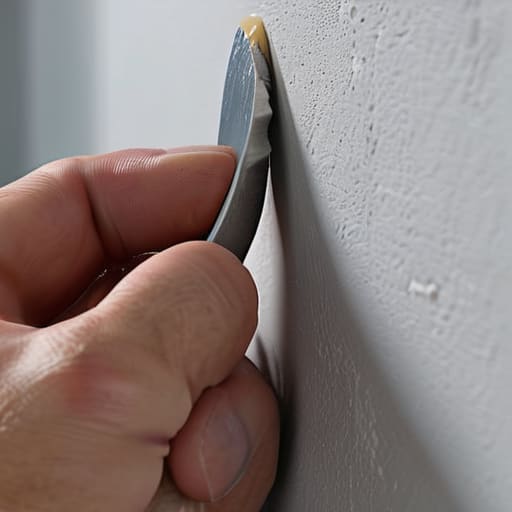
- 3. Apply your eco-friendly patching compound using your putty knife. Start by pressing the spackle firmly into the cavity, making sure there are no air pockets left behind. Use a light, sweeping motion to level it out, aiming to make the patch as flush with the wall as possible. It’s tempting to overwork it, but sometimes less is more when it comes to achieving a professional finish.
- 4. Now comes the virtue of patience: let it dry completely. Depending on the humidity in your home—and trust me, I know how much that can fluctuate—this could take anywhere from thirty minutes to a few hours. I usually use this time to tend to my bees or organize my latest sea glass finds; it’s a great moment to practice a little mindfulness while your home repairs set.
- 5. Once the patch is bone-dry, grab your fine-grit sanding sponge and gently buff the area. Your goal is to erase the boundary between the new compound and the existing wall until the surface feels completely seamless to the touch. Be careful not to sand too aggressively, as you want to preserve the integrity of the surrounding paint while smoothing out the edges.
- 6. If you’re working with a larger patch, you might need to apply a second, much thinner layer of spackle to account for any minor shrinking that occurred during the first drying phase. Repeat the drying and sanding process until the surface is as smooth as a pebble washed up on a Maine shoreline.
- 7. Finally, it’s time to bring the wall back to life with a bit of color. If you have leftover paint from when the room was last touched up, apply it with a small brush or a sponge to mimic the original texture. This final step isn’t just about aesthetics; it’s about restoring your sanctuary and proving that maintenance can be a beautiful, sustainable act of care.
Choosing Your Sustainable Drywall Patch Kit for Small Holes
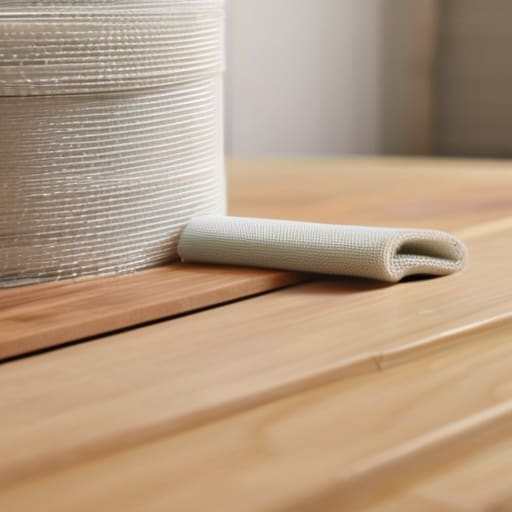
When you’re standing in the hardware aisle, it’s easy to feel overwhelmed by the sheer volume of plastic-heavy options. However, finding the right drywall patch kit for small holes doesn’t have to mean compromising your values. I always recommend looking for kits that utilize low-VOC (volatile organic compound) materials. These are much kinder to your indoor air quality, ensuring your home remains a true sanctuary. If you’re dealing with something a bit more substantial, you might need to skip the tiny kits and look into a more robust mesh tape for wall repair to provide that essential structural support before you even touch the compound.
I’ve found that the secret to a professional finish lies in the quality of your materials rather than the complexity of the process. Instead of grabbing the cheapest, most chemically intense fillers, opt for a natural, mineral-based spackling. It makes the spackling compound application much more intuitive and easier to manipulate. Remember, the goal isn’t just to hide the damage, but to mend your space with materials that respect the environment as much as they respect your home’s aesthetic.
Mastering Spackling Compound Application for a Flawless Finish
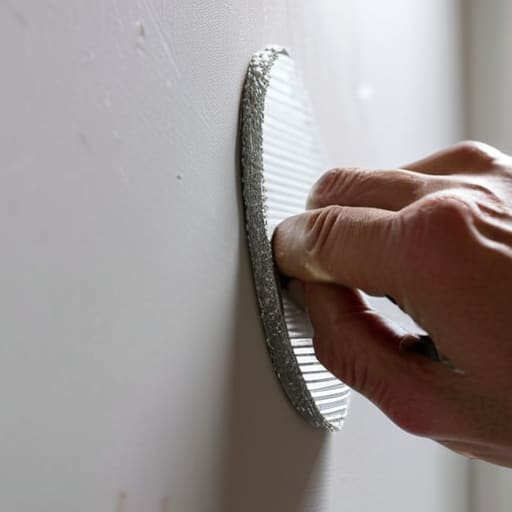
When it comes to spackling compound application, the secret isn’t just in the product you choose, but in the rhythm of your movements. I like to think of it as a bit of digital editing—you’re smoothing out the “noise” to find the perfect clarity underneath. Instead of trying to force a thick layer of compound into the void all at once, aim for thin, decisive strokes. If you’re working with a slightly larger indentation, using a bit of mesh tape for wall repair can provide that essential structural integrity, preventing the patch from cracking as it cures.
As the compound begins to set, resist the urge to overwork it. Once it’s dry, the real magic happens during the refinement stage. To truly sand drywall smooth, use a fine-grit sanding sponge rather than heavy-duty sandpaper; this prevents you from accidentally gouging the surrounding area and creating more work for yourself. If your walls have a specific pattern, don’t forget a few quick wall texture matching tips, like lightly dabbing a damp sponge over the edges to mimic the original finish. It’s these small, intentional details that turn a simple repair into a seamless part of your home’s story.
Small Wins, Big Impact: Pro-Tips for a Mindful Repair
- Don’t rush the drying process; patience is your best friend when working with eco-friendly compounds, as they often require a bit more time to settle than their synthetic counterparts.
- Sand lightly and purposefully using a reusable sanding block to minimize fine dust in your living space, keeping your indoor air quality as clean as the Maine coast.
- Instead of tossing your leftover spackle, store it in a small, airtight glass jar—it’s a great way to repurpose old jam jars and ensures you have just enough for future tiny scuffs.
- Always clean the area around the patch thoroughly before you start; removing every speck of dust ensures your repair bonds deeply and lasts longer, preventing the need for a repeat project.
- Use a damp, sustainable cloth to wipe away excess residue rather than paper towels, reducing your waste footprint while keeping your workspace looking sharp and intentional.
Small Fixes, Big Impact: Embracing Mindful Maintenance
Remember that mending what you already own is the ultimate act of sustainability; choosing non-toxic, low-waste materials turns a simple repair into a way of honoring your home and the planet.
Patience is your best tool—applying thin, intentional layers of spackle rather than rushing the process ensures a professional finish that lasts, preventing the need for more frequent, wasteful repairs.
View every minor home repair not as a chore, but as an opportunity to practice mindful stewardship, proving that small, intentional actions truly do create a more resilient way of living.
## The Philosophy of Mending
“Patching a hole in your wall is about more than just aesthetics; it’s a quiet act of stewardship for the spaces we inhabit, proving that when we choose to mend rather than replace, we honor both our sanctuary and the world beyond its walls.”
Jordan Mitchell
Finishing with Intention
As we wrap up this little project, take a moment to appreciate the work you’ve just done. From selecting a non-toxic, sustainable patch kit to mastering that delicate spackling technique, you haven’t just fixed a blemish on your wall; you’ve practiced the art of mindful maintenance. By opting for eco-friendly materials rather than rushing to replace an entire section of drywall, you’ve successfully reduced waste and kept unnecessary chemicals out of your living space. Remember, the secret to a flawless finish isn’t just in the steady hand of the application, but in the intentional choices you make regarding the products you bring into your home.
It’s easy to look at a small patch in a wall and think it’s insignificant, but I’ve learned through my time in conservation that there is profound beauty in the small things. Much like the way a single piece of sea glass finds its way to the shore, these minor acts of stewardship add up to a much larger, more beautiful picture. Every time you choose to mend rather than discard, you are participating in a global shift toward a more circular and respectful way of living. Keep mending, keep creating, and never underestimate the power of a well-placed, sustainable repair to make your sanctuary feel whole again.
Frequently Asked Questions
Can I use leftover house paint to touch up the area, or will the color look different after the patch dries?
That’s such a great question, and it’s one I encounter often! While using leftover paint is a wonderful way to reduce waste, you might notice a slight difference in shade once it dries. This happens because the original paint has likely aged or faded differently than the fresh patch. To keep things seamless, I recommend testing a small, inconspicuous spot first. If the color feels off, don’t worry—a tiny bit of blending can work wonders!
What are some eco-friendly alternatives to standard plastic mesh patches if I want to avoid synthetic materials?
If you’re looking to steer clear of those synthetic mesh patches, don’t worry—you can still achieve a seamless fix. I love using natural linen strips or even scraps of old, undyed cotton fabric as a makeshift reinforcement. They provide incredible structural integrity when layered with a non-toxic, clay-based filler. It’s a bit more tactile and “hands-on,” but it feels so much more rewarding to mend your sanctuary using materials that actually belong to the earth.
How do I know if a hole is too large for a simple spackle fix and actually requires a more structural repair?
It’s a great question, and honestly, knowing when to step back is part of being a mindful DIYer. If the hole is larger than a couple of inches, or if you can see through the wall into the next room (or find a stud!), a simple spackle fix won’t hold. At that point, you’re looking at a structural patch rather than a surface mend. It’s better to tackle a proper drywall patch now than to face a crumbling wall later.
