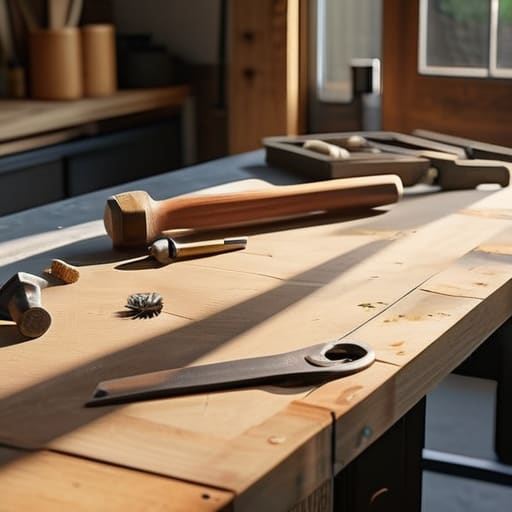
How to Build a Workbench for Your Garage
I remember standing in my tiny studio apartment, staring at a wobbly kitchen chair I’d makeshifted into a desk, feeling completely defeated by my own lack of space. I used to think that learning how to build a workbench required a massive workshop, a mountain of expensive power tools, and a bank account that didn’t exist. But that’s the myth, isn’t it? We’ve been told that professional-grade utility has to come with a heavy environmental footprint and a heavy price tag, when the truth is actually much more grounded.
In this guide, I’m stripping away the fluff to show you how to create a sturdy, soulful workspace using reclaimed materials and simple, intentional methods. We aren’t just following a blueprint; we are learning how to build a workbench that honors the earth while serving your creative needs. I’ll walk you through selecting sustainable timber, mastering basic joinery, and assembling a piece that feels less like a mass-produced product and more like a lifelong companion for your projects. Let’s get to work.
Table of Contents
- Step-by-Step Instructions
- Selecting a Sturdy Workbench Materials List With Purpose
- Mastering Essential Woodworking Tools for Beginners and Beginners
- Small Adjustments, Big Impact: 5 Pro-Tips for Your Sustainable Build
- Small Steps Toward a Soulful Workspace
- Building More Than Just a Surface
- From Blueprint to Bench: Your Journey Begins
- Frequently Asked Questions
Guide Overview
Tools & Supplies
- Circular saw or miter saw for cutting lumber
- Power drill for driving screws
- Tape measure for accurate sizing
- Speed square for marking straight lines
- Level to ensure a flat workspace
- 4×4 lumber (legs) 4 pieces
- 2×4 lumber (frame and bracing) 8 pieces
- 3/4 inch plywood (top surface) 1 sheet
- 2.5 inch wood screws (assembly) 1 box
- Wood glue (joints) 1 bottle
Step-by-Step Instructions
- 1. First, let’s gather our materials with an eye for intentional sourcing. Instead of heading straight to a big-box retailer for fresh-cut lumber, I highly recommend scouting local salvage yards or even checking online marketplaces for reclaimed timber. Look for sturdy hardwoods or even old construction scraps that have been well-cured; giving a second life to pre-loved wood not only reduces demand for new timber but also adds a layer of soulful character to your workshop that you just can’t buy off a shelf.
- 2. Once you have your wood, it’s time to measure and mark your cuts with precision and purpose. Lay out your pieces on a flat surface to ensure everything aligns perfectly before the saw touches the grain. I like to use a carpenter’s pencil to mark my lines, keeping things simple and tactile. Remember, we aren’t aiming for factory perfection here, but rather a sturdy foundation that can withstand years of heavy projects and creative chaos.
- 3. Now, let’s move on to the cutting phase. Whether you’re using a circular saw or a handsaw, try to work in a well-ventilated space to keep the air clean. As you make your cuts, pay close attention to the grain of the wood; cutting with the grain will give you much smoother edges and a more professional finish. If you can, try to use a dust collection method or at least wear a mask, because keeping your personal environment healthy is just as important as the project itself.
- 4. Next, we’ll begin the assembly by joining the legs to the frame. I prefer using heavy-duty wood screws and perhaps some eco-friendly, non-toxic wood glue to ensure everything stays rock-solid. It’s a bit like building a community—each piece needs to support the others to create something strong. Take your time to pre-drill your holes to prevent the wood from splitting, especially if you’re working with older, reclaimed pieces that might be a bit more temperamental.
- 5. Once the frame is secure, it’s time to attach the tabletop. This is the heart of your workbench, so choose your most stable and level piece for this step. I often find that layering a few planks together creates a beautifully textured surface that feels incredibly grounding when you’re working. Make sure the top is flush with the frame, and if you find any small knots or imperfections, don’t be afraid to embrace them—they are simply reminders of the wood’s journey.
- 6. For the final touch, let’s give the workbench some love with a natural finish. I’m a huge advocate for using organic oils, like linseed or tung oil, which nourish the wood without releasing harsh chemicals into your home or workspace. Rub the oil into the surface with a soft cloth, letting it soak in deeply. This not only protects your hard work but also highlights the natural beauty of the timber, making your workbench a true centerpiece of sustainable craftsmanship.
Selecting a Sturdy Workbench Materials List With Purpose
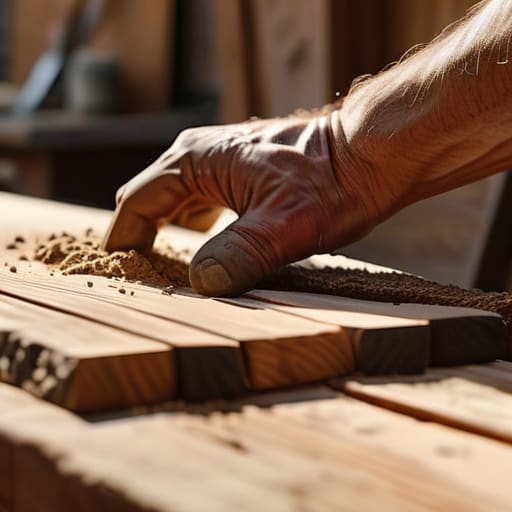
When you’re gathering your supplies, I want you to look beyond the hardware store aisles and think about the soul of your project. A truly sturdy workbench materials list shouldn’t just be a checklist of dimensions; it’s about choosing elements that stand the test of time. While many beginners gravitate toward cheap, lightweight pine, I always suggest hunting for reclaimed hardwoods or even dense, salvaged timber if you can find it. There is something incredibly grounding about knowing your primary workspace was once part of a weathered coastal fence or an old barn. This intentionality ensures your heavy duty workbench design isn’t just functional, but carries a story of its own.
As you curate your kit, don’t forget that the quality of your fasteners and adhesives matters just as much as the wood itself. I’ve learned the hard way that using inferior screws can lead to a wobbly surface that frustrates your creativity. Instead, invest in high-quality, eco-friendly wood glues and corrosion-resistant screws to ensure your bench remains a stable foundation for years to come. Think of these materials as the essential building blocks for a lifelong sanctuary of craft.
Mastering Essential Woodworking Tools for Beginners and Beginners
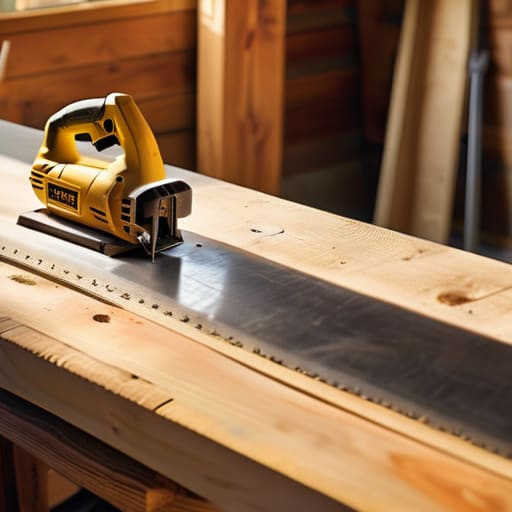
When you’re standing in your garage or a small corner of your apartment, looking at a pile of raw lumber, the sheer scale of the project can feel a bit daunting. But remember, you don’t need a professional-grade studio to get started. To bring your essential woodworking tools for beginners to life, focus on quality over quantity. A reliable drill, a sharp handsaw, and a solid measuring tape are your best friends here. I always tell my clients that the most important tool isn’t something you buy; it’s the patience to measure twice and cut once, ensuring every piece fits perfectly into your vision.
As you move through the assembly, think about how your tools will interact with your specific heavy duty workbench design. If you’re aiming for something that can withstand heavy hammering or intricate carving, investing in a decent set of clamps is a game-changer. Clamps act like an extra set of hands, holding your timber steady while you work. It’s about creating a rhythm between your hands and your tools, turning a simple construction task into a mindful, creative ritual that honors the wood you’re shaping.
Small Adjustments, Big Impact: 5 Pro-Tips for Your Sustainable Build
- Prioritize Reclaimed Timber: Instead of heading to a big-box store for fresh lumber, scout local salvage yards or even check community forums for old construction scraps. Using reclaimed wood doesn’t just save you money; it gives your workbench a storied, soulful character that brand-new boards simply can’t mimic.
- Design for Longevity, Not Trends: It’s tempting to follow the latest aesthetic, but aim for a heavy, stable design that can handle decades of use. A workbench that lasts a lifetime is the ultimate act of sustainability, preventing the cycle of “buy, break, and landfill.”
- Embrace the Imperfections: If you’re working with salvaged wood, you might encounter knots or slight warping. Don’t see these as flaws; see them as opportunities to practice your joinery. Learning to work with the natural grain and quirks of the wood makes you a better craftsman and honors the material.
- Optimize Your Workspace Layout: Before you drive that first screw, think about your flow. A sustainable workspace is an organized one. Designing your bench to fit your specific needs—like adding a built-in scrap bin or a dedicated spot for your most-used tools—minimizes waste and keeps your creative energy focused.
- Finish with Eco-Friendly Sealants: When it comes time to protect your hard work, skip the harsh, high-VOC chemical varnishes. Opt for natural oils like linseed or tung oil. They’re much kinder to your lungs and the planet, and they allow the beautiful, natural texture of the wood to truly breathe.
Small Steps Toward a Soulful Workspace
Remember that sustainability isn’t about perfection; it’s about intention. Choosing reclaimed timber or FSC-certified wood over mass-produced alternatives transforms your workbench from a mere tool into a piece of environmental advocacy.
Invest in quality over quantity. By selecting versatile, durable tools that can last a lifetime, you’re breaking the cycle of “disposable” consumerism and building a toolkit that grows with your craft.
Let your workspace reflect your values. Whether it’s incorporating a bit of sea glass into a drawer pull or using salvaged scraps for small projects, your workbench should be a testament to the beautiful harmony between creativity and conservation.
Building More Than Just a Surface
“A workbench isn’t just a collection of reclaimed timber and steel; it’s the foundation where intention meets action, a dedicated space where we transform raw, salvaged materials into something that honors both our craft and the planet.”
Jordan Mitchell
From Blueprint to Bench: Your Journey Begins

As we wrap up this build, take a moment to look at what you’ve actually accomplished. You’ve navigated the complexities of selecting purposeful, reclaimed materials, curated a toolkit that works with you rather than against you, and followed the foundational steps to create something truly functional. Building a workbench isn’t just about following a set of instructions; it’s about the intentionality you poured into every measurement and every screw. By choosing sustainable timber and prioritizing durability, you haven’t just built a piece of furniture—you’ve constructed a solid foundation for all your future creative endeavors and repairs.
I often think back to those quiet mornings on the Maine coast, watching how the tide reshapes the landscape, leaving behind pieces of beauty like sea glass. Building this bench is much like that; it is a small, deliberate act that sets a new rhythm for your home and your craft. Don’t feel pressured to make everything perfect on your first try. Instead, view this workbench as a living part of your sustainable journey—a place where mistakes become lessons and raw materials become meaningful tools. Remember, every great environmental shift starts with a single, purposeful choice, and yours just happened to involve a hammer and some sawdust.
Frequently Asked Questions
How can I source reclaimed or salvaged wood without compromising the structural integrity of my workbench?
That’s a brilliant question. When I’m hunting for reclaimed timber—maybe some weathered cedar from an old coastal shed—I always look for “structural soul.” Check for straightness and avoid anything with deep rot or excessive insect tracks. For your workbench, I suggest using salvaged wood for the aesthetic accents or drawer fronts, but stick to reclaimed hardwoods or heavy-duty construction scraps for the main frame. It’s all about balancing that rustic charm with rock-solid stability.
Since I'm working in a smaller space, what are some ways to keep my workshop organized and eco-friendly?
When you’re working in a tight footprint, every inch counts. I love using vertical space—think reclaimed wall slats for tool storage rather than bulky plastic organizers. For smaller scraps, ditch the plastic bins and repurpose glass jars or even old tin cans to keep your screws and bits tidy. It keeps your workspace feeling breezy and intentional, proving that a compact shop can be both incredibly efficient and beautifully sustainable.
Are there specific non-toxic finishes or natural oils you recommend to protect the wood while keeping my workspace safe for my bees and plants?
Since you’re keeping your workspace near your bees and plants, we definitely want to avoid harsh, synthetic lacquers. I swear by pure, food-grade linseed oil or raw tung oil; they soak deep into the grain, offering a beautiful, matte finish that feels incredibly organic. For something even simpler, a beeswax and olive oil blend works wonders. It’s safe, non-toxic, and honors that connection between your craft and the natural world we’re protecting.
