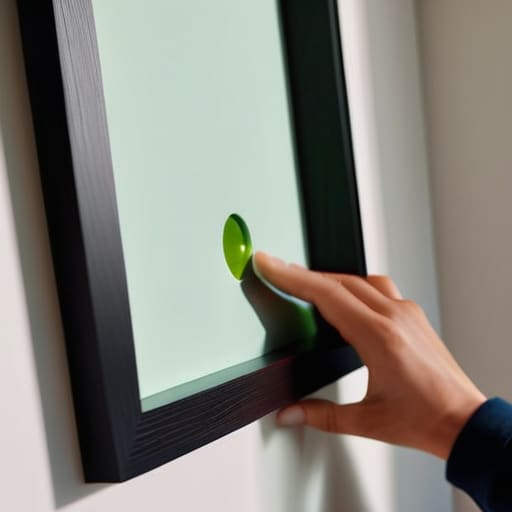
How to Hang a Picture Perfectly Every Time
I was standing in my living room last Tuesday, staring at a stack of beautiful, thrifted frames and a bare, unforgiving wall, feeling completely defeated. We’ve all been there—clutching a hammer and a handful of nails, terrified that one wrong move will leave our sanctuary looking like a construction zone. Most people think that learning how to hang a picture requires a professional toolkit or a degree in interior design, but I’ve learned through plenty of trial and error that it’s actually about intentionality. Whether you’re working with a heavy vintage find or a lightweight piece of sea glass art, the secret isn’t in the force you use, but in the mindfulness of your placement.
In this guide, I’m stripping away the intimidation and sharing my no-nonsense approach to curated wall styling. I won’t bore you with overly technical jargon; instead, I’ll show you how to select the right eco-friendly hardware and find that perfect eye-level sweet spot without the stress. We’re going to transform your space from a collection of items into a cohesive, soulful gallery—one mindful nail at a time.
Table of Contents
- Step-by-Step Instructions
- A Practical Picture Hanging Hardware Guide for Sustainable Style
- Mastering the Art of Finding Studs for Picture Hanging
- Elevating Your Space: Five Pro-Tips for Intentional Decorating
- Bringing It All Together: Small Steps Toward a Conscious Home
- ## More Than Just Nails and Plaster
- Bringing Your Vision to Life
- Frequently Asked Questions
Guide Overview
Tools & Supplies
- Hammer for driving nails or hooks
- Pencil for marking placement
- Measuring tape for accuracy
- Level to ensure straightness
- Picture hanging hardware (nails, hooks, or anchors) 1 pack
- Picture frame 1 unit
Step-by-Step Instructions
- 1. Before you even pick up a hammer, I want you to take a moment to visualize the flow of your room. Lay your frames out on the floor near the intended wall to see how they interact with the light and your existing furniture. This prevents that frantic “trial and error” phase and ensures your art feels like a natural extension of your space rather than an afterthought.
- 2. Next, let’s talk about your hardware—and this is where we keep things intentional. Instead of reaching for those cheap, plastic-heavy kits, look for reclaimed metal hooks or sturdy, high-quality brass hangers that can withstand a lifetime of use. If you’re working with a heavier piece, a classic screw driven into a wall anchor is your best friend, but try to source eco-friendly or recycled metal options whenever you can.
- 3. Now, it’s time for the precision work: marking your spot. I always recommend using a soft graphite pencil to lightly mark where the hook will go, but here’s a little pro-tip: use a piece of low-tack painter’s tape first. You can draw your measurements directly onto the tape, stick it to the wall, and then drive your nail or screw right through it—this keeps your walls pristine and minimizes unnecessary damage.
- 4. Once your mark is set, it’s time to actually mount the piece. If you’re using a nail, aim for a slight downward angle to give it that extra bit of structural integrity. As you slide the wire or bracket onto the hook, take a breath and check your alignment. I like to use a simple spirit level—or even a leveling app on my phone—to make sure your beautiful find isn’t leaning slightly to the left.
- 5. After the frame is secure, step back about six feet and give it a “vibe check.” Does the height feel right? Does it draw the eye toward the window or perhaps complement that sea glass vase on your mantle? If it feels a bit off, don’t be afraid to reposition it. The goal isn’t perfection; it’s about creating a curated sanctuary that feels lived-in and soulful.
- 6. Finally, let’s talk about the little details that make a house a home. If you have any small gaps between the frame and the wall, you can use tiny bits of recycled cork behind the bottom corners of the frame to keep it perfectly level and prevent it from scuffing your paint. It’s these small, thoughtful touches that truly elevate the entire experience of decorating with purpose.
A Practical Picture Hanging Hardware Guide for Sustainable Style
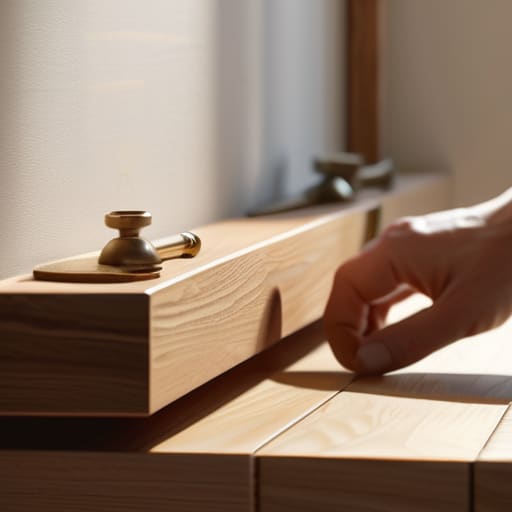
When it comes to choosing your materials, I always advocate for a “buy it once, buy it well” philosophy. While it’s tempting to reach for the quickest fix, navigating the debate of command strips vs nails really depends on your commitment to the space. If you’re in a rental or experimenting with temporary gallery wall layout ideas, adhesive strips can be a lifesaver for your walls. However, for those heirloom pieces or larger botanical prints, I recommend investing in high-quality metal hooks. They offer a level of security that lightweight adhesives just can’t match, especially when you’re looking to create a permanent sanctuary.
If you find yourself hanging heavy frames on drywall, don’t be afraid to get a little more technical. Instead of relying on a single point of failure, try finding studs for picture hanging to ensure your art stays exactly where you intended. It might require a bit more effort upfront, but there is a certain peace of mind that comes with knowing your curated collection is anchored safely. It’s all about that balance between aesthetic grace and structural integrity.
Mastering the Art of Finding Studs for Picture Hanging
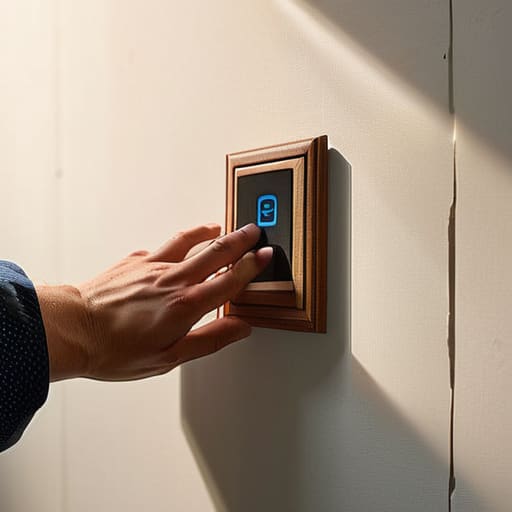
Now, let’s talk about the real backbone of your gallery wall: the studs. While it might be tempting to just grab a hammer and go, finding studs for picture hanging is the secret to ensuring your curated collection stays exactly where you intended. I always recommend starting with a stud finder—even a simple electronic one—to locate those solid wooden supports behind your drywall. There is a certain peace of mind that comes with knowing your favorite piece of art isn’t just clinging to a thin layer of plaster, especially when you’re hanging heavy frames on drywall that hold significant sentimental value.
If you find that your ideal layout doesn’t align perfectly with your home’s structural bones, don’t fret. This is where you can get creative with your picture hanging hardware guide by utilizing high-quality anchors. Think of it as a balance between structural integrity and aesthetic freedom. If you’re working in a rental or want to avoid any permanent marks, you might weigh the pros and cons of command strips vs nails, but for those larger, more substantial treasures, hitting a stud is always my gold standard for a secure, lasting sanctuary.
Elevating Your Space: Five Pro-Tips for Intentional Decorating
- Measure twice, hang once—and then measure again. There’s nothing more heartbreaking than realizing your favorite piece is sitting just a few inches too low, so take a moment to visualize the eye level before you commit to that first nail.
- Embrace the “Gallery Lean.” If you’re working with a particularly heavy or sentimental piece, don’t feel pressured to drill holes immediately; leaning art against a wall on a reclaimed wood shelf adds a relaxed, curated vibe that feels effortlessly chic.
- Think about the story your walls tell. Instead of hanging art in isolation, try grouping pieces that share a common thread—like a collection of botanical sketches or sea glass-toned abstracts—to create a cohesive visual narrative in your home.
- Light is everything. Before you finalize your placement, check how the natural light from your windows hits the surface; you want to avoid harsh glares that obscure the beauty of the piece, perhaps opting for non-reflective, eco-friendly glass if you’re framing something new.
- Don’t fear the “imperfection.” Sometimes, a slightly off-center placement or an asymmetrical arrangement can feel much more organic and soulful than a rigid, sterile grid, allowing your home to feel lived-in and truly yours.
Bringing It All Together: Small Steps Toward a Conscious Home
Remember that intentionality matters more than perfection; choosing reclaimed materials or eco-friendly mounts allows your decor to tell a story that honors both your aesthetic and the planet.
Don’t rush the process—taking that extra moment to find a stud or use the right hardware prevents unnecessary damage to your walls and ensures your beautiful finds stay exactly where they belong.
View every small home improvement as a chance to practice sustainable living, proving that curating a stylish, personal sanctuary can go hand-in-hand with mindful, eco-conscious choices.
## More Than Just Nails and Plaster
“Hanging a piece of art isn’t just about finding a stud or driving a nail; it’s about intentionally placing a piece of your soul upon a wall to turn a mere house into a sanctuary that breathes with your values.”
Jordan Mitchell
Bringing Your Vision to Life
As we wrap up this journey of transforming blank walls into personal sanctuaries, remember that the process is just as important as the final result. We’ve navigated everything from selecting the right eco-friendly hardware to the technical precision of finding those elusive studs. By choosing reclaimed materials and being intentional with your placement, you aren’t just decorating a room; you are practicing mindful curation. It’s about ensuring that every piece of art—whether it’s a vintage find or a modern print—is held securely by tools that align with your values. Taking that extra moment to measure twice and choose sustainable mounts ensures your home remains a beautiful, low-impact haven for years to come.
At the end of the day, your home should be a reflection of your soul and your commitment to the world around us. Every time you hang a new memory on your wall, you are telling a story of a life lived with intention. Don’t be afraid to experiment, to move things around, or to let your space evolve alongside you. I truly believe that when we treat our living spaces with respect and conscious care, we cultivate a deeper connection to our environment. So, grab your level, find that perfect light, and go create a space that makes your heart feel as steady as the Maine coastline.
Frequently Asked Questions
How can I hang heavy mirrors or large art pieces without relying on plastic anchors that might be hard to repurpose later?
When you’re working with those statement pieces—the heavy mirrors or oversized canvases that truly anchor a room—skip the plastic anchors entirely. They’re a bit of a headache to repurpose and just don’t feel quite right. Instead, I always lean on finding a stud for maximum security. If the layout doesn’t align perfectly, use heavy-duty steel screw hooks or reclaimed metal brackets. It’s a much more intentional, long-lasting way to honor your space.
What are some creative ways to display my favorite photos if I'm living in a rental and can't drill holes into the walls?
Living in a rental shouldn’t mean your walls have to feel clinical and bare. I love using heavy-duty command strips or even decorative Washi tape—it adds a pop of color and is totally removable! For a more organic vibe, try leaning larger frames against a mantel or using a reclaimed wooden ladder to drape photos. It creates that effortless, curated look without leaving a single mark behind. Happy decorating!
Is there a way to arrange a gallery wall so it looks intentional and balanced rather than just cluttered?
Think of your gallery wall like a coastal tide pool—it needs a sense of rhythm to feel balanced. Instead of scattering pieces randomly, start with your largest, most “anchor” piece slightly off-center. From there, build outward using a mix of textures and sizes, keeping the spacing between frames consistent. Pro tip: lay everything out on the floor first. It’s much easier to find that perfect, intentional flow before you ever pick up a hammer!
