How to Fix a Leaky Faucet in Under an Hour
There I was, sitting on my kitchen floor at midnight, staring at a rhythmic, maddening drip… drip… drip… that felt like it was echoing through my entire soul. It’s easy to fall into the trap of thinking that learning how to fix a leaky faucet requires a professional plumber’s license or a massive toolbox, but that’s just a myth that keeps us stuck in a cycle of waste. That tiny, persistent leak wasn’t just a nuisance; it was a constant, audible reminder of a resource being squandered right under my nose.
I’m not here to give you a complicated, jargon-heavy manual that leaves you more frustrated than when you started. Instead, I want to share a straightforward, no-nonsense approach to reclaiming your home and your peace of mind. This guide will walk you through the actual, practical steps to identify the culprit—whether it’s a worn-out washer or a faulty O-ring—and get it sorted. We’re going to turn this minor household headache into a small, intentional victory for both your wallet and our planet.
Table of Contents
- Step-by-Step Instructions
- Uncovering Common Causes of Leaking Faucets With Intention
- Essential Plumbing Tools for Faucet Repair and Sustainable Living
- Small Wins: 5 Pro-Tips for a Seamless and Mindful Repair
- Small Fixes, Big Ripples: My Final Thoughts
- The Ripple Effect of a Single Repair
- Small Victories, Big Ripples
- Frequently Asked Questions
Guide Overview
Tools & Supplies
- Adjustable wrench for loosening nuts
- Screwdriver for removing handle screws
- Allen wrench for hex-head fasteners
- Replacement washers or O-rings (1 set)
- Plumber's grease (1 small tube)
Step-by-Step Instructions
- 1. Before we dive into the mechanics, we need to prevent any accidental indoor floods. Locate the shut-off valves underneath your sink and turn them clockwise until they’re tight. If your sink doesn’t have local valves, you’ll need to head to the main water supply for the house. It’s a small moment of mindful preparation that saves a lot of stress later.
- 2. Once the water is off, clear out your workspace. I like to lay down a soft towel—maybe one of those old linen ones that’s seen better days—to protect your sink from scratches and to catch any small parts that might roll away. Open the faucet to drain any residual water still sitting in the pipes.
- 3. Now, it’s time to get to the heart of the issue. Use a screwdriver or an Allen wrench to remove the decorative cap on your faucet handle. Once that’s out of the way, unscrew the handle itself to reveal the internal cartridge or stem. Treat these parts with care; they aren’t just hardware, they’re the vital components of your home’s ecosystem.
- 4. Most leaks are caused by a worn-out washer or an old O-ring that has lost its elasticity over time. Use an adjustable wrench to loosen the packing nut and pull the cartridge out. Take a close look at the rubber seals; if they look cracked or flattened, you’ve found your culprit. I always recommend taking the old parts to your local hardware store to ensure you find an exact match for the replacement.
- 5. Before you put everything back together, take a moment to wipe down the inside of the faucet body with a soft cloth. Removing any mineral buildup or grit ensures that your new seals can make a perfect, airtight connection. It’s those tiny details that make the difference between a temporary fix and a long-term victory.
- 6. Slide your new washer or cartridge into place, making sure it sits snugly in its designated seat. Reassemble the faucet by reversing the steps you took to take it apart: tighten the packing nut, replace the handle, and screw the decorative cap back on. Don’t over-tighten things; a gentle, firm touch is usually all you need to keep everything secure.
- 7. Slowly turn your water valves back on, and listen. If you hear a hiss or see a drip, don’t panic—just double-check your connections. Once the flow is steady and the silence returns, take a second to appreciate the win. You’ve just turned a wasteful habit into a sustainable success, one drop at a time.
Uncovering Common Causes of Leaking Faucets With Intention
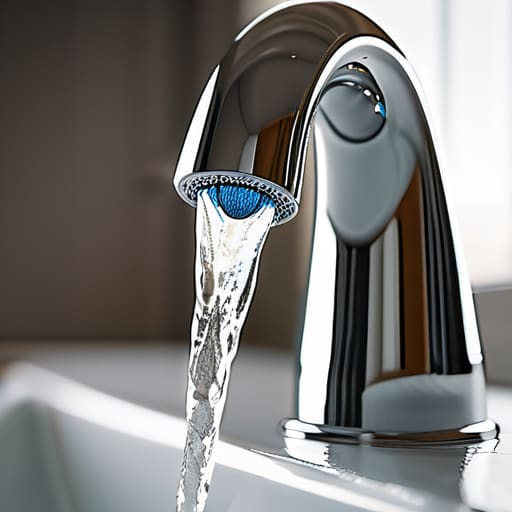
Before we dive into the actual repairs, I’ve found it’s incredibly helpful to pause and truly understand the “why” behind the leak. It’s easy to view a dripping tap as a mere nuisance, but when we look closer, we’re actually diagnosing a small disruption in our home’s ecosystem. Often, the common causes of leaking faucets boil down to simple wear and tear—like a degraded seal or a mineral buildup that’s been creeping up on you for months. Taking a moment to observe whether the leak happens when the handle is off or while it’s turned on can save you so much frustration later.
Sometimes, the fix is as simple as a quick decision to replace faucet washer components that have lost their elasticity over time. Other times, you might find yourself navigating more complex cartridge faucet replacement steps if the internal mechanism has finally given out. Identifying these culprits early doesn’t just save you from a future plumbing headache; it’s a mindful way to honor the resources we use every day. By understanding the source, we turn a chore into a moment of intentional stewardship.
Essential Plumbing Tools for Faucet Repair and Sustainable Living
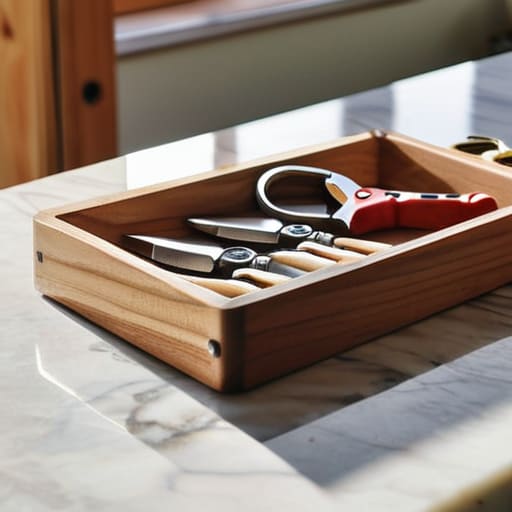
Before you dive into the actual repair, it’s worth gathering your gear with a bit of intention. You don’t need a massive, professional-grade kit, but having the right plumbing tools for faucet repair on hand prevents that frantic, mid-project dash to the hardware store—which, let’s be honest, often leads to buying more plastic packaging than we actually need. A reliable adjustable wrench, a set of screwdrivers, and some needle-nose pliers are your best friends here. I always like to keep a small, organized wooden organizer for my tools; it feels much more grounded than a plastic bin and keeps everything within reach while you work.
As you prepare, keep in mind that the complexity of your kit might depend on your specific model. If you’re tackling a more modern setup, you might find yourself looking into cartridge faucet replacement steps, which often require a specific puller tool. However, for many older fixtures, the goal is simply to replace faucet washer components that have worn down over time. By investing in a few quality, long-lasting tools now, you’re not just fixing a leak; you’re building a toolkit for a lifetime of resourceful, sustainable maintenance.
Small Wins: 5 Pro-Tips for a Seamless and Mindful Repair
- Don’t skip the shut-off valve; before you dive into the guts of your faucet, ensure the water supply is completely off to avoid an accidental indoor flood that would be anything but sustainable.
- Organize your workspace with intention by laying down a soft towel; it protects your countertop and, more importantly, keeps those tiny, easily lost screws from rolling away into the abyss.
- Document your progress with quick photos; as someone who lives in the digital world, I find that snapping a picture of how the washers and springs are layered makes reassembly a breeze rather than a puzzle.
- Inspect the “why” behind the leak, not just the “how”; while you’re in there, check the surrounding seals and supply lines to ensure you’re solving the root cause rather than just patching a symptom.
- Embrace the “measure twice” mantra by taking your old parts to the hardware store; matching your replacement washers or cartridges exactly ensures a perfect seal and prevents the waste of multiple failed repair attempts.
Small Fixes, Big Ripples: My Final Thoughts
Remember that repairing a leak isn’t just a household chore; it’s a mindful act of stewardship that honors our most precious resource.
Approach your toolkit with intention, choosing quality tools that empower you to maintain your space rather than constantly replacing it.
Don’t let a small drip discourage you—every single drop saved is a quiet victory for our planet and a step toward a more sustainable rhythm of life.
The Ripple Effect of a Single Repair
“Fixing that persistent, rhythmic drip isn’t just a weekend chore; it’s a quiet, intentional act of stewardship that honors our most precious resource, one drop at a time.”
Jordan Mitchell
Small Victories, Big Ripples
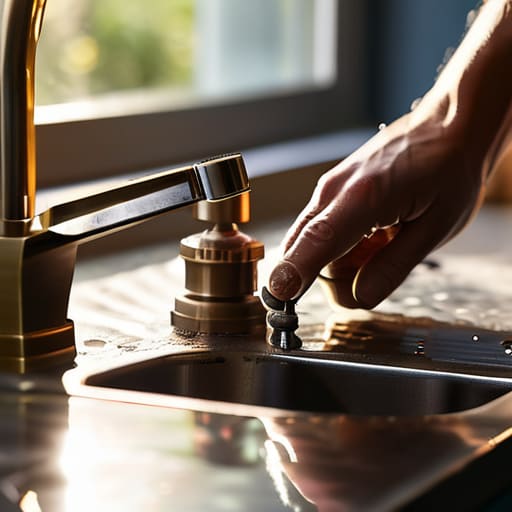
Taking the time to dive into your plumbing might feel like a daunting chore, but you’ve successfully navigated the most important part of the process. From identifying whether your culprit was a worn-out washer or a faulty O-ring, to gathering the right tools and executing the repair with precision, you have moved from passive observer to active steward of your home. By addressing that persistent drip, you haven’t just saved a few dollars on your monthly water bill; you have effectively halted a cycle of unnecessary waste that impacts our local ecosystems. It’s about more than just mechanical fixes; it is about the intentional maintenance of the resources we often take for granted.
As you turn off that tap and enjoy the newfound silence of a leak-free kitchen, I want you to take a moment to appreciate the impact of your work. It’s easy to feel like one person can’t stem the tide of global environmental challenges, but sustainability isn’t always about grand, sweeping gestures. Often, it is found in these quiet, mindful moments of repair and care. Every drop you save is a testament to the belief that small, everyday actions truly do ripple outward. Keep looking for those opportunities to live more resourcefully—one mindful repair at a time.
Frequently Asked Questions
If I can't find the exact replacement part for my specific faucet model, are there any eco-friendly ways to refurbish the old components instead of buying new ones?
I totally get the frustration—sometimes those specific parts feel like they’ve vanished into thin air. Before you hit “order” on a brand-new fixture, let’s try a little bit of resourceful magic. Often, a deep clean with white vinegar can dissolve stubborn mineral buildup that’s causing the leak. If a washer is just worn, you can sometimes “resurface” it with a tiny bit of food-grade silicone grease. It’s all about breathing new life into what we already own.
How can I tell if the leak is actually coming from the faucet itself or if it's a deeper issue within my home's plumbing system?
It’s easy to feel overwhelmed when you hear that telltale drip, but let’s narrow it down. To see if it’s just the faucet, dry everything thoroughly with a cloth, then watch closely. If the water emerges from the spout or the handle base, you’re likely looking at a simple washer or cartridge fix. However, if you notice dampness under the sink or pooling near the wall, we might be facing a deeper plumbing issue that needs professional eyes.
Beyond just fixing the drip, are there any other small, mindful upgrades I can make to my bathroom or kitchen to further reduce my daily water footprint?
Think of your faucet repair as the first step in a larger, more mindful ritual. To keep that momentum going, I love swapping out old showerheads for high-efficiency, aerated models—they feel just as luxurious while using far less water. In the kitchen, a simple low-flow sprayer can be a game-changer. It’s about these small, intentional upgrades that turn your daily routine into a seamless, eco-chic experience of conservation.
