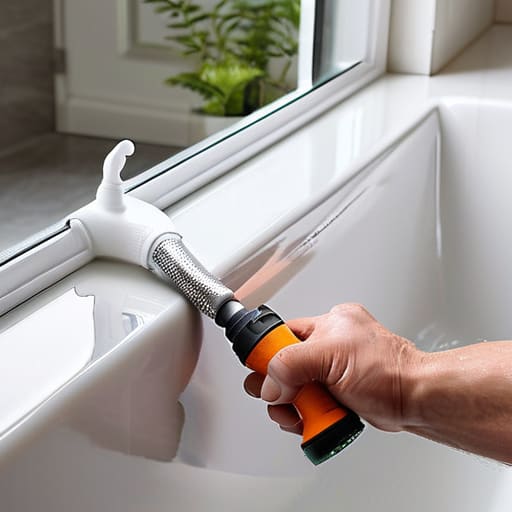
How to Caulk Like a Pro (without the Mess)
I was standing in my kitchen last Tuesday, staring at a tiny, jagged crack between the backsplash and the counter, feeling that familiar pang of frustration. It’s easy to think that a home is just a collection of walls and floors, but I’ve learned that the real magic lies in the details—the small, intentional gaps that, if left ignored, can lead to massive waste and unnecessary repairs. Most people assume that learning how to caulk is some daunting, professional-grade construction chore reserved for the experts, but that’s a myth that keeps so many of us from taking ownership of our spaces. In reality, it’s just a simple, quiet act of stewardship for your home.
In this guide, I’m stripping away the jargon to give you a straightforward, no-nonsense roadmap for tackling those pesky gaps yourself. We’re going to dive into the essential tools you actually need, how to choose the right materials to ensure longevity, and the precise technique to achieve a smooth, professional finish. My goal is to show you that mastering how to caulk isn’t just about home maintenance; it’s about living more sustainably by protecting your environment and making your belongings last a lifetime.
Table of Contents
- Step-by-Step Instructions
- Choosing Your Elements Silicone vs Acrylic Caulk for Longevity
- The Clean Slate Mastering the Skill of Removing Old Caulk
- Small Details, Big Impact: My Pro-Tips for a Seamless Seal
- Small Acts, Lasting Impact: My Top Takeaways
- ## The Art of the Seal
- Small Seals, Big Impact
- Frequently Asked Questions
Guide Overview
Tools & Supplies
- Caulking gun to apply the sealant
- Caulk removal tool or utility knife to scrape old material
- Putty knife to smooth the bead
- Caulk tube (silicone or acrylic) 1-2 tubes
- Cleaning solution or rubbing alcohol to prep surface
- Painter's tape to create clean lines
Step-by-Step Instructions
- 1. Before you even touch a caulk gun, you have to clear the canvas. Grab a scraper or a stiff brush and gently remove every trace of the old, crumbling sealant. It might feel a bit tedious, but think of it as clearing away the old to make room for something better. You want a surface that is bone-dry and completely free of dust or oils, because even the tiniest bit of debris can prevent your new seal from truly bonding.
- 2. Once your space is clean, it’s time to prep your tools. I like to lay down some painter’s tape on either side of the gap you’re filling. This isn’t just about being tidy; it’s a way to ensure your lines are crisp and intentional. It takes the guesswork out of the process and prevents that messy, accidental smear that can make a DIY project feel rushed rather than refined.
- 3. Now, let’s get the caulk ready. If you’re using a tube, cut the tip at a slight angle—not too wide, just enough to create a controlled flow. When you start applying, move with a steady, rhythmic pace. Try to keep the nozzle tucked right into the corner of the gap. It’s all about consistent pressure; if you go too fast, you’ll end up with gaps, and if you go too slow, you’ll get a mountain of excess.
- 4. This is where the magic—and the muscle memory—happens. Take a damp rag or a specialized caulking tool and smooth out the bead you’ve just laid down. I often find that a light, sweeping motion helps create that perfect, professional finish. Don’t overwork it, though; you want to guide the material into the crevice, not push it all the way through to the other side.
- 5. If you used painter’s tape, peel it away while the caulk is still slightly tacky. This is a crucial moment to catch any imperfections. If you wait until it’s completely dry, you might end up pulling the edges of your new seal upward, which defeats the purpose of that clean line we were aiming for. It’s a small, deliberate movement that makes all the difference in the final aesthetic.
- 6. Finally, give your work a moment to breathe. Let the sealant cure according to the package instructions—usually a few hours for touch, but often 24 hours for a full, waterproof bond. While you wait, take a second to appreciate the quiet satisfaction of a job done well. You haven’t just fixed a leak; you’ve invested in the longevity of your home, reducing the need for future repairs and the waste that comes with them.
Choosing Your Elements Silicone vs Acrylic Caulk for Longevity
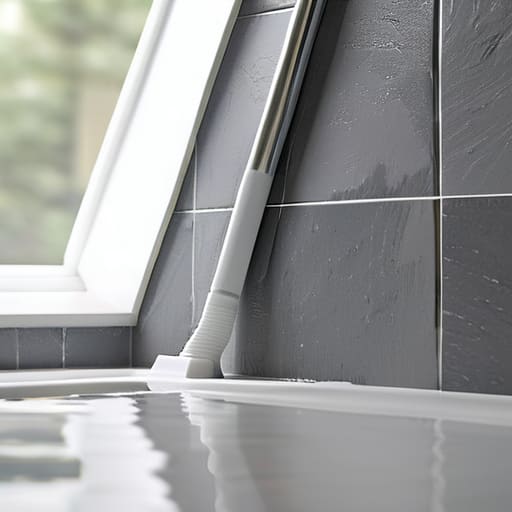
Before you grab your tools, let’s talk about the “soul” of the project: the material itself. Choosing between silicone vs acrylic caulk isn’t just a technicality; it’s about understanding the rhythm of your home. If you’re tackling a high-moisture area, like caulking bathtub seams, you’ll want to lean heavily into silicone. It acts as a robust, waterproof sealant application that can withstand the constant ebb and flow of water without cracking or molding. It’s the long-term investment that keeps your sanctuary protected.
On the other hand, acrylic is a bit more forgiving—perfect for baseboards or areas that see less direct contact with water. It’s easier to clean up and can even be painted to match your walls, which fits that seamless, aesthetic vibe I love. However, keep in mind that if you’re working on a major renovation, you might need to spend some extra time removing old caulk first to ensure a fresh, clean bond. Matching the right material to the right space is a small, intentional choice that ensures your hard work lasts for years to come.
The Clean Slate Mastering the Skill of Removing Old Caulk
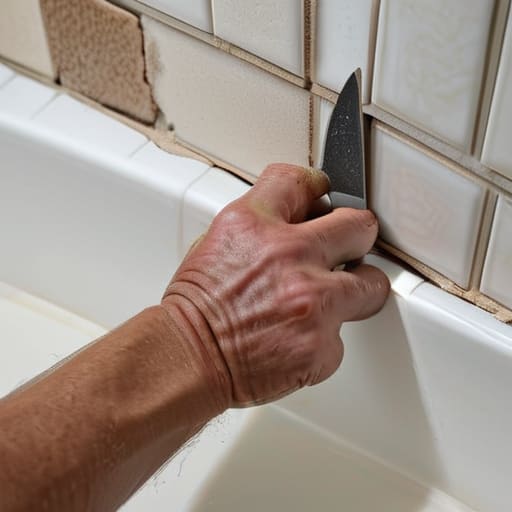
Before you can even think about applying a fresh layer of waterproof sealant application, you have to face the reality of what’s already there. I know, it’s not the most glamorous part of the process, but think of removing old caulk as clearing the mental clutter before a new project. If you try to layer new material over the old, you’re essentially building on a shaky foundation, which leads to peeling and leaks down the line. I usually grab a sharp utility knife or a specialized caulk removal tool to gently score the edges. It takes a bit of patience, but treating this stage with intentional care ensures your new seal actually lasts.
Once you’ve peeled away the bulk of the old material, the real secret lies in the details. Use a vacuum or a damp cloth to clear out every tiny bit of debris from the crevices. If you’re specifically caulking bathtub seams, even a microscopic speck of dust can prevent that perfect, airtight bond we’re aiming for. I like to finish by wiping the area with a bit of rubbing alcohol; it leaves the surface pristine and ready for whatever beautiful, sustainable finish you’ve chosen.
Small Details, Big Impact: My Pro-Tips for a Seamless Seal
- Master the art of the “steady hand” by practicing your bead on a scrap piece of wood first; it’s much better to find your rhythm on a bit of waste than on your beautiful bathroom tiles.
- Don’t skimp on the cleaning—I know it’s tedious, but a surface that’s truly bone-dry and dust-free is the secret to a bond that lasts years rather than months, keeping you from having to redo the work.
- Use a simple spray bottle filled with a little water and a drop of biodegradable dish soap to smooth your bead; it gives you that professional, polished look without the mess of using your bare fingers.
- Think about the “why” behind your choice—applying caulk to prevent drafts isn’t just about maintenance, it’s about energy efficiency and making your home work a little more in harmony with the planet.
- Patience is your best tool; resist the urge to rush the process, as letting the sealant cure undisturbed in a well-ventilated space ensures the most resilient, long-lasting barrier possible.
Small Acts, Lasting Impact: My Top Takeaways
View caulking not as a chore, but as a mindful investment in your home’s longevity; by sealing those tiny gaps now, you’re preventing the waste and energy loss that comes from future repairs.
Don’t rush the preparation—the secret to a professional, sustainable seal lies in the cleanup. Taking that extra time to clear away the old residue ensures your new layer adheres perfectly and lasts for years.
Choose your materials with intention. Matching the right caulk type to the specific job—whether it’s flexible silicone for a damp bathroom or sturdy acrylic for a window frame—is the smartest way to ensure your efforts stand the test of time.
## The Art of the Seal
“I like to think of caulking as more than just a home maintenance task; it’s a small, intentional act of stewardship. By sealing those tiny gaps, you aren’t just preventing a leak—you’re protecting your space and honoring the resources you’ve invested in, ensuring your home stands resilient for years to come.”
Jordan Mitchell
Small Seals, Big Impact
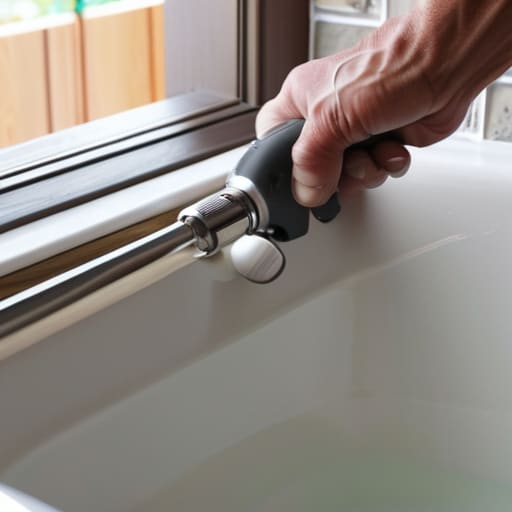
Taking the time to master the art of caulking might feel like a tedious weekend chore, but it is truly one of the most effective ways to practice intentional home maintenance. By carefully selecting between silicone and acrylic, ensuring a spotless surface through thorough removal, and applying your new sealant with precision, you’ve done more than just fix a gap. You have actively protected your home’s structural integrity and prevented the energy leaks that lead to unnecessary waste. It’s about moving away from a “quick fix” mentality and toward a lifestyle of mindful stewardship, where we care for the spaces we inhabit so they can, in turn, care for us.
As I often tell my friends while we’re out scanning the shoreline for sea glass, the most beautiful things are often formed through patience and attention to detail. The same applies to our homes and our planet. Every seam you seal and every draft you stop is a quiet victory for sustainability. Don’t be discouraged if your first attempt isn’t quite perfect; the beauty lies in the process of learning and the commitment to doing things better than they were done before. Let’s continue to find joy in these small, restorative acts, knowing that together, we are building a more resilient and beautiful world, one intentional layer at a time.
Frequently Asked Questions
How can I tell if the caulk I'm using is truly eco-friendly or if it's just clever marketing?
It’s a valid concern—greenwashing is everywhere. To look past the “eco” buzzwords, check the label for specific certifications like GREENGUARD Gold, which ensures low chemical emissions. I also always look for Low or Zero VOC (Volatile Organic Compounds) ratings to protect our indoor air quality. If a brand is being vague about their ingredients, I usually take it as a red flag. Real sustainability is found in the fine print, not just the pretty packaging.
Is there a way to fix a messy caulk bead without having to strip everything back and start from scratch?
Honestly, I’ve been there—standing over a bathroom sink feeling like I’ve made a total mess of things. Before you panic and strip it all back, try a little “surgical” touch-up. If the bead is just slightly uneven, you can often use a damp finger or a specialized caulking tool to smooth it out while it’s still wet. If it’s already cured, sometimes a careful trim with a utility knife followed by a fresh, thin layer can save the day.
How long do I actually need to wait before water can touch the new seal, and can I speed up that process?
The patience game is real, isn’t it? While every tube has its own specific timeline, I usually play it safe and wait at least 24 hours before letting any water touch the new seal. It’s a small act of stewardship for your home. You can try using a hair dryer on a low, gentle setting to nudge the drying along, but please, avoid high heat—we want to protect the integrity of the bond, not stress it.
