How to Refinish Old Furniture and Make It New
I was standing in my tiny apartment last spring, staring at a thrifted mid-century dresser that looked more like a relic of a landfill than a piece of decor. Most people would have told me it was a lost cause, or worse, that learning how to refinish furniture required a professional workshop and a mountain of toxic chemicals. But as I ran my hands over that scarred oak, I didn’t see trash; I saw a story waiting to be retold. I realized that we don’t need to constantly buy “new” to stay stylish—we just need to learn how to see the hidden potential in what we already own.
In this guide, I’m stripping away the complicated jargon and the expensive, unnecessary gear to give you a realistic, eco-chic roadmap. I’ll walk you through the essential steps of prepping, sanding, and sealing, focusing on methods that are as kind to your lungs as they are to your home’s aesthetic. You’re going to get my honest, no-hype approach to transforming tired pieces into intentional treasures that reflect your personal style without costing the earth. Let’s get our hands a little dusty and turn that old wood into something beautiful.
Table of Contents
- Step-by-Step Instructions
- Mastering Gentle Wood Stripping Techniques for Timeless Pieces
- Choosing the Best Wood Stains for Antiques and Character
- Small Wins for a Lasting Finish: My Top 5 Pro-Tips
- Making Your Mark: Small Steps Toward a Sustainable Transformation
- ## The Soul of the Secondhand
- The Beauty of the Second Chance
- Frequently Asked Questions
Guide Overview
Tools & Supplies
- Sandpaper (various grits for smoothing)
- Screwdriver (to remove hardware)
- Paintbrush or foam roller (for applying finish)
- Tack cloth (to remove dust)
- Wood cleaner or TSP (1 bottle)
- Primer (1 quart)
- Paint or wood stain (1 quart)
- Sanding block (1 unit)
Step-by-Step Instructions
- 1. First things first, we need to clear some space and prep your workspace. I always recommend setting up in a well-ventilated area—ideally outdoors if the weather permits—to keep those fumes at bay. Grab some old newspapers or a drop cloth to protect your floor, and then meticulously clean the piece with a mild, eco-friendly soap. You want to make sure every bit of dust and old wax is gone, because any leftover residue will just sabotage your hard work later on.
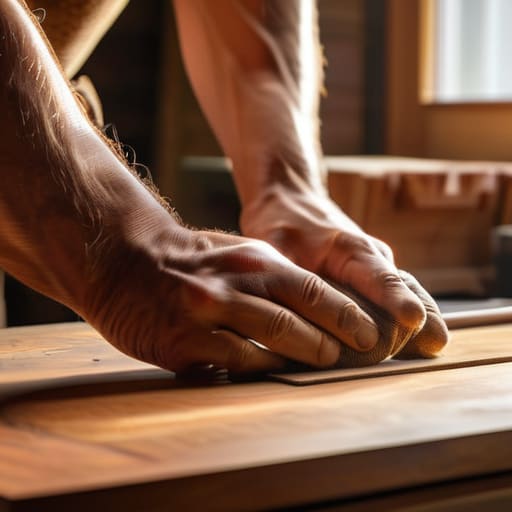
- 2. Now, it’s time for the most important, albeit slightly tedious, part: the sanding. Grab a medium-grit sandpaper to start stripping away that old, tired finish. You don’t need to go all the way down to the raw wood unless you’re planning a radical color change, but you must scuff the surface enough so the new finish has something to grab onto. Think of it as preparing the canvas for your new masterpiece; it’s a meditative process if you just focus on the rhythm of the movement.
- 3. Once you’ve finished the heavy lifting, grab a tack cloth or a slightly damp microfiber rag to wipe down the piece. This is where people often trip up—they leave fine dust in the crevices, which leads to a bumpy finish. I like to take my time here, ensuring the wood is completely pristine before moving to the next stage. It’s a small, intentional step that makes a massive difference in the final texture.
- 4. If you’re looking to add some color, now is the moment to apply your stain or paint. If you’re opting for paint, I highly suggest looking for low-VOC or Zero-VOC options to keep your indoor air quality healthy. Apply thin, even layers rather than trying to cover everything in one thick coat. It might feel like it’s taking forever, but patience is your best friend when you’re aiming for that professional, eco-chic aesthetic.
- 5. After your color has dried completely, you’ll want to seal the deal with a protective topcoat. This is what ensures your piece can handle the bumps and scrapes of daily life. Whether you choose a natural beeswax polish or a water-based poly, make sure to follow the drying times on the label to the letter. A good seal is what transforms a simple DIY project into a durable heirloom.
- 6. Finally, let the piece cure. This is the hardest part for me because I always want to show off my progress immediately, but a freshly finished piece is still quite vulnerable. Let it sit undisturbed in a dust-free spot for at least 24 to 48 hours. Giving it this dedicated resting period ensures the finish hardens properly, so your beautiful new creation is ready to serve you for years to come.
Mastering Gentle Wood Stripping Techniques for Timeless Pieces
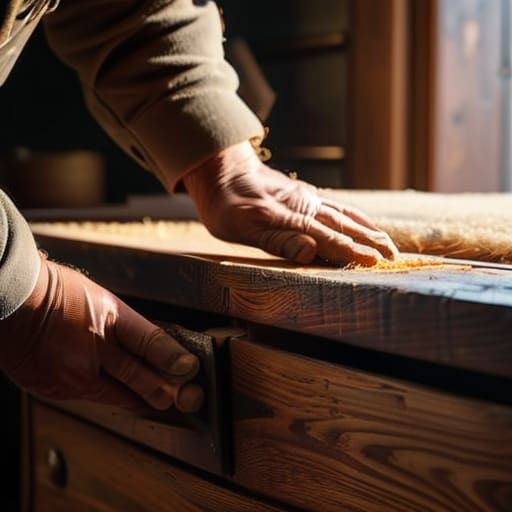
When you’re working with a piece that has real history—maybe a vintage dresser you found at a local thrift shop—you have to approach the surface with a certain level of reverence. Instead of rushing straight to the heavy-duty abrasives, I always recommend exploring various wood stripping techniques that prioritize the integrity of the timber. Using a chemical stripper designed for delicate surfaces can be a game-changer; it allows you to lift away layers of grime and old finishes without gouging the wood. It’s a bit more patient work, but preserving the soul of the piece is far more rewarding than a quick, aggressive fix.
As you begin removing old varnish, keep a close eye on how the wood reacts. If you notice the grain starting to raise, don’t panic—that’s just the wood waking up. Once the bulk of the old finish is gone, you can transition into your sanding phase. This is where having a reliable furniture restoration tools kit becomes essential, specifically ensuring you have the right progression of sandpaper to avoid leaving unsightly swirl marks. Taking this slow, mindful approach ensures that the final result isn’t just a piece of furniture, but a timeless heirloom.
Choosing the Best Wood Stains for Antiques and Character
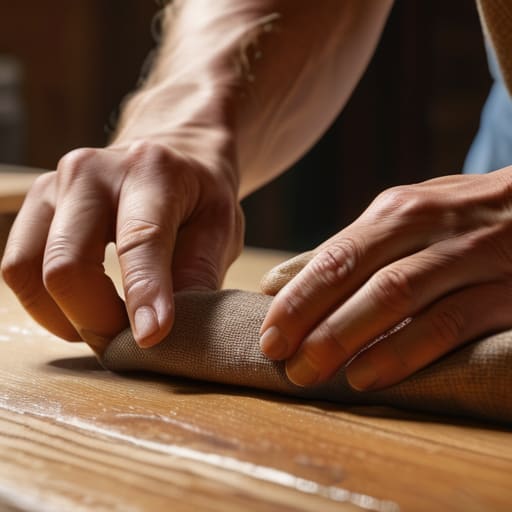
Once you’ve navigated the nuances of removing old varnish and achieved that perfect, smooth surface, you arrive at the most creative—and perhaps most daunting—part of the journey: selecting a finish. When you’re working with pieces that have a history, I always suggest looking for the best wood stains for antiques that enhance rather than mask the grain. Instead of reaching for a heavy, opaque pigment that hides the soul of the wood, try a semi-transparent oil-based stain. This allows those natural imperfections and knots to peek through, telling the story of the piece’s age without looking artificial.
If you’re aiming for a more modern, eco-chic aesthetic, you might consider water-based stains which are gentler on both your lungs and the planet. However, if the piece feels particularly delicate, remember that less is always more. A light, even application allows you to build depth slowly, ensuring you don’t overwhelm the character you worked so hard to reveal during the sanding phase. It’s all about finding that sweet spot where the finish feels like a natural extension of the wood itself.
Small Wins for a Lasting Finish: My Top 5 Pro-Tips
- Don’t rush the prep work—I know it’s tempting to jump straight to the staining, but taking that extra time to ensure your surface is perfectly smooth is what separates a DIY project from a true heirloom.
- Always test your stain on a hidden spot first, like the underside of a table leg, to see how the wood actually reacts before you commit to the whole piece.
- Think about the “story” of the wood; sometimes leaving a few small imperfections or knots adds a layer of character that a factory-perfect finish just can’t replicate.
- Opt for low-VOC or natural oil finishes whenever possible, not just for the beautiful, organic look they provide, but to keep your indoor air quality as clean as a Maine morning.
- Work in small, intentional sections rather than trying to tackle the whole piece at once—it keeps the application even and helps you stay mindful of the process rather than just rushing to the finish line.
Making Your Mark: Small Steps Toward a Sustainable Transformation
Remember that refinishing isn’t just about the final look; it’s about the intentional choice to rescue a piece of history from a landfill and give it a second life.
Don’t rush the process—whether you’re stripping away old layers or applying a fresh stain, patience is what allows the natural character of the wood to truly shine.
Always prioritize eco-friendly finishes and gentle techniques, ensuring that your creative victory today doesn’t leave a heavy footprint on our planet tomorrow.
## The Soul of the Secondhand
“Refinishing isn’t just about changing a color; it’s about honoring the history etched into the grain and choosing to preserve a story rather than contributing to the cycle of waste.”
Jordan Mitchell
The Beauty of the Second Chance
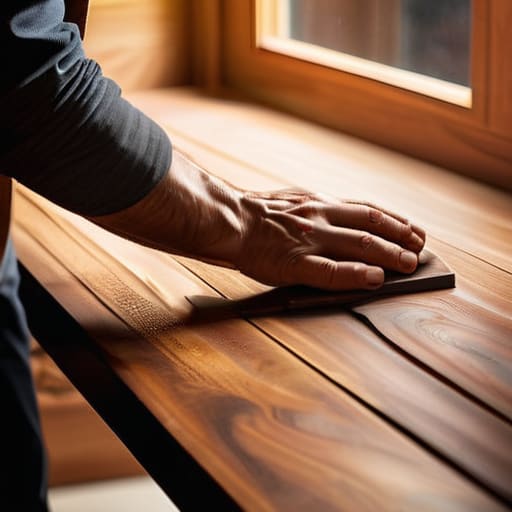
As you step back to admire your handiwork, take a moment to appreciate the journey. From the patient, gentle work of stripping away old layers to the careful selection of a stain that honors the wood’s unique history, you’ve done more than just fix a piece of furniture. You’ve mastered the balance between preserving character and embracing renewal. By choosing to sand, strip, and stain rather than discard, you’ve successfully navigated the delicate process of breathing life back into something that might have otherwise been lost to a landfill. It’s about more than just a fresh coat of color; it’s about the intentionality of restoration and the skill you’ve cultivated along the way.
Ultimately, refinishing furniture is a beautiful metaphor for how we approach our relationship with the planet. Each time we choose to repair instead of replace, we are making a quiet but powerful statement against the culture of disposability. It might feel like a small victory in the grand scheme of things, but these mindful transformations are exactly how we build a more sustainable future. So, keep looking at the old and the worn with eyes of possibility. Whether it’s a weathered side table or a thrifted heirloom, remember that with a little patience and a lot of heart, you have the power to transform the discarded into something truly extraordinary.
Frequently Asked Questions
How can I tell if a piece of vintage furniture is actually worth the effort of refinishing, or if I should just let it go?
It’s a tough call, and honestly, sometimes the most sustainable choice is letting go. I always look for “soul”—solid wood construction, dovetail joints, or a unique silhouette that tells a story. If it’s particle board or heavily veneered, the effort often won’t yield the results you’re dreaming of. Before you grab your sandpaper, ask yourself: does this piece have a foundation worth saving, or is it just clutter in disguise?
Are there any eco-friendly or non-toxic stain options that won't compromise the natural beauty of the wood?
Absolutely! You don’t have to choose between a healthy home and a beautiful finish. I’m a huge advocate for plant-based stains—think linseed or tung oil. They sink deep into the grain, highlighting that gorgeous natural texture without the harsh chemical fumes. If you’re looking for color, water-based stains are a fantastic, low-VOC alternative. It’s all about those intentional choices that respect both the wood’s character and the air we breathe.
What’s the best way to handle a piece that has deep scratches or water damage without making it look "patched up"?
When you’re facing those deep gouges or water rings, the trick is to embrace the history of the piece rather than trying to erase it. Instead of heavy fillers that often look like obvious patches, I recommend using a wood burn kit or a specialized wax stain to mimic the natural grain. It’s about blending the repair into the existing texture, turning a flaw into a beautiful, lived-in detail that tells a story.
