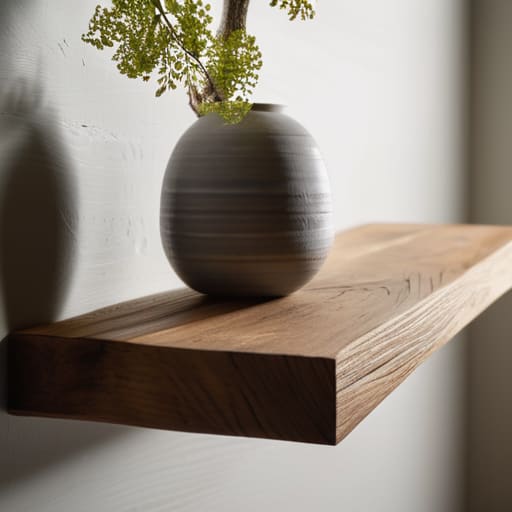
How to Build Floating Shelves That Hold Real Weight
I was standing in my tiny apartment last spring, staring at a pile of mismatched, heavy-duty brackets and a piece of weathered driftwood I’d scavenged from a beach in Maine, feeling completely defeated. We’ve all been told that a successful floating shelves diy project requires a workshop full of industrial power tools and a degree in structural engineering, but that’s just not true. In reality, the most beautiful, soul-filled spaces aren’t built with expensive, mass-produced hardware; they are crafted through intentionality and a little bit of grit. I realized then that you don’t need a professional studio to create something that looks high-end and feels deeply personal.
In this guide, I’m stripping away the fluff and the intimidating jargon to show you how to master your own floating shelves diy journey. I’ll walk you through selecting the right reclaimed timber, securing those shelves so they actually stay put, and styling them with a modern, eco-chic flair. No hype, no unnecessary spending—just honest, practical steps to help you reclaim your wall space and infuse your home with a bit of sustainable character.
Table of Contents
- Step-by-Step Instructions
- Sourcing Soulful Timber and Essential Woodworking Tools for Shelving
- Mastering Modern Floating Shelf Design Ideas With Intentional Style
- Pro-Tips for a Polished, Planet-Friendly Finish
- Small Steps, Big Impact: My Final Thoughts on Your Shelving Journey
- ## More Than Just Storage
- Bringing Your Vision to Life
- Frequently Asked Questions
Guide Overview
Tools & Supplies
- Drill/Driver for mounting hardware
- Level to ensure shelves are straight
- Saw for cutting wood to length
- Measuring tape for precise placement
- Sandpaper for smoothing edges
- Wood planks (2-3 pieces)
- Floating shelf brackets/supports (1 set per shelf)
- Wood screws (1 box)
- Wall anchors (if not hitting studs)
- Wood stain or paint (1 small can)
Step-by-Step Instructions
- 1. First things first, we need to source our materials with intention. Instead of hitting a big-box store for new lumber, I highly recommend scouting local salvage yards or even checking online marketplaces for reclaimed timber. Look for pieces with a bit of history—maybe some old barn wood or even cedar scraps—that can bring a sense of soul and character to your space.
- 2. Once you’ve found your wood, it’s time to prep the surface. Grab some sandpaper and start with a medium grit to smooth out any rough edges, gradually moving to a finer grit until the wood feels silky to the touch. I love leaving some of the natural imperfections intact because it’s those unique textures that truly tell the story of the wood’s journey.
- 3. Next, we need to build the internal support structure, often called a cleat. This is the “skeleton” that will hold your shelf up, so don’t skimp on quality here. Measure your wall carefully and use a level to ensure your mounting bracket is perfectly straight; there is nothing more frustrating than a crooked shelf when you’re trying to create a serene, organized sanctuary.
- 4. Now, let’s give that wood some love with a sustainable finish. I prefer using organic oils or beeswax polishes rather than harsh, chemical-heavy varnishes. This not only keeps your indoor air quality clean but also allows the natural grain of the wood to pop in a way that feels incredibly grounded and authentic.
- 5. To assemble, slide your beautiful reclaimed boards over the mounting cleat. Depending on the design you’ve chosen, you might need to secure them from underneath with small, discrete screws. This is the moment where it all comes together, transforming raw, salvaged materials into a functional piece of art for your home.
- 6. Finally, it’s time for the most rewarding part: styling your new shelves. I like to mix in a few trailing plants to bring some life to the wood, perhaps alongside a small piece of sea glass I found on my last trip to the coast. Remember, the goal isn’t perfection, but rather creating a space that feels curated and meaningful.
Sourcing Soulful Timber and Essential Woodworking Tools for Shelving
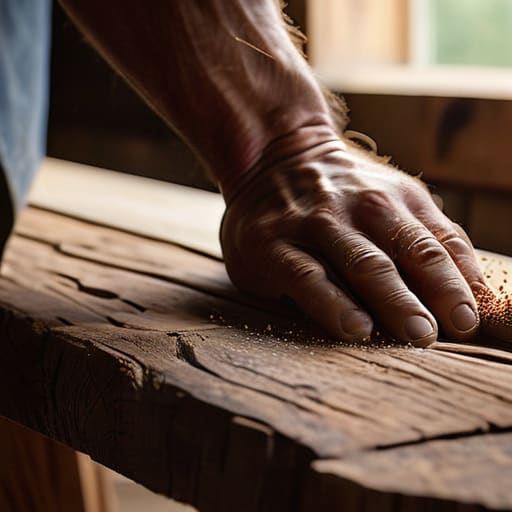
When it comes to sourcing your timber, I always encourage you to look beyond the big-box stores and seek out materials with a history. I’ve found that scouring local salvage yards or even checking online marketplaces for reclaimed barn wood adds a layer of character that new lumber just can’t replicate. Whether you’re aiming for a rustic vibe or exploring modern floating shelf design ideas, choosing wood that has been rescued from a second life is a beautiful way to honor the planet. Just ensure the timber is well-seasoned and structurally sound before you start your build.
As for the technical side, having the right woodworking tools for shelving is what separates a shaky project from a professional-looking masterpiece. You’ll want a reliable drill, a level, and a sturdy saw to ensure everything is precise. If you’re planning on displaying heavier items like art books or ceramic planters, don’t skimp on your hardware; investing in a heavy duty shelf support system is non-negotiable for long-term stability. It’s all about building something that isn’t just beautiful, but also built to last.
Mastering Modern Floating Shelf Design Ideas With Intentional Style
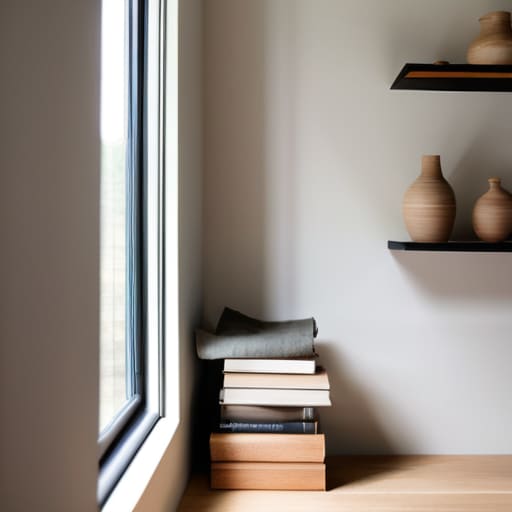
When you move past the basic construction, the real magic happens in how these pieces interact with your space. I love playing with different levels and textures to create a sense of movement on your walls. For a minimalist, airy vibe, consider exploring modern floating shelf design ideas that utilize varying lengths; placing a shorter, thicker piece alongside a longer, slimmer one creates a visual rhythm that feels curated rather than cluttered. It’s about finding that sweet spot where utility meets an intentional aesthetic.
Of course, achieving that “weightless” look requires a bit of technical finesse. If you’re aiming for that ultra-clean, high-end finish, investing in quality hidden shelf brackets is a total game-changer. They allow the wood to appear as if it’s truly hovering, free from any visible hardware. Just remember to be mindful of what you’re displaying; if you plan on showcasing a collection of heavy stoneware or thick art books, ensure you’re using a heavy duty shelf support system anchored securely into your studs. It’s all about balancing that effortless style with structural integrity.
Pro-Tips for a Polished, Planet-Friendly Finish
- Don’t fear the imperfections; when working with reclaimed timber, those knots and character marks are what give your shelves their soul. Lean into the natural grain rather than trying to sand it into something artificial.
- Always double-check your wall’s anatomy before you drill. There is nothing more heartbreaking than a beautiful, eco-friendly shelf sagging because it wasn’t anchored into a stud or a heavy-duty toggle bolt.
- Think about the weight load before you commit to a design. If you’re planning to display a heavy collection of ceramic mugs, ensure your internal mounting bracket is robust enough to handle the gravity of your aesthetic.
- Opt for low-VOC (Volatile Organic Compound) oils or waxes for your final finish. It keeps your indoor air quality clean and ensures that the beauty you bring into your home doesn’t come at a hidden environmental cost.
- Level twice, drill once. A tiny discrepancy at the start can lead to a noticeable tilt once the shelf is mounted, and in the world of intentional design, precision is what makes a DIY project look professional.
Small Steps, Big Impact: My Final Thoughts on Your Shelving Journey
Remember that sustainability isn’t about perfection; it’s about intention. Choosing reclaimed timber over new-growth wood transforms a simple storage solution into a meaningful statement for the planet.
Let your personal story shine through the design. Whether you’re incorporating sea glass accents or keeping it minimalist, your shelves should reflect your unique blend of nature and modern style.
Don’t be afraid to get your hands a little dirty. The real magic happens in the process of creating something functional and beautiful from scratch, turning raw materials into lasting environmental victories.
## More Than Just Storage
“When we choose to build our own floating shelves from reclaimed timber, we aren’t just organizing a room; we’re practicing a form of intentional living that honors the history of the wood and reduces our footprint, one beautiful, floating piece at a time.”
Jordan Mitchell
Bringing Your Vision to Life
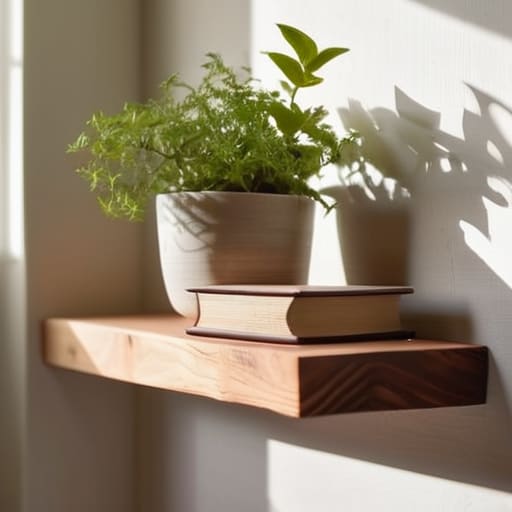
As we wrap up this journey of transforming raw, reclaimed timber into something truly special, I hope you feel more confident in your ability to create. We’ve covered everything from the initial hunt for soulful wood to the precise technical steps of mounting your shelves with intentionality and care. Remember, the magic isn’t just in the finished product sitting on your wall, but in the conscious choices you made throughout the process—choosing salvaged materials over new ones and investing your own time into something lasting. By mastering these DIY techniques, you’ve successfully bridged the gap between modern design and sustainable living.
At the end of the day, these floating shelves are more than just storage solutions; they are a testament to the beauty of slow, mindful creation. Every time you place a favorite book or a small piece of sea glass on those sturdy planks, you’ll be reminded that your hands have the power to shape a more eco-conscious world. Don’t be afraid to experiment, to make a few mistakes, or to let your unique style shine through. Small, purposeful shifts in how we decorate our homes can ripple outward, proving that living beautifully and living sustainably are never mutually exclusive. Now, go forth and build something that tells your story.
Frequently Asked Questions
How can I ensure these shelves are sturdy enough to hold heavy books or plants without damaging my walls?
I totally get the hesitation—there’s nothing worse than a beautiful project meeting a tragic end on the floor! To keep those heavy botanicals or book collections safe, skip the basic nails. Invest in heavy-duty floating shelf brackets and, most importantly, find your wall studs. If your design doesn’t align with the studs, use high-quality toggle bolts. It’s all about that intentional foundation; a little extra structural soul ensures your eco-chic sanctuary stays secure.
What are some ways to finish the reclaimed wood so it looks polished but still maintains that raw, natural texture?
To keep that raw, soulful character while adding a polished touch, I’m a huge fan of using a matte hardwax oil. It sinks deep into the grain, protecting the wood without that heavy, plastic-like shine that ruins the natural texture. If you want something even more minimal, a simple beeswax buff works wonders. It preserves those beautiful imperfections and the history of the timber, leaving you with a finish that feels as organic as it looks.
If I'm renting, are there any eco-friendly or less invasive ways to mount floating shelves without leaving permanent marks?
I totally hear you—the renter’s dilemma is real! You want to personalize your space without losing that security deposit. For a less invasive approach, try heavy-duty command strips if your shelves are lightweight, or look into “no-drill” tension-based systems. If you can swing a few small holes, using slim, high-quality anchors makes patching much easier later. It’s all about finding that balance between making your house a home and staying mindful of your footprint.
