How to Paint Kitchen Cabinets for a Whole New Look
I remember standing in my first tiny apartment, staring at those heavy, dated oak cabinets that felt like they were swallowing the light in the room. I was convinced that the only way to get a fresh look was to gut the kitchen and buy a whole new set—a massive, expensive, and frankly wasteful undertaking. But then I realized that learning how to paint kitchen cabinets isn’t just about a quick cosmetic fix; it’s a way to breathe new life into what you already own, preventing perfectly good materials from heading straight to a landfill.
In this guide, I’m stripping away the complicated jargon to give you a realistic, step-by-step roadmap for a successful DIY transformation. We aren’t just going to talk about aesthetics; we’re going to focus on intentional choices, from selecting low-VOC, eco-friendly finishes to mastering the prep work that ensures your hard work actually lasts. I’ll share my personal, no-nonsense tips on how to achieve a professional, high-end look without compromising your commitment to a more sustainable lifestyle. Let’s roll up our sleeves and get started.
Table of Contents
- Step-by-Step Instructions
- The Art of Preparation Cleaning Cabinets Before Painting
- Choosing Your Palette Finding the Best Paint for Kitchen Cabinets
- Pro-Tips for a Flawless, Planet-Friendly Finish
- Making Your Kitchen Transformation Last (and Meaningful)
- Beyond the Surface
- The Final Polish: From Vision to Reality
- Frequently Asked Questions
Guide Overview
Tools & Supplies
- Screwdriver/Drill for removing hardware
- Sandpaper (120-220 grit) for smoothing surfaces
- Microfiber cloth for dust removal
- High-quality angled brush for edges
- Small foam roller for smooth finishes
- Cabinet degreaser or TSP (1 quart)
- Primer (1-2 gallons)
- Cabinet-grade enamel paint (1-2 gallons)
- Painter's tape (1 roll)
- Drop cloths (2-3 large sheets)
Step-by-Step Instructions
- 1. First things first, we need to clear the canvas. Remove all your cabinet doors and drawers, and don’t forget to label them! I like to use small pieces of painter’s tape on the back of each door so I know exactly where they go back in. This is also the perfect time to gather your eco-friendly cleaning supplies—a simple solution of warm water and mild, biodegradable soap works wonders for removing the years of kitchen grease and grime.
- 2. Once everything is clean and completely dry, it’s time for the most important part: sanding. You aren’t trying to strip the wood down to the grain, but you do want to scuff up the surface so the new paint has something to really grip onto. I usually opt for a medium-grit sandpaper to keep things efficient, but remember, the goal is a smooth, matte texture that invites the light in rather than reflecting it harshly.
- 3. After sanding, grab a vacuum with a brush attachment or a lint-free microfiber cloth to get rid of every single speck of dust. If you leave even a tiny bit of residue behind, your finish might end up feeling bumpy or uneven. Think of this as the foundation of your transformation; if the surface isn’t pristine, the most beautiful eco-friendly paint in the world won’t save the final look.
- 4. Now, let’s talk about priming. This is where many people skip a step, but I promise you, it’s worth the extra effort. Use a high-quality, low-VOC primer to seal the wood and prevent any tannins from bleeding through your new color. Applying a primer creates a seamless transition between the old finish and your new aesthetic, ensuring your hard work lasts for years to come.
- 5. It’s finally time for the fun part—the color! When you start painting, I highly recommend using a high-quality synthetic brush or a small microfiber roller to minimize brush strokes. Apply your first coat in thin, even layers; it’s much better to do two light coats than one heavy, gloopy one. This technique helps prevent drips and ensures a professional, velvety finish that looks like it came straight from a designer showroom.
- 6. While you wait for your final coat to dry, take a moment to give your hardware a little TLC. Since we’re leaning into that sustainable, resourceful vibe, you might consider polishing your existing brass handles or even swapping them out for something reclaimed. It’s these tiny, intentional details that truly elevate a simple DIY project into a piece of intentional, eco-chic design.
- 7. Once the paint is completely cured—and I mean truly dry, so give it a full 24 to 48 hours—carefully rehang your doors and drawers. Reinstalling the hardware should be a breeze now that everything is labeled. Step back, grab a cup of tea, and take a second to admire how much life you’ve breathed back into your kitchen without the environmental cost of a full renovation.
The Art of Preparation Cleaning Cabinets Before Painting
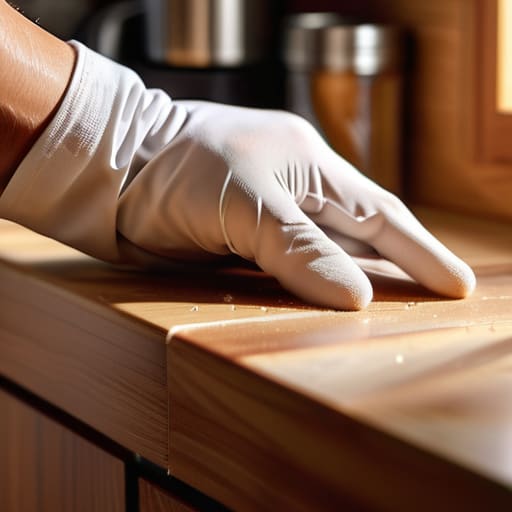
Think of this stage as the foundation of your entire project. Just like the tide smoothing out a piece of sea glass, you want your surfaces to be perfectly even and free of any old residue before the transformation begins. Cleaning cabinets before painting isn’t just about removing dust; it’s about stripping away the invisible layers of kitchen grease and oils that act as a barrier to your new finish. I always recommend using a gentle, biodegradable degreaser. It’s much better for your indoor air quality and ensures that your hard work doesn’t go to waste due to a lack of adhesion.
Once the surfaces are bone-dry, you’ll want to move into the more tactile phase of the process. This is where your choice of kitchen cabinet refinishing tools really matters. Instead of rushing, take your time with a light scuffing to create “teeth” for the new coat to grab onto. If you’re working with older, high-gloss wood, a bit of strategic sanding is your best friend. It might feel tedious, but a smooth, clean surface is the secret to achieving that professional, high-end look that makes your sustainable makeover feel truly intentional and polished.
Choosing Your Palette Finding the Best Paint for Kitchen Cabinets
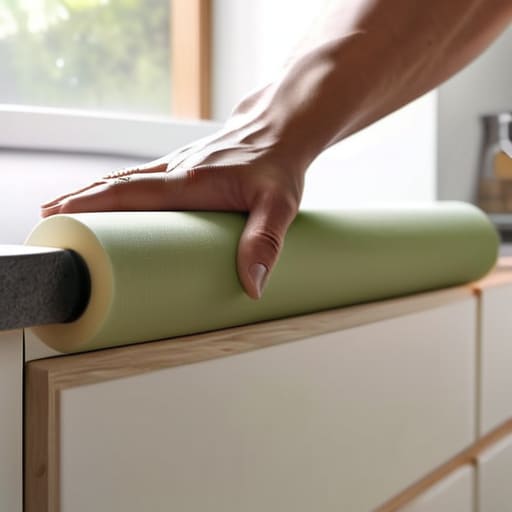
Now that your surfaces are pristine, it’s time for the most exciting—and perhaps most daunting—part: selecting your colors. When searching for the best paint for kitchen cabinets, I always suggest looking beyond just the shade on the swatch. Since we’re focusing on a lifestyle that respects our indoor air quality, prioritize low-VOC or zero-VOC formulas. This isn’t just about being eco-friendly; it’s about ensuring your kitchen remains a healthy sanctuary for your family. I personally love a soft, muted sage or a creamy off-white—tones that feel like a breath of fresh coastal air—but the real magic lies in the finish.
Don’t skip the foundation, either. A high-quality primer for wood cabinets is your secret weapon for ensuring the pigment adheres beautifully and lasts through years of morning coffee rushes. If you’re working with darker woods or high-gloss finishes, a dedicated primer will prevent any staining from bleeding through your new aesthetic. Think of it as the essential canvas for your creative vision; a little extra effort here ensures your hard work stays stunning for the long haul.
Pro-Tips for a Flawless, Planet-Friendly Finish
- Don’t rush the drying process; patience is your best friend here. I know it’s tempting to jump straight to the fun part, but letting each coat cure fully ensures your finish is durable enough to withstand the daily hustle of a busy kitchen.
- Mind your ventilation to keep your indoor air quality pristine. Even when using low-VOC or zero-VOC paints, opening a few windows and creating a gentle cross-breeze makes the workspace much more pleasant for you and your lungs.
- Invest in high-quality, reusable tools rather than single-use plastics. A good synthetic brush or a high-density foam roller will give you a much smoother application and can be cleaned and used for years to come, reducing unnecessary waste.
- Master the “thin coat” technique to avoid drips and texture issues. It’s much better to apply three whisper-thin layers than one heavy, gloopy one; it creates a professional, seamless look that feels much more intentional.
- Keep a small “oops” kit handy with eco-friendly sanding sponges. Sometimes nature—or just a stray drip—gets in the way, and being able to lightly sand out a tiny imperfection before the final coat is a total lifesaver for a polished result.
Making Your Kitchen Transformation Last (and Meaningful)
Prioritize the prep work; a clean, smooth surface is the secret to a professional finish that won’t chip, saving you from the waste of having to redo the job later.
Choose low-VOC, eco-friendly paints to ensure your new aesthetic doesn’t come at the cost of your indoor air quality or the planet.
Remember that sustainability is a journey of small wins—reviving what you already own is one of the most impactful ways to reduce your footprint while elevating your home’s style.
Beyond the Surface
“Refinishing your cabinets isn’t just about a fresh coat of color; it’s about breathing new life into what you already own, proving that style doesn’t have to come at the cost of our planet.”
Jordan Mitchell
The Final Polish: From Vision to Reality
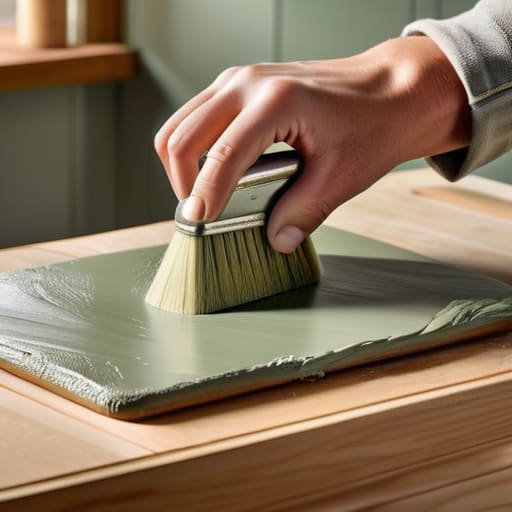
Taking on a kitchen makeover can feel like a daunting mountain to climb, but by breaking it down into these intentional steps, you’ve turned a massive project into a manageable, rewarding journey. We’ve covered everything from the heavy lifting of deep cleaning and sanding to the crucial decision of selecting low-VOC, eco-friendly paints that protect both your family and the atmosphere. Remember, the magic isn’t just in the final color you choose, but in the meticulous preparation that ensures your hard work actually lasts. By prioritizing quality materials and a steady hand, you aren’t just changing the look of a room; you are breathing new life into existing structures instead of contributing to the cycle of waste.
As you step back to admire your transformed space, I hope you feel a sense of pride that goes beyond mere aesthetics. There is something deeply soul-satisfying about working with your hands to create something beautiful and sustainable right in the heart of your home. Every time you brew your morning coffee in this refreshed kitchen, let it serve as a gentle reminder that small, intentional shifts in how we care for our belongings can ripple outward into a larger movement of conservation. You’ve proven that style doesn’t have to come at the earth’s expense. Now, go grab a cup of tea, soak in the glow of your new space, and celebrate your impact.
Frequently Asked Questions
How can I tell if my current cabinet finish needs a full sanding or if a simple cleaning will do?
It’s a common dilemma! A good rule of thumb is the “tack test.” Clean your cabinets thoroughly, let them dry, and then try to scuff a small, inconspicuous area with a piece of sandpaper. If the surface feels smooth and the sandpaper slides without catching, a deep cleaning and a good primer might suffice. But, if you feel significant resistance or see heavy grease buildup that won’t budge, it’s time to embrace the full sanding.
Are there specific eco-friendly brands you recommend that offer high durability for high-traffic kitchens?
That’s a fantastic question. Since your kitchen is the heart of the home, you need something that can handle the daily hustle without compromising your values. I’ve personally leaned on Benjamin Moore’s Natura line—it’s zero-VOC and incredibly tough. Another winner is Sherwin-Williams Emerald, which offers amazing scrubbability. Just remember to check the label for low-VOC or Greenguard Gold certifications to ensure you’re keeping your indoor air as clean as your conscience.
What’s the best way to manage the scent and ventilation if I'm working in a smaller apartment or a home without much airflow?
Working in a cozy apartment definitely adds a layer of complexity, especially when you’re trying to keep those fumes at bay. My best advice? Prioritize low-VOC or zero-VOC paints—they’re a lifesaver for indoor air quality. Set up a high-powered floor fan to create a cross-breeze, and if you can, crack a window even just a crack. It’s all about creating a gentle, steady flow to keep your sanctuary feeling fresh and breathable.
