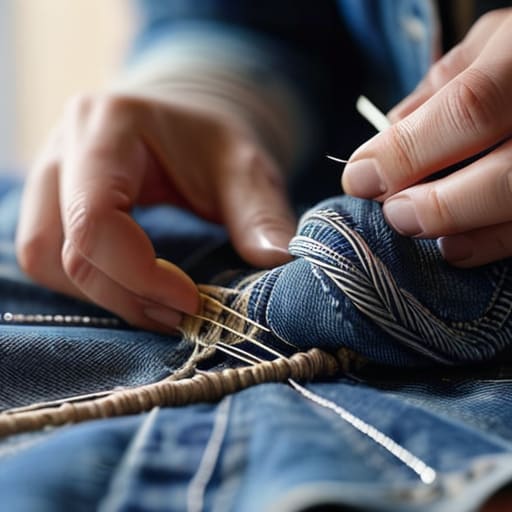
How to Mend Clothes and Make Them Last Longer
I was sitting on my floor last Sunday, surrounded by a pile of discarded linen shirts and a single, stubborn thread, when I realized something: we’ve been conditioned to believe that a snagged seam or a tiny moth hole is a death sentence for our favorite pieces. We’ve been sold this lie that “new is better” and that once a garment shows a hint of wear, it’s destined for a landfill. But I’m here to tell you that learning how to mend clothes isn’t about being a master tailor or striving for invisible perfection; it’s about changing your relationship with the things you own. It’s about seeing a tear not as a flaw, but as an opportunity to add a bit of character and history to your wardrobe.
In this guide, I’m stripping away the intimidation factor to give you some honest, no-nonsense techniques that actually work in a modern lifestyle. We aren’t going to get bogged down in overly complex sewing jargon; instead, I’ll walk you through simple, creative ways to breathe life back into your textiles. You’ll learn how to tackle everything from loose buttons to delicate patches, turning your mending kit into a tool for intentional living. Let’s stop treating our clothes as disposable and start honoring the craftsmanship behind them.
Table of Contents
- Step-by-Step Instructions
- Mastering the Basics Your Essential Kit and Hand Stitching Wisdom
- From Patching Denim Holes to the Art of Visible Mending
- Beyond the Stitch: 5 Ways to Make Mending a Mindful Practice
- Small Stitches, Big Impact: My Final Thoughts
- The Soul in the Stitch
- Embracing the Beauty of the Mend
- Frequently Asked Questions
Guide Overview
Tools & Supplies
- Hand sewing needles of various sizes for different fabric weights
- Fabric scissors for clean cuts through cloth
- Measuring tape for precise sizing
- Assorted thread colors to match various garments
- Sewing kit containing buttons and safety pins
- Fabric patches for repairing holes or tears
Step-by-Step Instructions
- 1. First, gather your supplies, but think of this as setting up a little creative sanctuary rather than a chore. You’ll need a sturdy needle, some high-quality thread that matches your fabric (or a contrasting color if you’re feeling bold and want to make the mend a feature), and a pair of sharp scissors. I always like to keep a small wooden bowl nearby to hold my bits and bobs—it just makes the whole process feel more intentional and grounded.
- 2. Once you have your kit ready, take a moment to inspect the damage and clean the area. If there’s a loose thread or a bit of fraying, use your scissors to trim it away carefully. It’s important to work with a clean slate so that your stitches sit flat against the fabric, ensuring the repair is as seamless and durable as possible.
- 3. For a simple hole or a tear, start by creating an anchor. Thread your needle and tie a knot at the end, then pull the thread through the fabric from the underside to hide the knot. This creates a solid foundation for your work. If you’re mending a seam that has popped open, try to align the edges of the fabric perfectly before you begin your first stitch.
- 4. Now, choose your technique: the “running stitch” is perfect for beginners, while the “backstitch” offers much more strength for high-stress areas like elbows or knees. As you move your needle through the cloth, try to keep your tension consistent. If you pull too tight, the fabric will pucker; if it’s too loose, the mend won’t hold. It’s a bit like a dance between your hands and the material.
- 5. If you’re dealing with a larger hole that feels a bit intimidating, I highly recommend the “visible mending” approach. Instead of trying to hide the flaw, embrace it by using colorful embroidery floss to create patterns. I often think of this like the sea glass I find on the coast—it’s a beautiful, weathered piece of history that tells a story of resilience rather than something that needs to be discarded.
- 6. As you approach the end of the tear, work your stitches back toward the intact part of the garment to ensure there are no gaps. Once you reach a secure area, take a few small stitches in the same spot to reinforce it. To finish, pull the thread to the underside of the fabric, tie a firm knot, and snip the excess. This final step is what makes your hard work truly lasting.
- 7. Finally, take a step back and admire what you’ve done. Don’t be too hard on yourself if the stitches aren’t perfectly straight; that’s where the human touch lives. You haven’t just fixed a piece of clothing; you’ve extended its journey and honored the resources that went into making it. Give your garment a little pat, and get ready to wear it with pride.
Mastering the Basics Your Essential Kit and Hand Stitching Wisdom
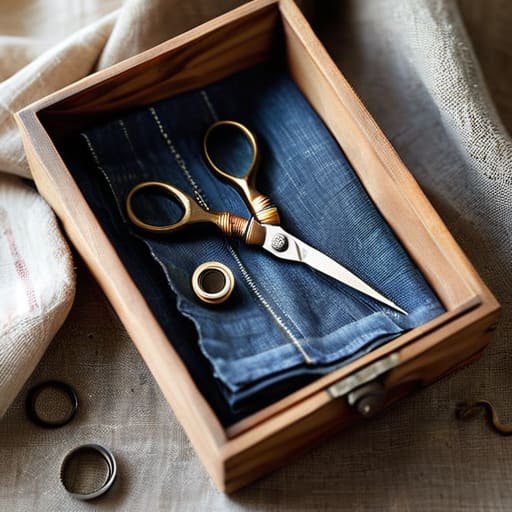
Before you dive into your first project, let’s talk about setting yourself up for success. You don’t need a massive, daunting sewing room to get started; in fact, I’m a firm believer that a few basic sewing kit essentials kept in a small wooden box are all you really need to begin your journey. Think of it like my sea glass collection—it’s about having the right tools to find beauty in what others might discard. A sharp pair of small scissors, a handful of high-quality needles, and a variety of thread colors will serve you well. While some might argue for the speed of a sewing machine vs hand stitching, there is a certain meditative rhythm found in manual work that truly connects you to the fabric.
As you grow more confident, you can experiment with different aesthetics. If you prefer a subtle look, you might explore invisible mending techniques to make a repair disappear entirely. However, if you’re feeling a bit more adventurous, I love the idea of using visible mending embroidery to turn a tear into a piece of art. Whether you are patching denim holes or learning how to darn socks, remember that the goal isn’t perfection—it’s intention.
From Patching Denim Holes to the Art of Visible Mending
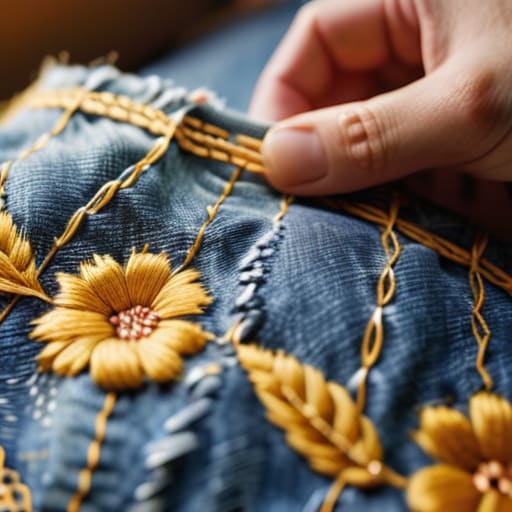
There’s a certain magic that happens when you stop trying to hide the wear and tear on your favorite pieces and instead choose to celebrate them. While some might prefer the subtlety of invisible mending techniques to make a repair vanish, I’ve found so much joy in leaning into the “imperfections.” When you’re patching denim holes, for instance, you aren’t just fixing a garment; you’re adding a layer of personal history to it. Using contrasting thread colors or even scraps of vintage fabric turns a simple repair into a unique piece of wearable art.
If you want to take things a step further, I highly recommend experimenting with visible mending embroidery. It’s a beautiful way to transform a snag or a tear into a focal point—think tiny wildflowers scattered across a knee or geometric patterns following a seam. This approach shifts the narrative from “this item is broken” to “this item is evolving.” Whether you’re learning how to darn socks with colorful wool or adding intricate stitching to a linen shirt, you’re practicing a form of slow fashion that honors both your creativity and the planet.
Beyond the Stitch: 5 Ways to Make Mending a Mindful Practice
- Embrace the “Visible Mending” Aesthetic. Instead of trying to hide a tear, treat it like a canvas. Using a contrasting thread color or a beautiful scrap of vintage fabric turns a flaw into a unique design feature that tells the story of your garment’s journey.
- Match Your Thread to the Fabric’s Soul. It’s tempting to grab whatever is closest in your kit, but taking a moment to find a thread that mimics the original weight and texture makes a world of difference. It’s the difference between a patch that feels forced and one that feels like it truly belongs.
- Don’t Rush the Process. I know it’s tempting to zip through a repair while watching a show, but mending is most rewarding when it’s slow. Treat it like a mini-meditation; focus on the rhythm of the needle and the tactile feel of the cloth. It turns a chore into a moment of connection.
- Prep Your Workspace with Intention. Just like I set up my bee hives with care, your mending station matters. Clear a little space, get some good natural light, and keep your shears handy. A calm, organized space helps you approach your repairs with a sense of creativity rather than frustration.
- Think Long-Term with Your Reinforcements. If you’re dealing with thinning fabric—like the elbows of a favorite cardigan—don’t just stitch the surface. Place a small piece of lightweight cotton behind the area first. It provides a structural foundation that ensures your hard work lasts for many more seasons.
Small Stitches, Big Impact: My Final Thoughts
Mending is more than just a repair tactic; it’s a mindful way to slow down and build a deeper, more respectful relationship with the things we choose to own.
Don’t fear the mistake—embrace the “visible” in visible mending, because those colorful threads and unique patches tell the beautiful story of a garment’s long, well-loved life.
Every single stitch you take is a quiet victory against the cycle of fast fashion, proving that we don’t need more “stuff” when we have the creativity to sustain what we already love.
The Soul in the Stitch
“Mending a piece of clothing is so much more than just a repair; it’s a quiet, intentional act of rebellion against a throwaway culture. When we choose to stitch instead of discard, we aren’t just fixing a seam—we’re honoring the history of what we wear and proving that beauty often lies in what we choose to preserve.”
Jordan Mitchell
Embracing the Beauty of the Mend
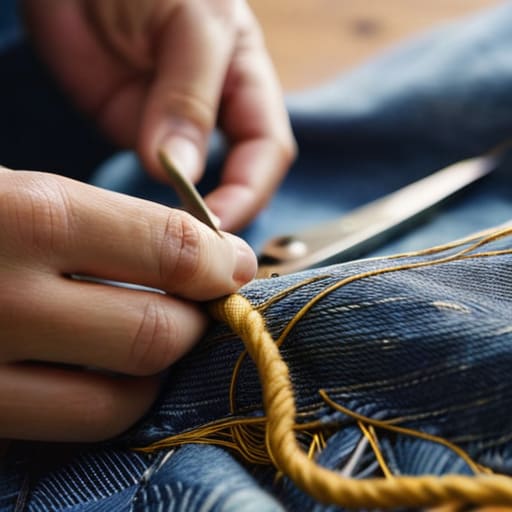
As we wrap up this journey through thread and needle, remember that mending is so much more than a technical skill; it is a shift in mindset. Whether you’ve mastered the subtle art of a hidden stitch to fix a loose seam or embraced the vibrant, storytelling magic of visible mending to turn a tear into a masterpiece, you have successfully extended the life of something precious. By curating your own repair kit and learning to navigate different fabrics, from sturdy denim to delicate cotton, you are actively resisting the cycle of disposable fashion and reclaiming agency over your wardrobe.
Ultimately, every stitch you pull through fabric is a quiet, powerful act of rebellion against a throwaway culture. It’s about finding beauty in the repaired edges and honoring the history of the clothes we wear. Just like the sea glass I find on the Maine coast—once broken but now smoothed and transformed by time—our mended garments carry a unique, soulful character that brand-new items simply cannot replicate. So, don’t be afraid of the fray or the tear. Pick up your needle, embrace the imperfection, and remember that through these small, intentional movements, we are collectively weaving a much more sustainable future.
Frequently Asked Questions
I’m worried about making my clothes look messy—how can I tell the difference between a "cool" visible mend and a repair that just looks sloppy?
I totally get that hesitation—there’s a fine line between intentional art and just looking like you had a mishap! Think of it this way: a “cool” mend has a sense of rhythm and purpose. Whether you’re using contrasting embroidery floss or a neat patch, the goal is to make the repair look like a conscious design choice. If the stitches follow a pattern or frame the damage beautifully, you’ve moved from “sloppy” to “soulful.”
What kind of thread should I actually use if I want the mend to be durable enough for everyday wear without it feeling too stiff?
I’ve spent many afternoons mending my own favorite denim, and I’ve learned that the right thread makes all the difference. For something that holds up against daily life without feeling like a stiff bandage, I swear by high-quality cotton embroidery floss for smaller repairs or a strong, mercerized cotton thread for larger structural mends. It offers that perfect balance of durability and a soft, natural drape that honors the fabric rather than fighting it.
Is it worth trying to mend delicate fabrics like silk or thin linen, or should I stick to tougher materials like denim and cotton for now?
It’s a common hesitation, but don’t let a bit of silk scare you off! While denim is a forgiving teacher, mending delicate linens or silk is incredibly rewarding—it’s almost like a meditative practice. Think of it as working with a finer brush. Start with smaller, simpler repairs on thin fabrics to build your confidence, but don’t shy away from them entirely. Every delicate thread is worth saving from a landfill.
