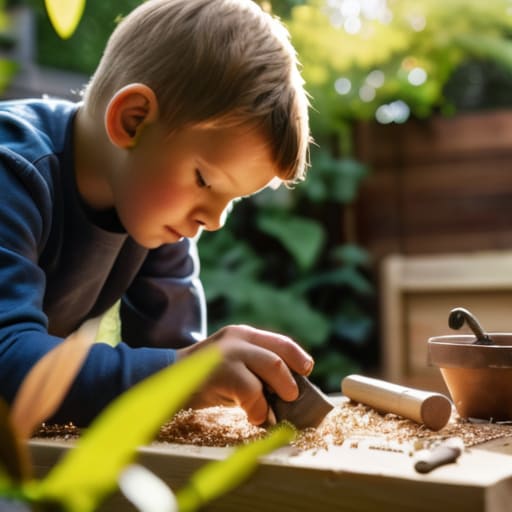
How to Build a Birdhouse With the Kids
I remember standing on my grandmother’s porch in Maine, watching a tiny chickadee struggle to find a nesting spot amidst a sudden coastal storm. It hit me then that we often think we need massive, expensive conservation projects to make a difference, but the truth is much more intimate. You don’t need a degree in ecology to support your local ecosystem; sometimes, all it takes is learning how to build a birdhouse that actually works for the species in your neighborhood. Most DIY guides online push these overly complex, plastic-heavy designs that do more harm than good, but I’m here to tell you that simplicity is your greatest superpower when it comes to nature.
In this guide, I’m stripping away the fluff to show you how to create a functional, eco-friendly sanctuary using reclaimed materials you might already have in your shed. We aren’t just making a decorative garden ornament; we are crafting a legitimate home. I’ll walk you through selecting the right wood, ensuring proper ventilation, and avoiding those common pitfalls that turn a potential nest into a heat trap. By the end of this, you’ll have the confidence to turn a few scraps of timber into a living legacy for your backyard visitors.
Table of Contents
- Step-by-Step Instructions
- Selecting the Best Wood for Birdhouses and Essential Tools
- Perfecting Dimensions and Safe Finishes for Your Backyard Sanctuary
- Pro-Tips for a Flourishing Backyard Retreat
- Small Steps, Big Impact: My Final Thoughts
- ## More Than Just Wood and Nails
- Bringing Your Sanctuary to Life
- Frequently Asked Questions
Guide Overview
Tools & Supplies
- Hand saw or miter saw for cutting wood
- Hammer for assembling pieces
- Drill with small bits for pilot holes and entrance hole
- Tape measure for precise dimensions
- Untreated cedar or pine board (approx. 1x6x4ft)
- Galvanized nails or exterior screws (small box)
- Wood glue (waterproof)
- Sandpaper (medium grit)
Step-by-Step Instructions
- 1. First things first, let’s head to a local salvage yard or even scout your garage for some reclaimed cedar or pine. Avoid anything pressure-treated with harsh chemicals, as we want this to be a safe haven, not a toxic trap, for our feathered neighbors.
- 2. Once you’ve gathered your wood, it’s time to map out your pieces. You’ll need a base, four walls (with one having a slightly larger opening for the entrance), and a roof. I like to use a pencil to trace the shapes, making sure to leave a little bit of breathing room so the pieces aren’t too tight when we assemble them.
- 3. Now, let’s get to the cutting. Using a simple hand saw, carefully follow your lines to create the panels. If you’re feeling a bit adventurous, you can use a drill to create some small ventilation holes near the top of the side walls; this ensures the air stays fresh even on those humid summer afternoons.
- 4. Grab your drill and create the entrance hole. This is the most crucial part, as the size of the hole actually determines which species will feel welcome in your backyard. For a standard songbird, a 1.5-inch diameter is usually the sweet spot to keep larger, more aggressive birds at bay.
- 5. It’s time to bring the structure to life using some eco-friendly, non-toxic wood glue and galvanized nails. As you assemble the walls to the base, try to keep your movements steady. I find that if you take your time here, the house ends up much sturdier and more weather-resistant in the long run.
- 6. For the roof, I highly recommend an angled design to help rainwater slide right off. If you want to get really creative—and this is my favorite part—you can use some of that weathered sea glass I’ve been collecting to decorate the edges or even embed small pieces into a sealant for a bit of coastal flair.
- 7. Finally, let’s find the perfect spot to hang your masterpiece. Look for a quiet, shaded area about five to ten feet off the ground, ideally facing away from prevailing winds. Once it’s mounted, just sit back, grab a coffee, and watch the magic happen as local birds discover their new sustainable sanctuary.
Selecting the Best Wood for Birdhouses and Essential Tools
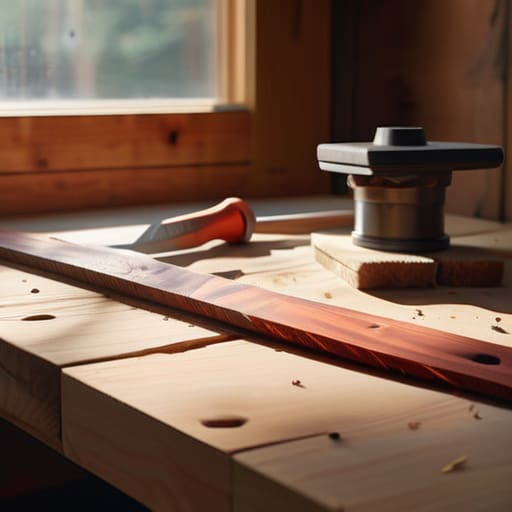
Before we dive into the sawdust, let’s talk about the foundation of your project: the material. When searching for the best wood for birdhouses, I always lean toward untreated cedar or redwood. These woods are naturally resistant to rot and insects, which is vital since your little feathered friends will be relying on this structure through rain, wind, and sun. I’ve often found old, reclaimed scraps from local workshops that have a beautiful, weathered character—almost like the sea glass I collect—but just make sure they are free from old chemical treatments. Whatever you choose, steer clear of pressure-treated lumber; we want to ensure we’re providing a non-toxic sanctuary.
As for your toolkit, you don’t need a professional workshop to get started. A simple hand saw, a hammer, and a drill with various bits are the essential woodworking tools for birdhouses that will serve you well. If you’re feeling a bit more adventurous, a cordless drill is a game-changer when it comes to attaching the birdhouse roof securely without splitting the wood. Just remember to keep your movements steady and your workspace tidy—think of it as a mindful ritual rather than a chore.
Perfecting Dimensions and Safe Finishes for Your Backyard Sanctuary
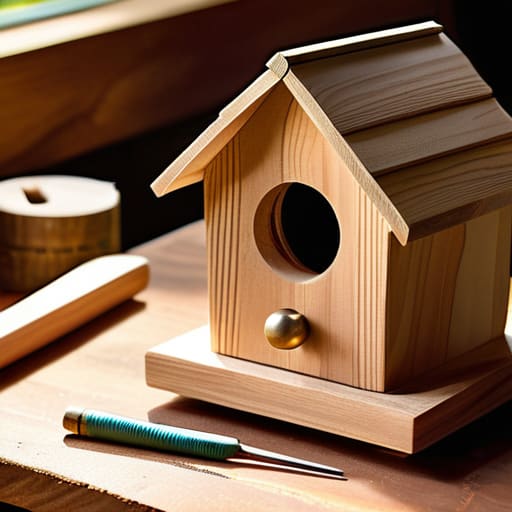
Now that we’ve got our materials ready, let’s talk about the specifics that turn a simple wooden box into a thriving home. It’s easy to get caught up in the aesthetics, but remember, we’re designing for our feathered neighbors, not just for our own visual pleasure. If you’re hoping to attract specific species, precision is key; for instance, if you’re aiming for a colorful local population, researching specific birdhouse dimensions for bluebirds can make all the difference in whether they actually move in. A hole that’s a fraction too large might invite unwanted guests, so measure twice and cut once to ensure their safety.
Once the structure is sound, the finishing touches are where we really honor the environment. I always lean toward leaving the interior completely raw to protect the chicks, but for the exterior, you might want a bit of style. If you decide to add some color, please stick to safe birdhouse paint and finishes that are non-toxic and water-based. We want to enhance the beauty of our gardens without introducing harsh chemicals into the local ecosystem. Think of it as adding a subtle, eco-friendly glow to their new sanctuary.
Pro-Tips for a Flourishing Backyard Retreat
- Think like a local resident—research which bird species are actually native to your area so you can tailor the entrance hole size to their specific needs.
- Prioritize ventilation and drainage; adding a few small holes near the top and drilling tiny drainage slits in the floor keeps the nest dry and the air fresh.
- Keep it simple and natural; skip the fancy perches that can actually help predators access the nest, and let the raw beauty of the wood do the talking.
- Location is everything, so mount your creation in a spot that offers a balance of privacy and protection from the harshest afternoon sun and heavy winds.
- Plan for the future by making the house easy to clean; a side panel that opens with a simple hinge makes it much easier to tidy up after nesting season ends.
Small Steps, Big Impact: My Final Thoughts
Remember that the goal isn’t perfection, but intention; by using reclaimed materials and non-toxic finishes, you’re creating a safe haven that respects the local ecosystem.
Precision matters for our feathered friends—getting those dimensions right ensures your birdhouse isn’t just a decoration, but a functional, life-sustaining home.
Keep observing your backyard; the joy of sustainable living is in the connection we build with nature, one tiny, fluttering visitor at a time.
## More Than Just Wood and Nails
“Building a birdhouse isn’t just about following a blueprint; it’s about carving out a small, intentional space for nature to reclaim its place in our busy lives, proving that even a handful of reclaimed scraps can foster a whole world of local biodiversity.”
Jordan Mitchell
Bringing Your Sanctuary to Life
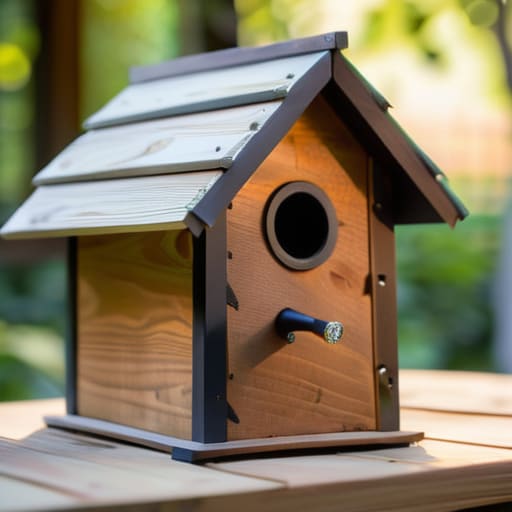
As we wrap up this little project, take a moment to look at what you’ve actually accomplished. You haven’t just followed a set of instructions; you’ve carefully selected the right reclaimed materials, mastered the precise dimensions for safety, and applied finishes that respect the delicate balance of your local ecosystem. By prioritizing non-toxic elements and thoughtful design, you’ve ensured that this birdhouse isn’t just a decorative piece for your garden, but a truly functional habitat that meets the specific needs of our feathered neighbors. It’s about more than just woodworking; it’s about the intentionality behind every nail and every sanded edge.
Beyond the sawdust and the tools, I hope this project reminds you of the incredible impact a single person can have. Just like the small pieces of sea glass I find on the Maine coast that eventually form something beautiful, these small, individual acts of stewardship coalesce into a much larger movement. When you hang that birdhouse, you aren’t just adding a feature to your backyard; you are actively participating in restoring local biodiversity. So, step back, breathe in the fresh air, and take pride in knowing that you’ve turned a simple afternoon of DIY into a lasting gift for the natural world.
Frequently Asked Questions
How do I know which specific bird species I’m actually inviting into my backyard with this design?
That’s such a thoughtful question! It’s easy to get caught up in the build, but knowing your “guests” makes all the difference. The dimensions we used—specifically that entrance hole size—are a bit of a VIP pass for local songbirds like Chickadees or Nuthatches. They love those cozy, medium-sized cavities. If you want to attract something specific, like a Bluebird, we might need to tweak that opening slightly. Let’s look at your local ecosystem together!
If I want to add some of my sea glass or other decorations, is there a way to do that without making the house unsafe for the birds?
I love that you’re thinking about adding some personal flair! Since my heart is always at the beach, I’m constantly finding ways to weave sea glass into my projects. Just be careful: avoid placing anything near the entrance or inside the nesting area, as it can disrupt the birds. Stick to the exterior walls using non-toxic, water-based adhesives. Think of it like adding subtle accents to a home—keep it beautiful, but keep it safe.
What’s the best way to clean out the birdhouse at the end of the season to make sure it's ready for new residents next spring?
Once the birds have migrated and the air turns crisp, it’s time for a little seasonal housekeeping. Think of it as prepping a cozy home for next year’s guests. Avoid harsh chemicals—they can linger and harm new hatchlings. Instead, use a stiff brush and some warm, soapy water to scrub out old nesting material. If you can, let it dry thoroughly in the sun; nature’s own disinfectant is truly the best way to ensure a healthy start come spring.
