Resin Crafts for Beginners: a Simple Starting Guide
I still remember the first time I tried working with epoxy; I was hunched over my kitchen table, surrounded by half-empty bottles and a cloud of chemical fumes that felt entirely at odds with the natural, coastal life I love. I had watched dozens of those polished, high-production tutorials that made everything look effortless, but when I actually sat down to tackle resin crafts for beginners, I ended up with a sticky, bubbling mess and a mountain of wasted plastic. It felt less like “creative expression” and more like a clumsy battle against a medium that didn’t want to cooperate.
I’m not here to sell you on a lifestyle of expensive, non-recyclable kits or complicated setups that require a laboratory. Instead, I want to share the honest, trial-and-error wisdom I’ve gathered from years of blending digital precision with hands-on making. We’re going to dive into resin crafts for beginners through a lens of intentionality and resourcefulness, focusing on eco-friendly techniques and ways to breathe new life into found objects like my favorite bits of sea glass. This is about making something beautiful without losing your soul—or your sanity—to the process.
Table of Contents
Gathering Your Essential Resin Art Supplies
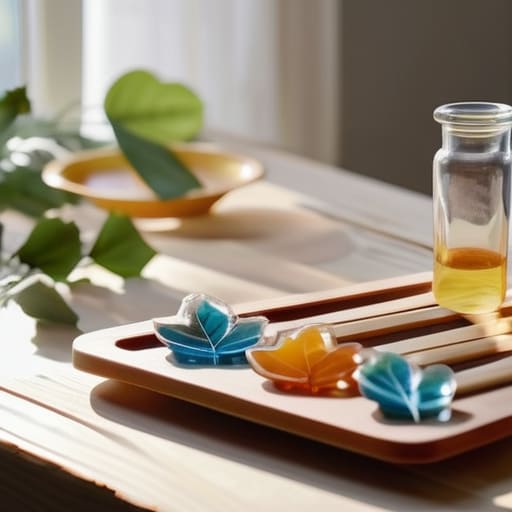
Before we dive into the creative flow, we need to curate our workspace. Think of this stage like prepping a garden bed; you want the right foundation so your ideas can truly bloom. When gathering your essential resin art supplies, I always recommend starting with a high-quality, non-toxic epoxy. Since we’re aiming for a lifestyle that respects the planet, look for brands that prioritize low-VOC emissions. You’ll also want a few silicone trays—honestly, finding the best resin molds for starters is a game-changer, as they make demolding a breeze and help you focus on the artistry rather than the frustration.
Now, let’s talk about the non-negotiables: your safety kit. I can’t stress this enough—even when we’re working on something beautiful, we have to respect the chemistry. Always keep a well-ventilated area and a sturdy pair of nitrile gloves nearby. Taking proper safety precautions for working with epoxy isn’t just a suggestion; it’s how we ensure our creative journey remains a joyful, healthy one. Once your station is set and your lungs are protected, you’re officially ready to start mixing.
Selecting the Best Resin Molds for Starters
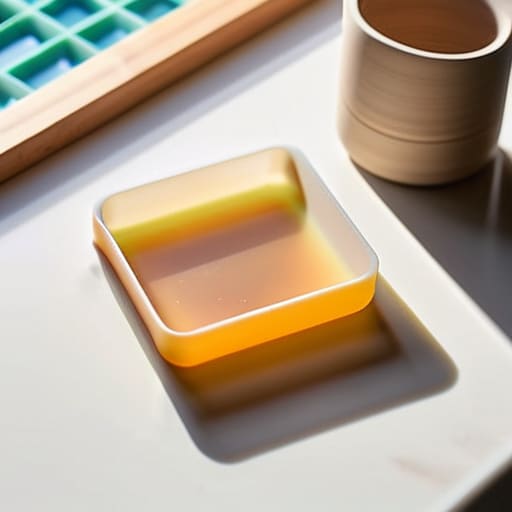
When you’re first diving into this medium, it’s tempting to go overboard with every shape imaginable, but I always suggest starting with simplicity. For those looking for the best resin molds for starters, silicone is your absolute best friend. It’s flexible, durable, and—most importantly—releases your finished pieces with minimal effort. I personally love starting with small coasters or simple geometric shapes. These smaller projects allow you to master your technique without the anxiety of a massive, expensive pour that might go awry.
As you begin experimenting, keep in mind that the depth of your mold will dictate your workflow. If you’re working with deeper vessels, you’ll need to be extra mindful of your resin mixing ratios for beginners to ensure everything cures evenly. A shallow mold is much more forgiving as you learn the ropes. Think of it like finding the right rhythm in a tide pool; once you understand how the material flows within those silicone boundaries, you’ll have the confidence to tackle much more intricate, sculptural designs down the road.
Small Steps to Big Success: 5 Pro-Tips for Your First Pour
- Prioritize your workspace’s airflow. I know it’s tempting to set up your little studio in a cozy corner of the living room, but resin can be a bit finicky with fumes. Set up near an open window or use a small fan to keep the air moving—think of it as giving your project room to breathe, just like the coastal breeze back home.
- Master the art of the slow stir. It’s easy to get excited and whip that resin like you’re making a latte, but that’s a recipe for a cloud of tiny, frustrating bubbles. Instead, stir with a steady, intentional rhythm. It’s a meditative process that ensures your mix is perfectly clear and ready to capture the light.
- Embrace the “Wait and See” approach. Resin is a lesson in patience, much like watching the tide come in. Don’t rush to de-mold or add embellishments too early. Give your piece the time it needs to cure completely; rushing the process often leads to sticky surfaces that can ruin hours of beautiful work.
- Keep a “mistake jar” nearby. Even the most seasoned creators have a pour that goes sideways or a bubble that just won’t budge. Instead of feeling defeated, collect those little mishaps. They can often be sanded down and repurposed into something new, much like the sea glass I find on my beach walks.
- Precision is your best friend when measuring. This isn’t a “pinch of this and a dash of that” kind of craft. For the chemistry to work, your resin and hardener ratios need to be spot on. Use a digital scale if you can—it takes the guesswork out of the equation and ensures your creations stay crystal clear and durable.
Quick Wins for Your First Resin Journey
Focus on quality over quantity by choosing eco-friendly, non-toxic resins that respect both your workspace and the planet.
Start with simple, geometric molds to build your confidence before tackling more intricate or complex designs.
Remember that patience is your best tool; letting your pieces cure fully is the secret to a clear, professional finish that lasts.
## Finding the Flow in Every Pour
“Think of your first resin project not as a quest for perfection, but as a slow, intentional dance between creativity and chemistry—much like waiting for the perfect tide to reveal a piece of sea glass, the most beautiful results come when you learn to respect the process and embrace the unexpected.”
Jordan Mitchell
Finding Your Creative Flow
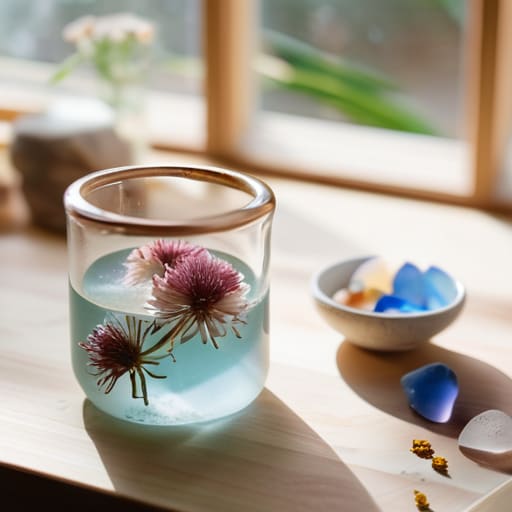
As we wrap up this guide, remember that mastering resin art isn’t about achieving instant perfection; it’s about understanding the rhythm of your materials. From selecting the right eco-friendly supplies to finding those perfectly shaped molds that suit your vision, every choice you make lays the foundation for something unique. We’ve covered the essentials of gathering your kit and choosing the right vessels to hold your creativity, but the real magic happens when you step away from the instructions and start to experiment. Whether you are embedding dried wildflowers or my personal favorite, a few pieces of weathered sea glass, the goal is to build a toolkit that feels intentional and sustainable.
Beyond the glitter and the gloss, I hope you see resin crafting as more than just a hobby. Think of it as a way to freeze a moment in time—a way to capture the beauty of the natural world and bring it into your modern, digital-age home. Don’t be afraid to make a mess or encounter a few bubbles along the way; even the most seasoned creators started exactly where you are right now. Just like the tide slowly shaping a piece of glass on the Maine coast, your skills will evolve with patience and practice. So, dive in, stay curious, and remember that every small creation is a victory for your creative spirit.
Frequently Asked Questions
How can I make sure I'm using resin that is safe for my home and the planet?
This is such a vital question. When we’re bringing new materials into our sanctuary, we have to consider their footprint. I always look for bio-based resins derived from renewable sources rather than petroleum. Check the labels for low VOCs (volatile organic compounds) to keep your indoor air quality clean. It’s about more than just the final piece; it’s about ensuring our creative flow doesn’t come at the cost of our health or the earth.
Is there a way to incorporate found objects, like my sea glass, without causing bubbles in the mix?
That is such a wonderful question, and honestly, it’s one I’ve wrestled with myself! To keep those beautiful pieces of sea glass from trapping tiny bubbles, try a quick “pre-dip.” Gently coat your treasures in a thin layer of resin before placing them into the mold. This seals any microscopic air pockets on the surface. Also, giving your resin a slow, steady stir—rather than a frantic whisk—will keep your mix crystal clear and intentional.
What should I do if my first attempt comes out looking cloudy or sticky instead of crystal clear?
Don’t let a cloudy or sticky finish dampen your spirit—it’s just a little hiccup in the process, much like a foggy morning on the Maine coast. Usually, this happens because of imprecise measuring or a bit too much humidity. For stickiness, try ensuring your workspace is dry and your ratios are exact. If it’s cloudy, you might have mixed too quickly, trapping tiny air bubbles. Take a breath, reset, and try again; even the best artisans learn through trial.
