How to Fix a Running Toilet and Save on Your Water Bill
There I was, sitting on my floor at 2:00 AM, staring at a leaking tank while the rhythmic hiss-hiss-hiss of wasted water echoed through my quiet apartment like a ticking clock. It’s easy to feel overwhelmed and think you need to call an expensive plumber just to stop the sound, but I promise you, that’s a myth. Learning how to fix a running toilet isn’t about having a toolkit full of professional gear; it’s about understanding the simple mechanics of your home. That constant trickle isn’t just an annoying sound—it’s a direct drain on our most precious resource, and it’s one of those small, nagging issues that we often ignore until the water bill arrives.
In this guide, I’m stripping away the technical jargon to give you a clear, no-nonsense roadmap to a silent, efficient bathroom. We’re going to walk through the most common culprits—from a stubborn flapper to a misaligned fill valve—using nothing more than a little patience and some basic troubleshooting. My goal is to help you master this quick repair so you can stop the waste and feel that sense of empowered stewardship over your own space. Let’s get to work and turn that leak into a win for your wallet and the planet.
Table of Contents
- Step-by-Step Instructions
- Mastering Toilet Flapper Replacement for Silent Leaks
- Perfecting Your Toilet Tank Fill Valve Adjustment
- Beyond the Fix: 5 Mindful Habits to Keep Your Water Flowing Right
- Small Steps for a Sustainable Flow
- The Ripple Effect of a Small Fix
- Small Victories, Lasting Change
- Frequently Asked Questions
Guide Overview
Tools & Supplies
- Adjustable wrench for tightening bolts
- Sponge or towel to absorb excess water
- Replacement flapper (1 unit)
- Replacement fill valve (1 unit)
Step-by-Step Instructions
- 1. First things first, let’s get eyes inside the tank to see what’s actually happening. Lift the heavy lid off the toilet tank—be careful, as these can be surprisingly fragile—and listen closely. Is the water constantly trickling into the overflow tube, or is it leaking from the bottom? Identifying the culprit is the most important part of this mindful repair process.
- 2. If the water level is too high and spilling into that open tube, your fill valve is likely the issue. Check the float—that little ball or cylinder that rises with the water—to see if it’s stuck or set too high. You can usually adjust it by turning a small screw on the valve, which helps ensure we aren’t wasting precious resources just because of a simple mechanical misalignment.
- 3. Next, let’s take a look at the flapper, which is that rubber seal at the bottom of the tank. Over time, these can become warped or even develop tiny cracks, preventing a watertight seal. If it looks worn out or feels slimy, it’s time to swap it for a new one; it’s a tiny investment that prevents a massive amount of water from escaping into your bowl.
- 4. While you’re tinkering with the flapper, check the chain that connects it to the flush handle. If the chain is too long, it might get caught underneath the flapper, preventing it from closing properly; if it’s too short, it will hold the flapper up constantly. Finding that perfect tension is key to a smooth, silent flush that doesn’t leave you wondering if the water is still running.
- 5. If the tank is still leaking despite a good flapper and adjusted float, we might need to look at the tank-to-bowl gasket. This is a bit more of a hands-on project that involves draining the tank and removing the bolts, but it is a deeply rewarding fix for anyone looking to truly master their home’s efficiency.
- 6. Once you’ve finished your repairs, give the handle a few test flushes to make sure everything is sitting exactly where it should. Watch the water levels rise and fall, and listen for that tell-tale trickle. When you finally hear nothing but peaceful silence, you’ll know you’ve successfully turned a wasteful habit into a small, sustainable victory.
Mastering Toilet Flapper Replacement for Silent Leaks
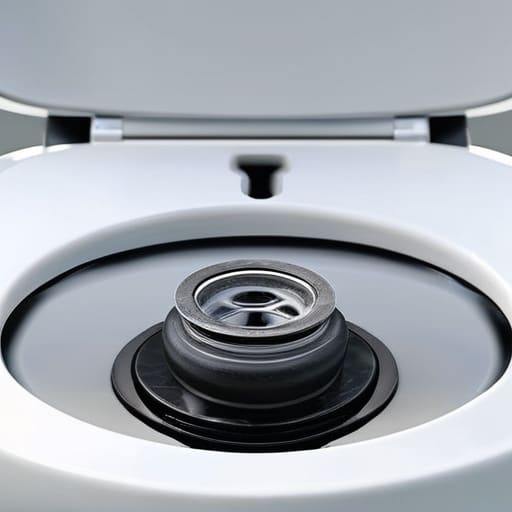
Sometimes, even after you’ve tightened everything up, a phantom trickle persists. This is often where silent toilet leaks hide, masking themselves as nothing more than a faint, rhythmic sound that we eventually tune out. If you’ve checked the chain and the handle but still hear that ghostly whisper of water, it’s likely time to look closer at the seal itself. A worn-out rubber flap can lose its shape or develop tiny cracks, allowing water to seep into the bowl constantly.
When you dive into a toilet flapper replacement, don’t just swap the part and walk away. Take a moment to inspect the seat where the flapper rests; if that surface is rough or mineral-encrusted, even a brand-new seal won’t do its job properly. I like to think of it like finding the perfect piece of sea glass—it has to fit the contours of its environment perfectly to truly shine. While you’re in there, check your water level in the toilet tank to ensure it isn’t set too high, as an overflow can mimic the sound of a leak and waste gallons of precious water every single day.
Perfecting Your Toilet Tank Fill Valve Adjustment
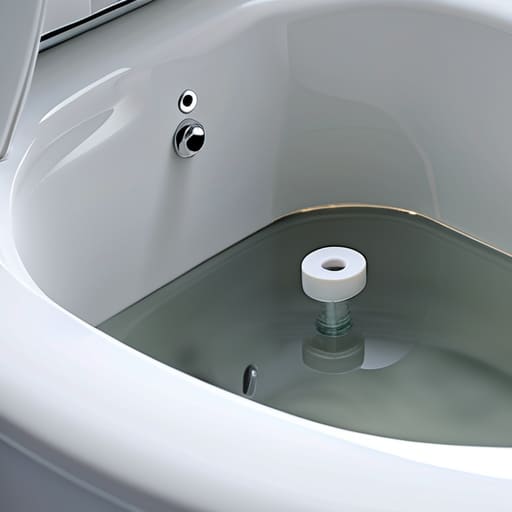
Once you’ve tackled the flapper, the next step in fine-tuning your bathroom’s efficiency is mastering the toilet tank fill valve adjustment. Think of this like calibrating a delicate piece of gear; if the water level is too high, it will constantly spill into the overflow tube, creating those frustrating, silent toilet leaks that drain your resources without you even noticing. I always recommend checking the water level in the toilet tank after your initial repairs. You want the water to sit about an inch below the top of the overflow pipe. It’s a small nuance, but getting it just right ensures your system runs with the precision of a well-tended beehive.
If you find the water level is consistently off, don’t panic. Most modern valves have a simple adjustment screw or a sliding clip that allows you to recalibrate the float. It’s a quick, satisfying tweak that prevents unnecessary refills and keeps your water usage mindful. Taking these extra few minutes to perfect the calibration is a beautiful way to honor the resources we often take for granted, turning a simple maintenance task into a meaningful act of conservation.
Beyond the Fix: 5 Mindful Habits to Keep Your Water Flowing Right
- Listen to the Silence: Make it a habit to perform a “quiet check” once a week; sometimes a faint hiss is the only warning sign your tank needs before a leak becomes a waste.
- The Gentle Touch Rule: When adjusting your fill valve or flapper, remember that precision beats force—over-tightening components can cause premature wear and unnecessary plastic waste.
- Clean Your Connections: If you notice a slow leak, take a moment to wipe down the rim of the flush valve; a tiny buildup of mineral deposits can prevent a perfect seal.
- Upgrade to Eco-Friendly Hardware: If you’re replacing parts, opt for high-quality, durable components that are designed to last longer, reducing the cycle of constant repairs and landfill contributions.
- Monitor Your Water Bill: Treat your monthly utility statement like a pulse check for your home’s ecosystem; a sudden spike is often the most honest indicator that a hidden leak has surfaced.
Small Steps for a Sustainable Flow
Remember that a silent toilet isn’t just about peace and quiet; it’s about honoring our water resources by stopping those invisible, wasteful leaks at the source.
Don’t be afraid to get your hands a little dirty with a flapper or valve adjustment—mastering these small, mindful repairs empowers you to live more resourcefully.
Treat every minor home fix as a victory for the planet, proving that intentional, everyday actions truly do create the ripples of change we need.
The Ripple Effect of a Small Fix
“Fixing a running toilet isn’t just about silencing a nuisance; it’s a quiet, mindful act of stewardship that honors our most precious resource, one drop at a time.”
Jordan Mitchell
Small Victories, Lasting Change
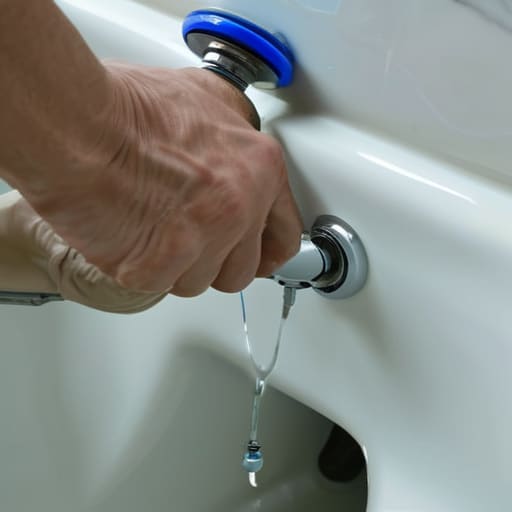
Taking a moment to troubleshoot your bathroom can feel like a daunting chore, but as we’ve seen, most running toilets come down to a few simple, manageable fixes. Whether you were tightening up a loose flapper to stop that persistent trickle or fine-tuning your fill valve to hit that perfect water level, you’ve successfully addressed one of the most common sources of unnecessary water waste. By mastering these small mechanical adjustments, you haven’t just silenced a noisy tank; you’ve effectively closed the loop on a leak that could have wasted hundreds of gallons over time. It’s about moving from a state of passive observation to active stewardship of your own home environment.
As I often tell my friends while I’m tending to my urban beehives, the most profound shifts in our ecosystem don’t always require massive, sweeping gestures; they start with the quiet, intentional choices we make within our own four walls. Fixing a running toilet might seem like a minor errand in the grand scheme of things, but it is a beautiful testament to the idea that mindful maintenance is a form of environmental respect. Every drop you save is a tribute to the natural world that sustains us. So, take pride in that silence in your bathroom—it’s the sound of a small, personal victory for our planet.
Frequently Asked Questions
I’ve replaced the flapper and adjusted the valve, but the water is still trickling—could there be a hairline crack in the tank itself?
That’s a frustrating realization, especially after you’ve put in the work to fix the internals. While a hairline crack in the porcelain is possible, it’s actually quite rare. Before we assume the worst, check the tank-to-bowl bolts or the wax ring; sometimes a slow seep mimics a crack. If you see actual moisture weeping through the ceramic, it might be time for a replacement. Let’s ensure we aren’t wasting a single drop.
Is it worth trying to repair these older components, or is it more eco-friendly to replace the whole unit with a high-efficiency model?
It’s a classic dilemma, isn’t it? If your current toilet is structurally sound, I’d say repair it first. Swapping a flapper or valve keeps perfectly good porcelain out of the landfill, which is a huge win for waste reduction. However, if your unit is ancient and constantly thirsty, upgrading to a high-efficiency model is a beautiful investment. It’s about finding that sweet spot between honoring what we already own and embracing smarter, water-saving innovation.
How can I tell if the leak is actually coming from the tank or if it's an issue with the wax ring at the base of the toilet?
It’s a common point of confusion, but here’s a simple way to tell. If you notice water pooling around the base of the porcelain or feel it seeping into your floorboards, that’s a telltale sign of a compromised wax ring. However, if the floor stays bone-dry and the only issue is that constant, ghostly trickling sound, the culprit is almost certainly tucked away inside the tank. Let’s troubleshoot carefully to protect your home and our water.
