How to Build a Raised Garden Bed From Scratch
I remember standing in my tiny apartment balcony last summer, staring at a wilted basil plant and feeling completely defeated by the sheer lack of space. Most people will tell you that you need a massive, sprawling backyard and an expensive irrigation system to start growing your own food, but that is a total myth. The truth is, you don’t need an estate to make a difference; you just need a little bit of intention and the right framework. Learning how to build a raised garden bed is actually one of the most accessible ways to reclaim your connection to the earth, even if you’re working with a small urban footprint or a patch of less-than-ideal soil.
In this guide, I’m stripping away the complicated jargon and the overpriced garden center gimmicks to give you a straightforward, hands-on blueprint. We’re going to walk through selecting sustainable materials that actually last, prepping your site without the headache, and assembling your structure with confidence. My goal is to show you that creating your own little slice of green is less about perfection and more about meaningful, small-scale victories that you can cultivate right at home.
Table of Contents
- Step-by-Step Instructions
- Choosing the Best Wood for Raised Beds and Longevity
- Finding the Perfect Raised Bed Soil Mix Ratio
- Pro-Tips for a Garden That Thrives (and Lasts!)
- Bringing It All Together: Your Path to a Greener Garden
- 🌱 The Heart of the Harvest
- Cultivating Your Own Green Sanctuary
- Frequently Asked Questions
Guide Overview
Tools & Supplies
- Tape measure and pencil for marking lengths
- Drill with bits for driving screws
- Level to ensure even ground
- Handsaw or miter saw for cutting wood
- Untreated cedar or redwood boards (4-6 pieces)
- Galvanized wood screws (1 box)
- Garden soil and compost (enough to fill volume)
- Weed barrier fabric (1 roll)
Step-by-Step Instructions
- 1. First things first, we need to gather our materials, and I highly recommend sourcing untreated cedar or redwood. These woods are naturally rot-resistant, meaning you won’t have to worry about harsh chemicals leaching into your soil—a huge win for both your plants and the planet. Grab a few sturdy planks, some stainless steel screws, and a drill, and you’re already halfway there.
- 2. Once you have your wood, it’s time to map out your dimensions. I love working with a 4×4 foot footprint because it’s perfectly manageable for reaching the center without stepping on and compacting your precious soil. Use a measuring tape to mark your cuts, and if you can, try to use reclaimed lumber from an old project to give those materials a second life.
- 3. Now, let’s get building. Line up your planks on a flat surface and start driving those screws in to form your frame. I find that pre-drilling small pilot holes makes the process much smoother and prevents the wood from splitting, which is a little trick I learned back home in Maine. Make sure your corners are nice and square so your garden bed looks as sharp as it is functional.
- 4. Before we move the bed to its final home, let’s add a layer of protection at the bottom. I like to lay down a thick layer of cardboard—just make sure to remove any plastic tape first! This acts as a natural weed barrier that will eventually decompose, adding organic matter back into the earth while keeping those pesky intruders at bay.
- 5. Find that perfect, sunny spot in your yard and nestle your new frame into place. If your ground is a bit uneven, don’t sweat it; just a little bit of leveling will do the trick. Once it’s settled, it’s time for the most rewarding part: filling it with a nutrient-dense soil mix. I usually go for a blend of compost, peat-free coconut coir, and perlite to ensure my veggies have the ultimate foundation to thrive.
- 6. Finally, let’s give your new creation its first drink. Water the soil thoroughly to help everything settle and to kickstart the microbial life within your new ecosystem. Now, you’re not just looking at a wooden box; you’re looking at a living, breathing sanctuary that’s ready to feed your soul and your kitchen.
Choosing the Best Wood for Raised Beds and Longevity
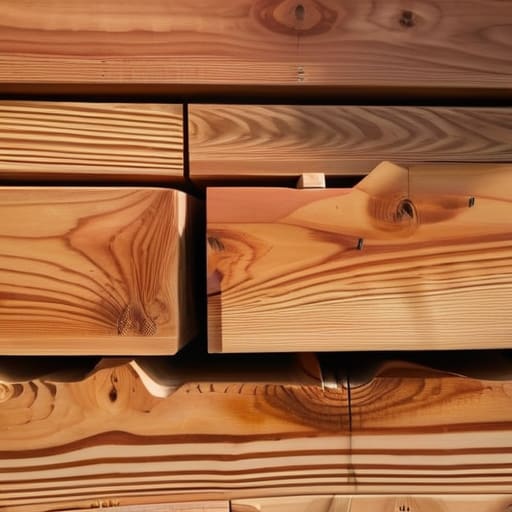
When you’re standing in the lumber aisle, the sheer variety of options can feel a bit overwhelming. You want something that lasts, but you also want to ensure you aren’t introducing unwanted chemicals into the very soil where your food will grow. This is where the classic cedar vs pressure treated lumber debate comes into play. While cedar is my personal favorite because of its natural resistance to rot and decay, it does come with a higher price tag. However, if you’re looking for a long-term investment in your garden’s future, the durability of cedar is hard to beat.
If you’re working with a tighter budget, modern pressure-treated wood has come a long way in terms of safety, but I always lean toward naturally rot-resistant species like redwood or locust whenever possible. If you decide to go the reclaimed route—perhaps repurposing some old shipping pallets—just make sure they are heat-treated rather than chemically treated. Choosing the best wood for raised beds isn’t just about aesthetics; it’s about creating a sturdy, non-toxic foundation that supports your growing ecosystem for years to come.
Finding the Perfect Raised Bed Soil Mix Ratio
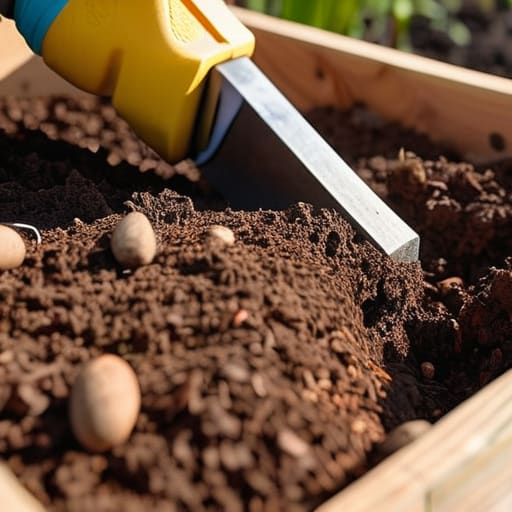
Now that we’ve settled on the right materials, it’s time to talk about the real magic: what goes inside. If you’re building raised beds for vegetables, you can’t just scoop up some dirt from the yard and call it a day. Most garden soil is too heavy and lacks the aeration your plants crave. Instead, I like to think of your soil as a living, breathing ecosystem. A tried-and-true raised bed soil mix ratio is often the “Mel’s Mix” approach—a blend of compost, peat moss (or coconut coir for a more sustainable twist), and vermiculite. This ensures your veggies have the perfect balance of nutrients and fluffiness to thrive.
One thing I’ve learned from my own backyard experiments is that texture is everything. You want a mix that holds onto moisture without turning into a swampy mess. This is where garden bed drainage solutions come into play; even with the best soil, ensuring your mix stays aerated is key to preventing root rot. Aim for a blend that feels light and crumbly in your hands, almost like a rich chocolate cake. When you get this foundation right, you’re setting yourself up for a season of incredible growth.
Pro-Tips for a Garden That Thrives (and Lasts!)
- Think about your reach before you build. I’ve learned the hard way that if a bed is too wide, you’ll end up stepping on your soil to reach the middle, which compacts it and hurts those delicate roots. Aim for a width of about three to four feet so you can tend to your plants comfortably from either side.
- Don’t forget the “underground” prep. Before you drop that beautiful soil mix in, take a moment to clear out any weeds or heavy sod. If you’re dealing with persistent grass, laying down a layer of plain, non-glossy cardboard at the bottom is a total game-changer—it smothers the weeds naturally and eventually breaks down into organic matter.
- Leveling is your best friend. It might feel like a minor detail, but if your bed is sitting at a tilt, water is going to pool at one end and leave the other bone-dry. Spend those extra ten minutes with a level to ensure your bed is sitting flat; your plants will definitely thank you during the heat of summer.
- Consider your local pollinators. Since I spend a lot of my time checking on my urban beehives, I’ve become obsessed with making beds “bee-friendly.” Try to leave a little space between your beds for some native wildflowers or even a small stone path; it creates a mini-ecosystem that keeps the beneficial bugs happy.
- Plan for verticality from day one. Even if you aren’t growing heavy vines right now, installing a few sturdy trellis points or even just some reclaimed wood stakes while you’re building can save you a massive headache later. It’s all about that resourceful, long-term thinking that makes sustainable gardening so rewarding.
Bringing It All Together: Your Path to a Greener Garden
Remember that sustainability is a journey, not a sprint; choosing the right materials and a nutrient-dense soil mix now sets the foundation for a thriving, long-lasting ecosystem in your own backyard.
Don’t be afraid to get your hands a little dirty and experiment with what works for your specific space, because the most impactful environmental victories often start with these small, intentional DIY steps.
Treat your raised bed as a living project that evolves with the seasons, using it as a way to reconnect with nature and cultivate a more mindful, eco-conscious lifestyle right outside your door.
🌱 The Heart of the Harvest
“Building a raised bed isn’t just about assembling a wooden frame; it’s about creating a dedicated sanctuary where intentionality meets the earth, giving you the power to cultivate change from the very ground up.”
Jordan Mitchell
Cultivating Your Own Green Sanctuary
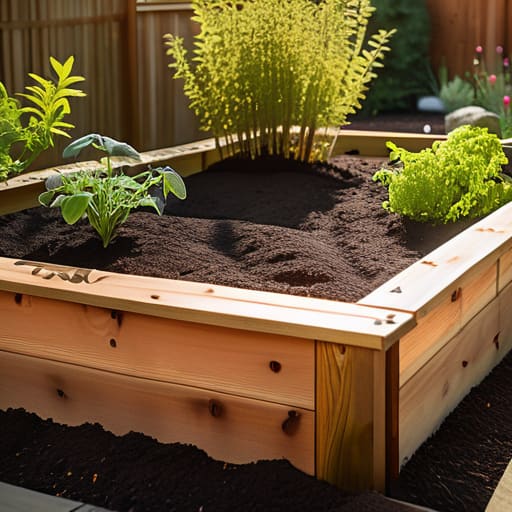
As we wrap up this journey from selecting the right timber to perfecting that nutrient-dense soil blend, I hope you feel a sense of readiness. Building a raised bed isn’t just about the hardware; it’s about the intentional choices you made—from prioritizing longevity in your wood selection to ensuring your plants have the most resilient foundation possible. By taking the time to get these fundamentals right, you aren’t just building a container; you are constructing a sustainable ecosystem right in your own backyard that will reward you season after season.
At the end of the day, seeing that first green sprout poke through the soil is a profound reminder of why we do this. It’s a quiet, beautiful victory that connects us back to the rhythms of the earth, even in the middle of a busy city. Remember, you don’t need a massive farm to make a difference; you just need a little bit of dirt, some seeds, and the courage to start small. Every garden bed is a testament to the belief that small, everyday actions can truly transform our relationship with the planet. Happy planting, and I can’t wait to see what you grow!
Frequently Asked Questions
How can I protect my garden beds from pests like rabbits or slugs without using harsh chemicals?
Keeping those little garden intruders at bay doesn’t mean we have to reach for the heavy chemicals. I like to think of it as setting gentle boundaries. For slugs, a shallow saucer of beer or crushed eggshells works wonders. To keep rabbits out, a simple wire mesh fence is a lifesaver. It’s all about working with nature’s rhythms rather than against them, protecting your hard work while keeping the soil healthy and vibrant.
Do I need to line the bottom of my new raised bed with something to prevent weeds from creeping in?
That’s a great question, and honestly, it’s one I wrestled with when I first started my own garden. You don’t want to fight a losing battle against weeds! I highly recommend lining the bottom with a layer of plain, undyed cardboard. It’s a wonderful way to upcycle old shipping boxes, and as it breaks down, it actually nourishes the soil below. It smothers those pesky weeds while letting the earth breathe.
What’s the best way to position my beds to make sure they get the most sunlight throughout the day?
Think of your garden beds like they’re soaking up a coastal sunrise—placement is everything. For most veggies, you’ll want to aim for a spot that catches at least six to eight hours of direct sunlight. I usually recommend orienting your beds from east to west; this helps maximize sun exposure as it moves across the sky. Before you start digging, spend a day observing how the shadows dance across your yard.
