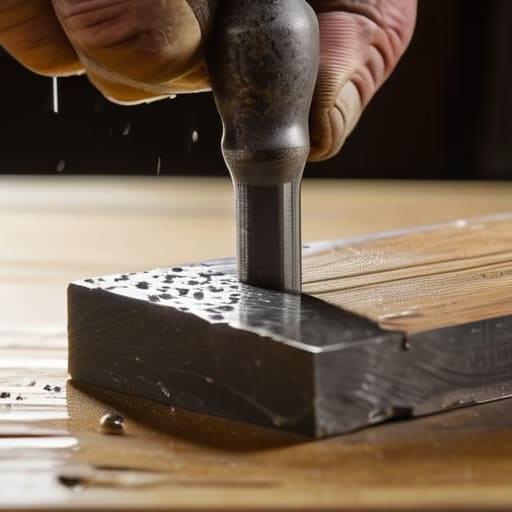
How to Sharpen Your Tools and Keep Them Working
I was standing in my small backyard garden last spring, struggling to prune a stubborn rose bush, when I realized my shears were doing more harm than good. Instead of a clean cut, they were merely mashing the stems, leaving the plant vulnerable to disease. It was a humbling moment that reminded me how often we overlook the basics. We tend to think that buying the newest, flashiest gear is the solution to every project, but the real secret to a sustainable lifestyle isn’t in the shopping cart—it’s in learning how to sharpen tools that you already own. There is a profound, quiet satisfaction in breathing life back into a worn-out blade, turning something destined for a landfill back into a precision instrument.
In this guide, I’m stripping away the complex jargon to give you a straightforward, no-nonsense approach to tool maintenance. I’ll walk you through the essential techniques and simple supplies you need to master the art of honing edges, whether you’re working with garden shears or woodworking chisels. My goal is to help you move away from the “disposable culture” and toward a more mindful way of creating. Let’s get your gear back in peak condition so you can work with confidence and ease.
Table of Contents
- Step-by-Step Instructions
- Mastering Whetstone Sharpening Techniques for Lasting Vitality
- Choosing the Best Sharpening Accessories for Diy Projects
- Small Rituals for Sharp Success: My Top 5 Pro-Tips
- Small Shifts, Lasting Impact: My Final Thoughts
- ## The Soul of the Tool
- The Art of Lasting Care
- Frequently Asked Questions
Guide Overview
Tools & Supplies
- Garden shears (requires bevel alignment)
- Kitchen knife (requires fine edge)
- Dual-grit whetstone (1 unit)
- Honing oil or water (1 bottle)
- Microfiber cloth (1 unit)
Step-by-Step Instructions
- 1. First, let’s gather our supplies, and I want to encourage you to look for high-quality, long-lasting tools rather than cheap, disposable ones. You’ll want a good whetstone (a combination coarse and fine grit works wonders), a small container of water or honing oil, and a soft cloth for cleaning. Think of this as setting the stage for a mindful ritual rather than just a chore.
- 2. Before we even touch the stone, take a moment to clean your tools thoroughly. Use a bit of biodegradable soap and a brush to remove any dried soil, sap, or rust from the blade or edge. It’s much harder to achieve a precision edge if you’re inadvertently grinding old dirt back into the metal, so let’s start with a clean slate.
- 3. Now, it’s time to prepare your whetstone. If you’re using a water stone, submerge it in a shallow bowl for about ten minutes until the air bubbles stop rising. This isn’t just about lubrication; it’s about respecting the medium you’re working with. Once it’s fully saturated, place it on a non-slip surface so it stays perfectly steady while you work.
- 4. Hold your tool at the specific angle required for its design—usually about 15 to 20 degrees for most garden shears or knives. This is where the magic happens. Slowly glide the edge across the stone in a smooth, sweeping motion, applying gentle, even pressure. You aren’t trying to force the metal; you’re dancing with the edge to refine it.
- 5. Once you’ve worked the primary side, flip the tool over and repeat the process on the other side. You’ll want to ensure that the angle remains consistent throughout the entire stroke. If you find your rhythm, you’ll start to feel a slight “burr” or a tiny lip of metal forming on the opposite side—this is a sign of progress that tells you you’re getting close.
- 6. Switch to the finer grit side of your stone to polish the edge. This step is all about removing those microscopic imperfections and bringing out a mirror-like finish. It requires a lighter touch, almost like you’re polishing a piece of sea glass you found on the beach, ensuring the edge is smooth enough to slice through a leaf without any tearing.
- 7. Finally, wipe the tool down with a clean, dry cloth and apply a very thin layer of food-safe mineral oil or a natural wax. This creates a protective barrier against moisture and oxidation, which is essential if you live in a humid coastal climate like mine. Now, your tool is not just sharp, it’s ready for a lifetime of service.
Mastering Whetstone Sharpening Techniques for Lasting Vitality
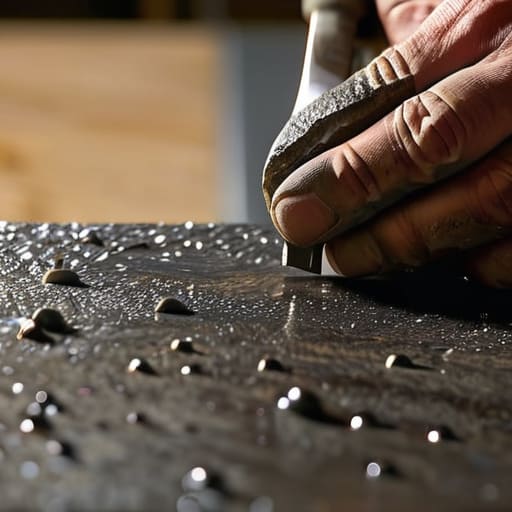
If you’re looking to move beyond the basics, diving into specific whetstone sharpening techniques is where the real magic happens. I’ve found that the secret isn’t just in the movement, but in the patience you bring to the stone. It’s a bit like tending to my beehives; you can’t rush the process if you want a healthy result. A common question I get is about honing steel vs sharpening stone, and while a honing rod is fantastic for a quick touch-up to keep things tidy, the whetstone is your true partner for deep restoration. It actually removes microscopic amounts of metal to reshape the edge, which is essential for long-term tool health.
Consistency is your best friend here. Finding the correct sharpening angle for different blades—whether it’s a delicate garden snip or a heavy-duty spade—is what separates a mediocre edge from one that feels like an extension of your own hand. I always recommend keeping a small rag nearby to wipe down your gear immediately after; it’s a simple habit for preventing rust on metal tools, ensuring your beloved equipment stays as resilient as the coastal landscapes I grew up admiring.
Choosing the Best Sharpening Accessories for Diy Projects
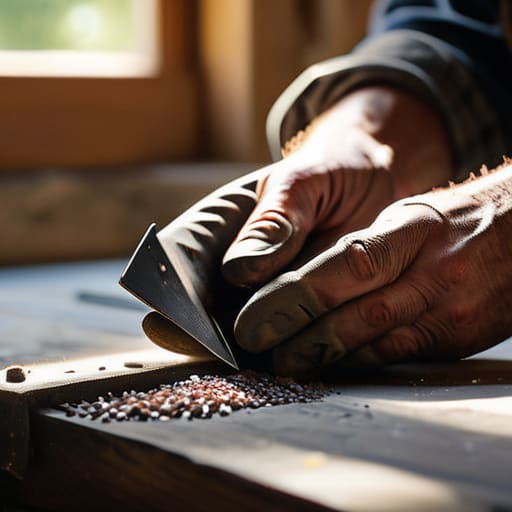
When you’re diving into a new DIY project—maybe it’s repurposing some old driftwood or working on a garden bed—the gear you choose makes all the difference. It’s easy to get overwhelmed by the sheer variety of gadgets out there, but I’ve learned that investing in quality over quantity is the most sustainable path. If you’re looking for the best sharpening accessories for DIY enthusiasts, I always suggest starting with a versatile kit rather than specialized machines that might end up gathering dust. A good quality oil or water-based lubricant is essential, not just for the glide, but for preventing rust on metal tools that you intend to keep in your kit for years to come.
One common point of confusion I often hear about is the distinction between honing steel vs sharpening stone. Think of it this way: a honing steel is your daily companion for realigning an edge, whereas a stone is for true restoration. If you want to master maintaining edge retention through every season, having both allows you to maintain your tools with much more intention. It’s about treating your equipment like a long-term investment rather than a disposable commodity.
Small Rituals for Sharp Success: My Top 5 Pro-Tips
- Listen to the metal. When you’re working with a whetstone, there’s a specific, rhythmic “shing” sound that tells you you’re hitting the right angle. If the sound becomes harsh or grating, you’re likely pushing too hard; let the stone do the heavy lifting.
- Respect the edge, don’t fight it. It’s tempting to go aggressive when a blade feels dull, but micro-nicks are the enemy of sustainability. Gentle, consistent strokes preserve the integrity of the steel, ensuring your tools stay in your kit and out of the landfill for years to come.
- Keep it hydrated. Whether you’re using an oil stone or a water stone, never let your equipment run dry. A thin film of lubricant isn’t just about reducing friction; it’s about flushing away those tiny metal filings that can clog your stone and ruin your progress.
- The “Paper Test” is your best friend. Before you tuck your tool back into its sheath, find a scrap piece of recycled paper and try a smooth slice. If it snags, you haven’t reached that final, refined polish yet—don’t settle for “good enough.”
- Clean your tools immediately after sharpening. Metal dust and grit can act like sandpaper on your tool’s handle or its storage case. A quick wipe with a bit of linseed oil or a soft cloth keeps the metal protected from oxidation and keeps your workspace feeling mindful and organized.
Small Shifts, Lasting Impact: My Final Thoughts
Think of sharpening not as a chore, but as an act of stewardship; when we care for our tools, we honor the resources used to make them and keep them out of the landfill.
Quality over quantity is your best friend here—investing in a solid whetstone or a few reliable accessories is far more sustainable than buying cheap, disposable alternatives that fail when you need them most.
Patience is the secret ingredient to a perfect edge; taking that extra moment to find your rhythm with a stone ensures your tools remain reliable companions for years of creative, eco-conscious making.
## The Soul of the Tool
“Sharpening your tools is more than just a maintenance task; it’s a quiet act of respect for the objects that help us shape our world. When we take the time to hone an edge, we aren’t just preparing for the next project—we’re choosing to honor our resources and reject the disposable culture that so often overlooks the beauty of things built to last.”
Jordan Mitchell
The Art of Lasting Care
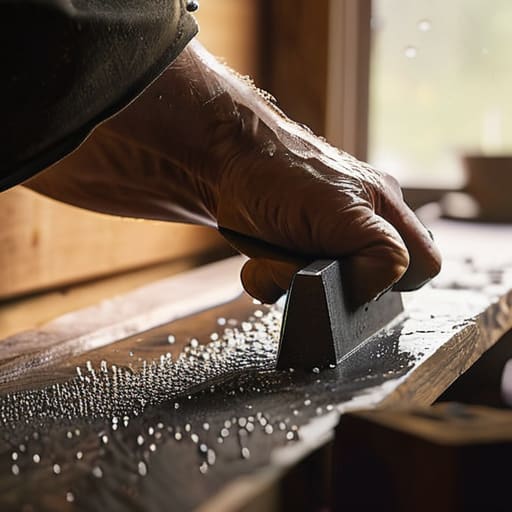
At the end of the day, mastering your tools is about much more than just achieving a clean cut; it’s about understanding the rhythm of maintenance. From selecting the right whetstone to the steady, mindful strokes required for a perfect edge, we’ve covered how a little bit of intentionality can prevent your gear from becoming disposable waste. By investing the time to sharpen your blades and care for your accessories, you aren’t just improving your DIY efficiency—you are actively participating in a culture of stewardship that values quality over convenience.
As I sit here looking at a piece of sea glass I found last week, I’m reminded that beauty often comes from things that have been weathered and refined by time. The same applies to our tools. When we treat our equipment with respect, we create a beautiful cycle of use and renewal that keeps us connected to the things we make. I truly believe that these small, rhythmic acts of maintenance are a quiet form of rebellion against a throwaway society. So, grab your stone, find your focus, and remember that every sharpened edge is a step toward a more sustainable and intentional life.
Frequently Asked Questions
Is it actually possible to fix a tool if the blade is chipped or significantly nicked, or is it time to let it go?
It’s a tough call, but don’t lose hope just yet. If the nick is shallow, you can often grind it out by slightly altering the bevel—it’s a bit of a workaround, but it breathes new life into the metal. However, if the chip is deep or the blade is warping, it might be time to let it go. In those cases, repurpose the handle for a new project instead of letting it clutter your space.
How often should I be checking my tools for sharpness if I'm using them regularly for gardening or DIY projects?
Honestly, there’s no magic number, but I’ve found that a “touch and feel” check after every few heavy-duty sessions is a game changer. If you’re out in the garden all weekend, don’t wait until the tool feels like it’s fighting you. Catching that slight dullness early prevents you from forcing the blade, which saves your wrists and keeps your gear from wearing down prematurely. Think of it as a quick moment of mindfulness for your tools.
Are there specific ways to store my sharpened tools to make sure they don't lose their edge or get damaged in my workshop?
Think of your tools like precious finds from a Maine tide pool—they deserve a little respect once the work is done. Avoid tossing them into a cluttered, metal-on-metal drawer; that’s a quick way to nick a fresh edge. I prefer using wooden tool rolls or magnetic strips to keep them suspended and safe. If you’re using a workshop rack, a light coating of mineral oil can act as a protective shield against moisture and rust.
