How to Make a Compost Bin You’ll Actually Use
I remember standing in my tiny apartment kitchen years ago, staring at a mountain of wilted kale and coffee grounds, feeling completely defeated by the idea that I was just adding to a landfill. Most people will tell you that composting is this complicated, smelly, scientific ordeal that requires a massive backyard and a PhD in biology, but they couldn’t be more wrong. The truth is, learning how to make a compost bin doesn’t require a huge investment or a perfect patch of land; it just requires a shift in how you view your “waste.” Whether you’re working with a sprawling garden or a handful of balcony pots, turning those scraps into black gold is one of the most rewarding ways to reconnect with the natural cycles of our planet.
In this guide, I’m stripping away the fluff and the gatekeeping to show you exactly how to build a system that actually works for your specific lifestyle. I’ll walk you through choosing the right materials—from repurposed wooden crates to simple DIY bins—and share the no-nonsense secrets to keeping your pile healthy without the dreaded odor. We aren’t just building a container; we are building a small, living ecosystem right in your backyard.
Table of Contents
- Step-by-Step Instructions
- Curating Your Essential Compost Bin Materials List
- Mastering Compost Bin Dimensions and Design
- Pro-Tips for a Thriving, Odor-Free Compost Ecosystem
- Small Steps, Big Impact: Your Compost Success Checklist
- The Heart of the Cycle
- From Construction to Connection
- Frequently Asked Questions
Guide Overview
Tools & Supplies
- Drill with paddle bit for making aeration holes
- Handsaw for trimming wood or plastic if necessary
- Plastic storage bin (18-30 gallons) 1 unit
- Drill bits for ventilation 1 set
- Hardware cloth or mesh for drainage 1 small roll
- Screws or fasteners 1 small pack
Step-by-Step Instructions
- 1. First things first, we need to scout out the perfect location for your new compost station. You’ll want a spot that is partially shaded to prevent the pile from drying out too quickly, but also has good drainage so you aren’t dealing with a swampy mess. I always recommend placing it on bare soil rather than concrete; this allows those wonderful beneficial microbes and earthworms to migrate easily into your bin and get the decomposition party started.
- 2. Next, let’s gather our materials. Since we’re aiming for that eco-chic, resourceful vibe, I suggest repurposing something you might already have, like an old wooden pallet or even a sturdy plastic bin with some holes drilled into it. If you’re going the pallet route, make sure you’re using heat-treated wood (look for the ‘HT’ stamp) rather than chemically treated timber, as we want to keep our soil as pure and toxin-free as possible.
- 3. Once your structure is ready, it’s time to build your foundation. Start by laying down a thick layer of coarse materials at the very bottom—think small twigs, dried stalks, or even some shredded cardboard. This creates a crucial airflow channel that prevents the bottom of your pile from becoming compacted and smelly, ensuring your compost stays breathable and healthy.
- 4. Now comes the fun part: the layering dance. You’re essentially building a “lasagna” of organic matter. Start with a layer of “greens” (nitrogen-rich materials like vegetable scraps, coffee grounds, or fresh grass clippings) followed by a layer of “browns” (carbon-rich materials like dried leaves, shredded paper, or straw). A good rule of thumb is to aim for a ratio of about three parts brown to one part green to keep the chemical balance just right.
- 5. As your pile grows, you’ll need to give it a little love through regular aeration. Every week or two, take a pitchfork or a sturdy garden tool and gently turn the contents of the bin. This introduces oxygen, which is the secret ingredient that fuels the aerobic bacteria responsible for breaking everything down. Think of it like giving your compost a deep breath to keep the process moving swiftly.
- 6. Keep a close eye on the moisture levels as you go. Your compost pile should feel like a wrung-out sponge—damp to the touch, but not dripping wet. If it feels too dry, give it a light sprinkle with a watering can; if it’s looking a bit too soggy, simply toss in some more extra dry browns like shredded newspaper to soak up that excess moisture.
- 7. Finally, be patient and embrace the process. Depending on the weather and how often you turn it, you’ll start to see the transformation from kitchen scraps into dark, crumbly, nutrient-dense soil in a few months. When it looks like rich earth and smells like a fresh forest floor, you’ll know you’ve successfully created black gold for your garden!
Curating Your Essential Compost Bin Materials List
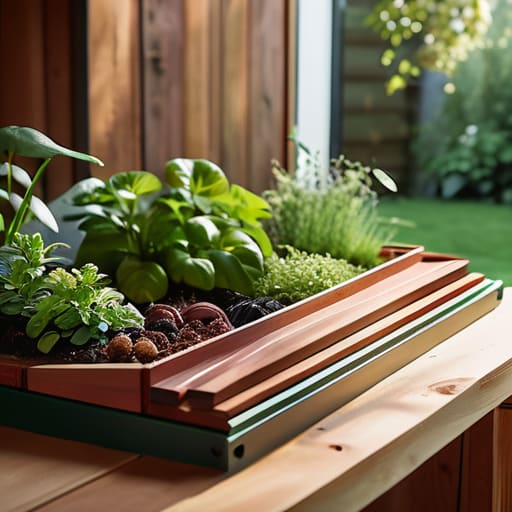
Before we dive into the assembly, I want to make sure you aren’t just grabbing whatever is lying around in the garage. A successful build starts with a thoughtful compost bin materials list that prioritizes durability and airflow. If you’re working with wood, I always recommend reclaimed cedar or redwood; they are naturally rot-resistant, which is a lifesaver when you’re dealing with the constant moisture of the organic waste decomposition process. If you’re opting for a DIY plastic bin, ensure the material is BPA-free to keep your soil chemistry clean and safe for your future harvests.
Don’t forget that the “bones” of your bin are just as important as the walls. When considering your compost bin dimensions and design, aim for something large enough to retain heat but small enough to manage easily. I often suggest incorporating a few hardware cloth inserts or perforated panels. This isn’t just about structure; it’s about facilitating effective aeration methods for compost, ensuring your microbes have plenty of oxygen to do their magic. Think of it as building a tiny, breathable home for the invisible workers that will eventually turn your scraps into garden gold.
Mastering Compost Bin Dimensions and Design
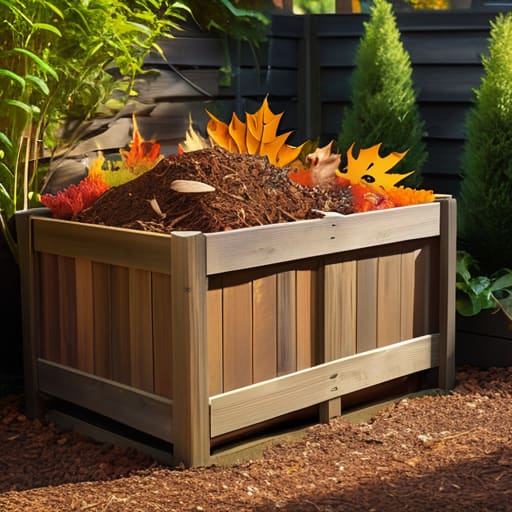
When it comes to the actual footprint of your bin, it’s tempting to go big, but there’s a sweet spot you’ll want to hit. I always tell my clients that the ideal compost bin dimensions and design should balance volume with heat retention. If your bin is too small, it won’t generate enough internal heat to truly accelerate the organic waste decomposition process. Aim for a container that is at least three feet wide, deep, and high; this creates a thermal mass that keeps the microbial activity thriving even when the Maine air gets a bit crisp.
However, size isn’t everything—airflow is your best friend. You don’t want a stagnant pile of mush; you want a living, breathing ecosystem. This is where exploring different aeration methods for compost becomes essential. Whether you’re drilling strategic ventilation holes in a wooden crate or choosing a tumbler design that allows for easy turning, ensuring oxygen can reach the center is vital. Think of it like giving your compost a chance to breathe, preventing those unpleasant odors and keeping your sustainable sanctuary smelling like fresh, rich earth.
Pro-Tips for a Thriving, Odor-Free Compost Ecosystem
- Find the Sweet Spot Between Green and Brown: Think of your bin like a recipe. You want a healthy balance of nitrogen-rich “greens” (like vegetable scraps and coffee grounds) and carbon-heavy “browns” (like dried leaves or shredded cardboard) to keep the decomposition process humming along without the funk.
- Give Your Microbes Some Air: Compost isn’t a stagnant pile; it’s a living, breathing community. Every week or so, grab a pitchfork and give your bin a good turn. This aeration prevents it from getting compacted and ensures oxygen reaches the tiny workers doing the heavy lifting.
- Mind the Moisture Levels: Your compost should feel like a wrung-out sponge—damp, but not dripping. If it’s too dry, the breakdown stalls; if it’s too wet, you’ll run into unpleasant smells. A little water here and there can work wonders if you’re in a dry spell.
- Size Matters for the Scraps: To speed things up, try to chop your kitchen scraps into smaller pieces before tossing them in. The more surface area you provide, the faster those beneficial bacteria can get to work turning your waste into nutrient-rich gold.
- Keep the “No-Go” List Handy: To avoid attracting unwanted pests or creating odors, steer clear of meat, dairy, and oily foods. Stick to plant-based scraps and organic matter to keep your sustainable sanctuary clean, efficient, and totally eco-chic.
Small Steps, Big Impact: Your Compost Success Checklist
Remember that composting isn’t about perfection; it’s about the intentionality of diverting waste from landfills and turning your kitchen scraps into something truly restorative for the Earth.
Balance is your best friend—keep a steady rhythm of “greens” for nitrogen and “browns” for carbon to ensure your bin stays healthy, odorless, and efficient.
Don’t be afraid to get your hands a little dirty; the more you engage with the process and observe how your materials transform, the more intuitive and rewarding your sustainable journey becomes.
The Heart of the Cycle
“Building a compost bin isn’t just about managing waste; it’s about creating a small, intentional sanctuary where your kitchen scraps transform into the very lifeblood of your garden, proving that even our smallest leftovers can fuel a greener future.”
Jordan Mitchell
From Construction to Connection
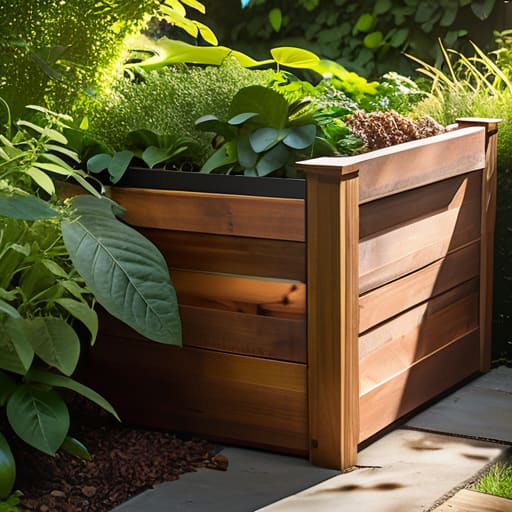
We’ve covered a lot of ground today, from selecting the right materials to perfecting those dimensions that ensure your bin is both functional and aesthetically pleasing. Remember, the secret to a thriving compost system lies in the balance between your greens and browns, as well as the consistent airflow you’ve now built into your design. By carefully curating your tools and following these structural steps, you haven’t just built a container; you’ve established a living ecosystem right in your own backyard. It might feel like a lot of moving parts initially, but once you master the rhythm of your bin, you’ll find that managing waste becomes as natural as a stroll along the Maine coast.
As you tuck your first layer of scraps into your new bin, take a moment to realize the profound impact of this simple act. You are no longer just a consumer; you are a participant in a beautiful, circular process that honors the earth. Every handful of soil you create is a testament to the idea that small, intentional actions ripple outward to create something much larger than ourselves. So, let’s get our hands a little dirty and embrace this journey together. Your garden—and our planet—will thank you for every single piece of nutrient-rich gold you provide.
Frequently Asked Questions
How do I keep my compost bin from smelling like a swamp or attracting unwanted pests?
We’ve all been there—opening the bin only to be met with that dreaded, swampy funk. Usually, that scent is a cry for help from your microbes! It means things are too wet or lacking oxygen. To keep the peace, aim for a perfect balance of “greens” (nitrogen) and “browns” (carbon), like dried leaves or shredded cardboard. If it smells, add more browns and give it a good stir to let it breathe.
Is there a specific balance of "greens" and "browns" I should aim for to keep the decomposition process moving?
Think of it like a recipe for success: you want a healthy mix of “greens” (nitrogen-rich scraps like coffee grounds and veggie peelings) and “browns” (carbon-rich items like dried leaves or shredded cardboard). Aim for roughly a 3:1 ratio of browns to greens by volume. If it smells a bit funky, add more browns; if it’s not breaking down, toss in some more greens. It’s all about finding that perfect, earthy equilibrium!
How often do I actually need to turn the pile to keep everything aerated and healthy?
Think of turning your compost like giving it a little breath of fresh air. Generally, you’ll want to stir the pile once every week or two. If you notice things are smelling a bit funky or looking a little too damp, go ahead and give it an extra toss! That extra aeration speeds up the magic, turning those scraps into garden gold much faster. It’s all about finding that perfect, rhythmic balance.
