How to Build a Simple Bookshelf From Scratch
I remember standing in the middle of my first tiny apartment, staring at a pile of particle board furniture that felt more like a landfill waiting to happen than a home. We’ve been conditioned to believe that if we want something functional, we have to settle for cheap, mass-produced items that fall apart the moment you move house. But here’s the truth: learning how to build a bookshelf isn’t about having a master carpenter’s toolkit or a massive workshop; it’s about reclaiming your space with intention. Instead of contributing to the cycle of “fast furniture,” we can choose to create something that actually breathes with our homes.
In this guide, I’m stripping away the intimidating jargon and the unnecessary complexity to show you a way to build something beautiful and lasting. I’ll walk you through sourcing reclaimed materials—think weathered wood with a story to tell—and the essential, no-nonsense steps to assemble your own piece from scratch. This isn’t just a tutorial; it’s a blueprint for creating a sustainable sanctuary that honors both your style and the planet. Let’s roll up our sleeves and turn some raw timber into a meaningful victory for your living room.
Table of Contents
- Step-by-Step Instructions
- Mastering Essential Woodworking Tools for Beginners
- Designing a Sturdy Bookcase Design With Intention
- Small Wins for a Sustainable Shelf: 5 Pro-Tips for Your Build
- Small Wins for a Greener Home
- ## More Than Just Shelving
- From Raw Wood to a Sustainable Sanctuary
- Frequently Asked Questions
Guide Overview
Tools & Supplies
- Circular saw or hand saw for cutting wood to size
- Power drill for driving screws
- Measuring tape for accurate dimensions
- Level to ensure shelves are straight
- Sandpaper for smoothing rough edges
- 1×6 Pine boards (approx. 4-5 boards)
- 1.5-inch wood screws (1 box)
- Wood glue for extra stability
- Sandpaper (various grits)
- Wood stain or paint for finishing
Step-by-Step Instructions
- 1. First things first, let’s source our materials with intention. Instead of heading to a big-box retailer for fresh lumber, I highly recommend scouting local salvage yards or even checking online marketplaces for reclaimed wood. Whether it’s old pallet wood or weathered barn planks, these pieces carry a history that new timber just can’t replicate. Once you’ve found your treasure, ensure you have a sturdy saw, some eco-friendly wood glue, and non-toxic, low-VOC finishes to protect your work without harming your indoor air quality.
- 2. Once you have your wood, it’s time to prep the canvas. Measure and cut your planks into the specific dimensions for your sides, shelves, and the back panel. I like to take my time here, almost like I’m carefully sorting sea glass on a Maine beach; precision now prevents a lot of frustration later. Use a square to ensure every cut is perfectly perpendicular, as even a tiny wobble can make your bookshelf feel a bit unsteady once it’s standing.
- 3. Now, let’s start the assembly by prepping the joints. If you’re feeling a bit more advanced, you can try cutting dados (small grooves) into the side planks for the shelves to sit in, which adds incredible structural integrity. If you prefer a simpler route, just ensure your surfaces are sanded smooth. Apply a thin layer of your biodegradable wood glue to the edges where the pieces will meet, and let it sit for a moment to become tacky before joining them.
- 4. With the glue applied, it’s time to bring the structure together. Align your shelves with the side planks and use clamps to hold everything firmly in place while the glue sets. This is the part where you really see the shape of your vision emerging. If you’re using screws for extra stability, pre-drill your holes first to prevent the reclaimed wood from splitting—reclaimed timber can be a bit temperamental, much like the Atlantic during a storm.
- 5. Once the frame is solid and the glue has fully cured, it’s time to add that final layer of soul to the piece. Sand the entire bookshelf with progressively finer grits of sandpaper until the surface feels like silk under your fingertips. After a thorough cleaning to remove any dust, apply your chosen finish. I personally love using natural beeswax or plant-based oils; they highlight the unique grain patterns of the wood while keeping your home environment completely free from harsh chemicals.
- 6. Finally, let’s talk about the “living” part of your bookshelf. Before you start loading it up with heavy hardcovers, consider how you can make it a part of your sustainable ecosystem. Maybe a small trailing pothos can spill over the top edge, or you can use upcycled baskets to organize smaller items. This isn’t just a piece of furniture anymore; it’s a curated reflection of your commitment to a more intentional, beautiful way of living.
Mastering Essential Woodworking Tools for Beginners
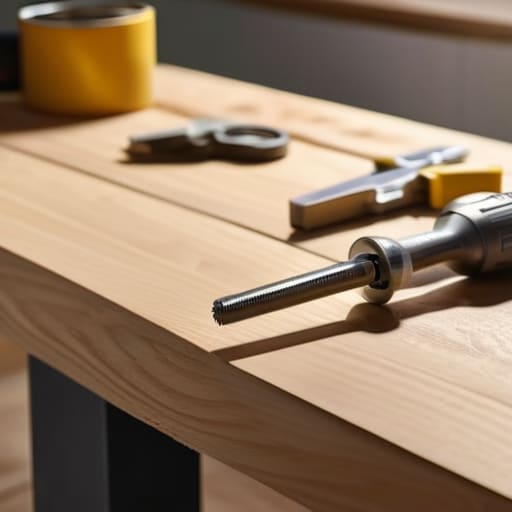
Before you dive into the actual construction, let’s talk about the gear. I know the hardware aisle can feel a bit overwhelming, but you don’t need a professional workshop to achieve a sturdy bookcase design. When selecting your woodworking tools for beginners, focus on quality over quantity. A reliable cordless drill, a sharp handsaw, and a sturdy tape measure are your best friends here. I always tell my clients that the secret isn’t in having the most expensive gadgets, but in respecting the tools you do have. Keep them clean and well-maintained, and they’ll reward you with precision every single time.
Precision is where the magic really happens, especially when it comes to measuring and cutting wood. Even a tiny error at the start can lead to a wobbly shelf later on, which is the last thing we want for our eco-friendly sanctuaries. I’ve learned the hard way that “measure twice, cut once” isn’t just a cliché—it’s a way of life. Take a breath, double-check your lines, and approach each cut with intention. It’s these small, mindful moments that transform a simple DIY task into a truly rewarding craft.
Designing a Sturdy Bookcase Design With Intention
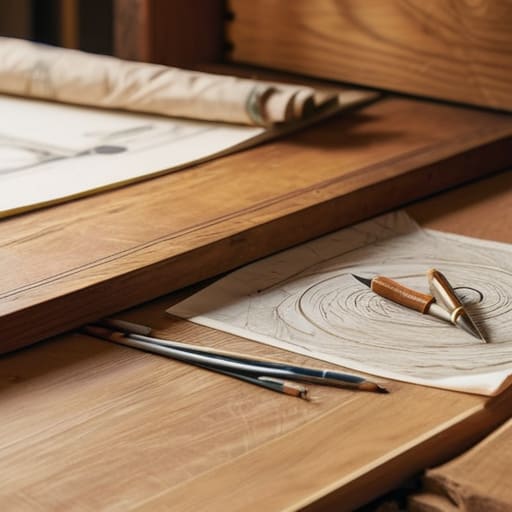
Before you pick up a saw, I want you to take a moment to sit with your vision. Designing a sturdy bookcase design isn’t just about dimensions; it’s about creating a piece that breathes with your space. I always suggest sketching out your ideas on paper first—it’s a meditative way to visualize how the grain of your reclaimed wood will flow. Think about the weight of your collection; a heavy set of art books requires different support than a few lightweight paperbacks. When you’re drafting your custom shelving unit plans, aim for a balance between aesthetic lightness and structural integrity to ensure your creation lasts for generations.
Precision is where the magic happens, but it can also be where frustration sets in. As you move into the actual construction, remember that measuring and cutting wood is a rhythmic process that requires patience. I often find that a “measure twice, cut once” mentality keeps my spirit as steady as my hands. If you’re feeling a bit unsure about the load-bearing capacity, don’t hesitate to look into reinforced shelf bracket installation to provide that extra bit of confidence. It’s all about building with intention, ensuring every joint is as strong as your commitment to the planet.
Small Wins for a Sustainable Shelf: 5 Pro-Tips for Your Build
- Source with Soul: Before you hit the big-box hardware store, scout out local salvage yards or even check online marketplaces for reclaimed wood. There’s something incredibly grounding about knowing your bookshelf has a history, perhaps even a second life from an old farmhouse or a forgotten crate.
- Mind Your Finishes: Skip the harsh, high-VOC chemical stains that fill your home with heavy fumes. Instead, opt for natural oils like linseed or beeswax. They protect the wood beautifully while keeping your indoor air quality as fresh as a Maine morning.
- Measure Twice, Waste Less: Precision is the ultimate sustainability hack. Taking that extra moment to double-check your dimensions isn’t just about a sturdy build; it’s about ensuring you don’t end up with awkward offcuts that end up in the landfill.
- Embrace the Imperfections: If you’re working with reclaimed timber, don’t try to sand away every single knot or character mark. Those little “flaws” are the fingerprints of nature, and they give your piece that unique, eco-chic aesthetic that mass-produced furniture just can’t replicate.
- Plan for Longevity: Build it to last generations, not just seasons. Use high-quality joinery and sturdy hardware so that when you eventually move or reorganize your space, your bookshelf remains a steadfast companion rather than something destined for the scrap heap.
Small Wins for a Greener Home
Remember that sustainability isn’t about perfection; it’s about the intention behind your choices, like choosing reclaimed wood over new timber to give a second life to something beautiful.
Focus on quality and durability in your design, because building something meant to last a lifetime is the ultimate way to reduce waste and honor the resources we use.
Let your creativity lead the way—whether it’s incorporating a bit of sea glass into the hardware or a natural oil finish, your personal touch makes your eco-conscious sanctuary truly yours.
## More Than Just Shelving
“When we build something with our own hands—especially when we breathe new life into reclaimed timber—we aren’t just organizing our books; we’re building a tangible connection to the earth and proving that intentional living can be both beautiful and enduring.”
Jordan Mitchell
From Raw Wood to a Sustainable Sanctuary

As you step back to admire your finished work, take a moment to appreciate the journey from raw, reclaimed timber to a functional piece of art. We’ve navigated the nuances of selecting the right wood, mastered the essential tools of the trade, and translated a vision into a sturdy, intentional design. Building this bookshelf wasn’t just about creating a place to store your favorite reads; it was about the conscious decision to bypass mass-produced furniture in favor of something with a soul. By prioritizing resourceful craftsmanship, you’ve successfully merged practical utility with a deep respect for our planet’s finite resources.
Ultimately, this project is a testament to the idea that our homes can be reflections of our values. Every time you slide a book onto a shelf you built with your own two hands, you are celebrating a small, beautiful victory for the environment. Don’t let this be your last foray into sustainable DIY; let it be the spark that ignites a lifelong passion for mindful creation. Remember, we don’t need to be perfect environmentalists to make a difference; we just need to be intentional. So, keep building, keep creating, and let’s continue to turn our everyday spaces into impactful environmental victories, one handcrafted piece at a time.
Frequently Asked Questions
How can I ensure the reclaimed wood I've found is safe and free of old, toxic finishes before I start building?
This is such a vital question—honoring the earth means making sure we aren’t bringing old toxins into our homes. First, give the wood a good sniff; a sharp, chemical odor is a red flag. I always look for signs of heavy peeling or lead-based paint. If you’re unsure, a simple DIY test kit from a local hardware store is a lifesaver. When in doubt, sand it outdoors with a good mask to stay safe!
What are some creative ways to style my new bookshelf using upcycled decor or natural elements to keep that eco-chic vibe?
Now that your sturdy reclaimed piece is standing tall, let’s breathe some soul into it. To nail that eco-chic aesthetic, I love layering textures: think smooth sea glass pieces nestled against rough driftwood or aged stones. Incorporate some greenery with small, propagated succulents in upcycled glass jars to add life. Finally, weave in some personal history—maybe an old vintage compass or some hand-pressed botanical art—to turn those shelves into a curated reflection of nature.
If I'm working in a small apartment, how can I make sure my bookshelf is sturdy enough for heavy books without it feeling too bulky?
Living in a cozy urban space means every inch counts, right? To keep things sturdy without the bulk, I’d recommend going vertical. Think slim, floor-to-ceiling designs that utilize height rather than width. Use thicker reclaimed planks for the shelves themselves to support those heavy hardcovers, but keep the frame minimal—maybe even wall-mounted to save floor space. It’s all about that balance of structural integrity and a light, airy aesthetic that lets your apartment breathe.
