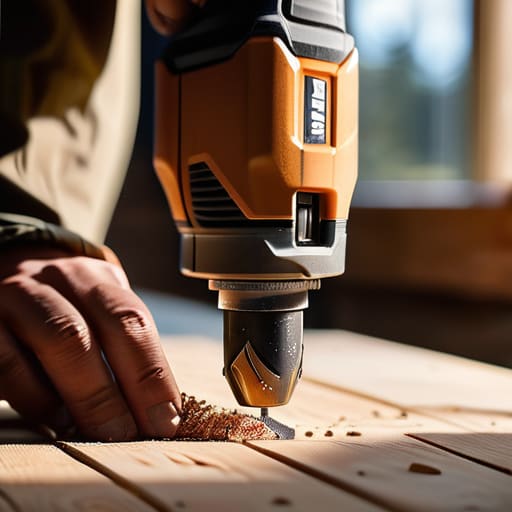
How to Use a Drill: a Beginner’s Guide
I was standing in my sun-drenched studio last Tuesday, surrounded by reclaimed cedar and a pile of beautiful, weathered sea glass, feeling completely defeated by a simple piece of driftwood. I had this vision of a minimalist floating shelf, but every time I tried to figure out how to use a drill to secure my materials, I ended up with splintered wood and a mounting sense of frustration. We often think that mastering power tools requires a heavy hand or a garage full of expensive gear, but the truth is actually much simpler: it’s about intentionality and rhythm. When you stop fighting the tool and start working with its natural torque, you stop making messes and start creating legacies.
In this guide, I’m stripping away the technical jargon to give you the honest, no-nonsense basics you actually need to build something lasting. We’ll walk through everything from selecting the right bit for your specific eco-friendly materials to mastering that steady, confident pressure that prevents accidents. My goal is to move you past the intimidation factor so you can confidently tackle your next sustainable DIY project with absolute precision. Let’s turn that hesitation into the creative momentum you’ve been looking for.
Table of Contents
- Step-by-Step Instructions
- Essential Cordless Drill Safety Precautions for Mindful Making
- Perfecting Your Grip and Adjusting Drill Torque Settings
- Precision & Purpose: 5 Pro-Tips for Mindful Drilling
- Embracing Mindful Making: Your Sustainable DIY Essentials
- ## The Soul of the Tool
- From Practice to Purpose
- Frequently Asked Questions
Guide Overview
Tools & Supplies
- Power drill (Cordless or corded)
- Drill bits (Set of various sizes)
- Safety goggles (Eye protection)
- Workpiece (Wood, metal, or plastic)
- Screws or fasteners (As needed)
Step-by-Step Instructions
- 1. Before you even touch the trigger, take a moment to select the right bit for your specific project. If you’re working with reclaimed wood from an old coastal cottage or mounting a shelf for your indoor herb garden, you’ll want a wood bit; if you’re tackling something sturdier like a metal bracket, a metal-rated bit is essential. Using the wrong tool is a quick way to frustrate your progress and potentially damage your materials.
- 2. Once you have your bit, secure it into the chuck by twisting the sleeve clockwise. This is where you want to be mindful of your grip, ensuring the bit is perfectly centered and seated deep within the jaws. After it’s snug, give the chuck a firm twist to lock it in place, making sure it feels solid and steady before you move on.
- 3. Now, let’s talk about the power source and the settings. If you’re using a cordless drill—which I highly recommend for the freedom to move around your workspace—make sure your battery is fully charged to avoid a mid-project stall. Check the torque settings on the collar; for delicate DIYs like embedding sea glass into a wooden frame, you’ll want a lower torque setting to prevent over-driving your screws or splitting the grain.
- 4. Before you make contact, mark your spot with a pencil or a small nail to create a pilot hole. This tiny bit of preparation is a game-changer for accuracy, ensuring your drill doesn’t wander across the surface of your beautiful, sustainable materials. I like to think of it as setting your intention before the work truly begins.
- 5. When you’re ready to drill, place the tip of the bit on your mark and apply gentle, even pressure. Start the drill at a slow speed to establish the hole, then gradually increase the pace as you feel the bit gaining traction. It’s all about finding that rhythmic flow where the machine does the heavy lifting while you maintain steady control.
- 6. As you reach the end of your hole, ease up on the pressure slightly to prevent the material from blowing out or splintering on the backside. This technique is especially important when working with reclaimed or aged timber, where the structural integrity might be a bit more delicate. Once you’ve cleared the material, slowly retract the bit to keep your workspace clean and safe.
Essential Cordless Drill Safety Precautions for Mindful Making
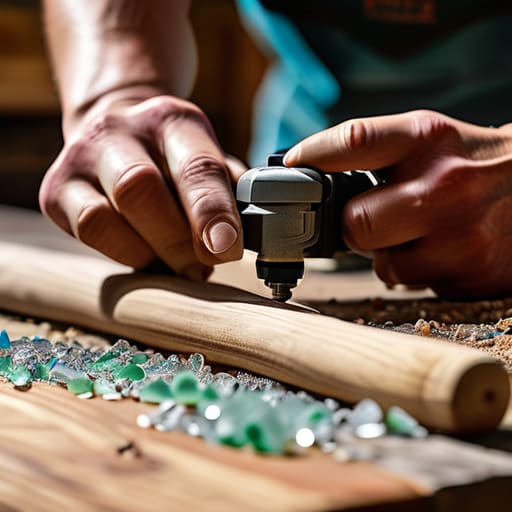
Before we get too far into the creative flow, let’s pause for a second to talk about mindfulness—not just in our intentions, but in our physical approach to the tools we use. When you’re working on a delicate upcycling project, it’s easy to get swept up in the excitement, but practicing cordless drill safety precautions is what ensures your project stays on track and your hands stay safe. Always remember to wear eye protection; a stray splinter of reclaimed wood or a tiny shard of sea glass shouldn’t be the reason your afternoon gets cut short.
Beyond the gear, it’s all about how you interact with the machine. I always recommend mastering a proper drill grip technique to maintain steady control, especially when you’re working in tight corners or on uneven surfaces. If you find yourself working with tougher materials, don’t forget the importance of drilling pilot holes first. This simple, intentional step prevents your beautiful, reclaimed timber from splitting, preserving the integrity of the piece. By slowing down and respecting the tool, you’re not just making something; you’re crafting with purpose.
Perfecting Your Grip and Adjusting Drill Torque Settings
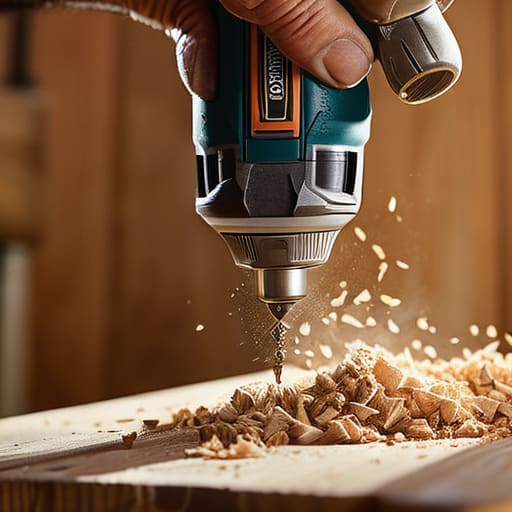
Once you’ve got your safety gear sorted, it’s time to get comfortable with the tool itself. Achieving a proper drill grip technique is about more than just holding on tight; it’s about finding that sweet spot between control and ease. I always recommend using your non-dominant hand to steady the base of the drill if it has a side handle, or simply keeping a firm, balanced stance to prevent the tool from wandering. Think of it like steadying yourself against a coastal breeze—you want to be anchored, but not so rigid that you lose your fluidity. This stability is what allows you to guide the bit with precision, ensuring every hole is exactly where you intended it to be.
The second secret to professional-looking results lies in adjusting drill torque settings before you even touch the material. If you’re working with delicate reclaimed wood or something more fragile, a lower torque setting prevents the bit from stripping the surface or driving the screw too deep. Conversely, when you’re moving onto tougher projects, like learning how to drill into masonry for a garden installation, you’ll want to dial that power up. Taking a moment to calibrate your tool ensures that your creative process remains mindful, intentional, and—most importantly—successful.
Precision & Purpose: 5 Pro-Tips for Mindful Drilling
- Mark Your Intentions: Before you even touch the trigger, use a pencil to mark your exact spot. It’s easy to get carried away in the moment, but a little pre-planning prevents those “oops” moments that lead to wasted materials.
- Let the Tool Do the Heavy Lifting: It’s tempting to push hard, but a drill works best when you let the bit find its rhythm. Applying too much pressure can strip your screw or damage your reclaimed wood, so keep it steady and let the motor do its thing.
- Choose the Right Bit for the Job: Just like choosing the right fabric for a sustainable outfit, using the wrong drill bit can ruin the whole aesthetic. Ensure your bit matches your material—whether it’s a masonry bit for stone or a wood bit for your latest upcycled project.
- Clear the Path: As you drill, sawdust and debris tend to pile up. Take a quick moment to clear it away; not only does this keep your workspace beautiful, but it also ensures your next hole is just as precise as the first.
- Listen to the Sound: A seasoned maker learns to “hear” their tools. If the drill starts sounding strained or high-pitched, it’s a sign to back off the pressure or check your speed. Respecting the tool’s limits helps it last a lifetime.
Embracing Mindful Making: Your Sustainable DIY Essentials
Approach every project with intention by choosing the right torque and bit, ensuring you create lasting pieces rather than accidental waste.
Prioritize safety and tool longevity through mindful handling, treating your gear as long-term investments in your creative journey.
Remember that mastering these small, technical skills empowers you to transform reclaimed materials—like that beautiful sea glass—into meaningful, eco-conscious art.
## The Soul of the Tool
“A drill isn’t just a piece of hardware; it’s an invitation to build something lasting. When we approach our tools with intention and precision, we aren’t just making holes—we’re creating the foundation for a more sustainable, handmade world.”
Jordan Mitchell
From Practice to Purpose
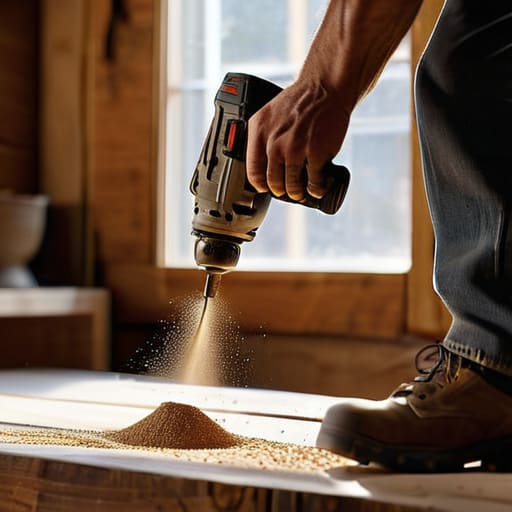
As we wrap up this guide, remember that mastering your drill is about more than just making holes; it’s about the intentionality you bring to every project. We’ve covered everything from selecting the right bits and managing your torque settings to prioritizing safety and maintaining a steady, mindful grip. By treating your tools with respect and approaching each task with patience, you aren’t just building furniture or mounting shelves—you are cultivating a skillset for longevity. When we learn to repair, create, and repurpose rather than simply replacing what is broken, we take a significant step toward a more sustainable lifestyle.
I know that picking up a power tool for the first time can feel a bit daunting, but I promise that the confidence grows with every successful screw you drive. Think of each project as a small, beautiful victory for both your home and the planet. Whether you are building a cedar planter for your garden or assembling a reclaimed wood coffee table, remember that these small, everyday actions are the building blocks of a much larger movement. So, grab your gear, trust your hands, and let’s continue to create a world that is as resilient and beautiful as the nature that inspires us every single day.
Frequently Asked Questions
How do I choose the right drill bit for working with reclaimed wood versus more delicate, upcycled materials?
When working with rugged reclaimed wood, I swear by high-speed steel (HSS) bits; they’re tough enough to handle those unexpected knots and old nail remnants. However, when you transition to more delicate, upcycled materials—like thin vintage plywood or even some of my sea glass-inspired resin crafts—you’ll want something much gentler. Opt for specialized Brad Point bits to prevent splintering, ensuring you treat these storied materials with the respect and precision they deserve.
Is it worth investing in a high-end cordless drill, or can I get by with a basic model for my small-scale DIY projects?
Honestly, if you’re just starting your sustainable DIY journey, don’t feel pressured to drop a fortune on professional-grade gear. For small-scale projects—like mounting reclaimed wood shelves or crafting with sea glass—a reliable mid-range cordless drill is more than enough. I’d rather see you invest that extra cash into quality, eco-friendly materials or better drill bits that last longer. Focus on versatility and durability rather than high-end specs you won’t actually use.
How can I prevent my drill from slipping or damaging my materials when I'm working on more intricate, eco-friendly crafts?
When you’re working with delicate, reclaimed materials—like that thin driftwood or repurposed sea glass—precision is everything. To prevent slipping, I always start by using a center punch or a small nail to create a pilot hole; it gives your bit a place to live. Also, don’t rush the pressure. Let the drill do the work, and keep your torque settings low. It’s all about that mindful, steady rhythm to protect your beautiful finds.
