How to Install a Shelf That Won’t Fall Down
I was standing in my tiny Brooklyn apartment last spring, staring at a pile of reclaimed wood and a handful of mismatched brackets, feeling completely defeated. I had this vision of a curated, eco-chic nook for my succulents, but the reality of figuring out how to install a shelf without cracking my plaster walls felt like an insurmountable mountain. We often fall into the trap of thinking that home improvement requires expensive, heavy-duty machinery or a professional contractor on speed dial, but I’ve learned that intentionality matters far more than power tools.
In this guide, I’m stripping away the jargon to give you a straightforward, no-nonsense roadmap for mounting your own displays. We’ll cover everything from finding those elusive studs to choosing hardware that respects both your walls and your aesthetic. My goal isn’t just to show you the mechanics, but to help you master the process so you can create a space that feels purposefully organized and uniquely yours. Let’s turn that empty wall into a canvas for your sustainable treasures, one steady screw at a time.
Table of Contents
- Step-by-Step Instructions
- Mastering Wall Stud Finder Techniques for Lasting Stability
- Choosing Sustainable Shelf Bracket Types and Uses
- Small Wins, Big Impact: Pro-Tips for a Flawless Finish
- Small Wins, Lasting Impact: My Final Thoughts
- ## The Philosophy of the Perfect Placement
- Bringing Your Vision to Life
- Frequently Asked Questions
Guide Overview
Tools & Supplies
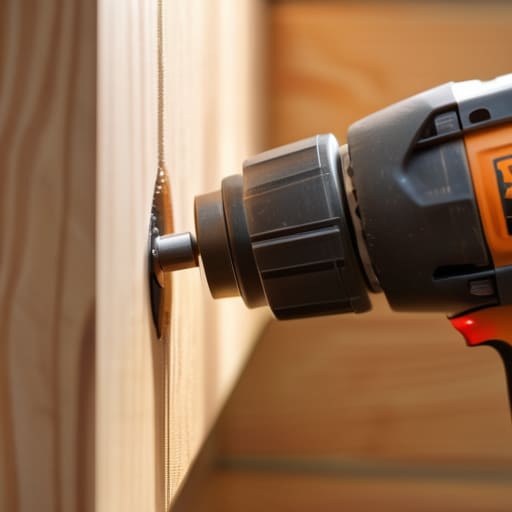
- Drill/Driver for making holes and driving screws
- Level to ensure the shelf is straight
- Pencil for marking placement
- Measuring tape for accuracy
- Shelf unit 1 unit
- Shelf brackets 2-4 units
- Wall anchors 4-8 units
- Screws 4-8 units
Step-by-Step Instructions
- 1. Before we pick up a single tool, let’s start with the most important part: intentional planning. Take a moment to stand in your space and visualize where this shelf will live. Is it catching the morning light? Does it provide a home for your favorite reclaimed wood pieces or a collection of small succulents? Once you’ve found that sweet spot, grab a pencil and mark your placement. I always find that pausing to visualize prevents those frustrating “oops” moments later on.
- 2. Next, we need to find the bones of your wall. Grab a stud finder—it’s a little gadget that feels like magic when you first use it—and run it along your marked area. Finding a stud is the difference between a shelf that holds your books gracefully and one that ends up on the floor. If you can’t find a stud exactly where you want it, don’t sweat it; we’ll just make sure to use the right anchors to keep everything secure and steady.
- 3. Now, let’s get precise with our measurements. Using a level—that little tool with the bubble in the center—place it against your marks to ensure your shelf won’t be sitting at a jaunty, unintentional angle. A straight, level shelf isn’t just about aesthetics; it’s about creating balance in your living space. Once you’re certain everything is aligned, go ahead and drill your pilot holes with a bit of care.
- 4. It’s time to bring in the hardware. If you’ve found a stud, you can screw your brackets directly into the wood. If you’re working with just drywall, this is where you’ll gently tap in those wall anchors we talked about. Think of this step as laying the foundation for your new display. I like to take a deep breath here and remind myself that even the smallest, most technical tasks are part of the larger journey of building a home you love.
- 5. With the brackets firmly in place, go ahead and lay your shelf across them. This is the moment where the vision finally meets reality. Align the holes in your shelf with the bracket heads and begin driving in your screws. I recommend doing this slowly and steadily to avoid any stripping or cracking, especially if you’re working with a beautiful, reclaimed piece of timber.
- 6. The final touch is all about the soul of the shelf. Once the structure is secure, give it a gentle test tug to make sure it’s solid, and then start styling. This is where your personality shines—maybe a small jar of sea glass you found on your last trip to Maine, or a trailing ivy plant. It’s not just about storage; it’s about curating a space that reflects your values and your unique, eco-chic style.
Mastering Wall Stud Finder Techniques for Lasting Stability
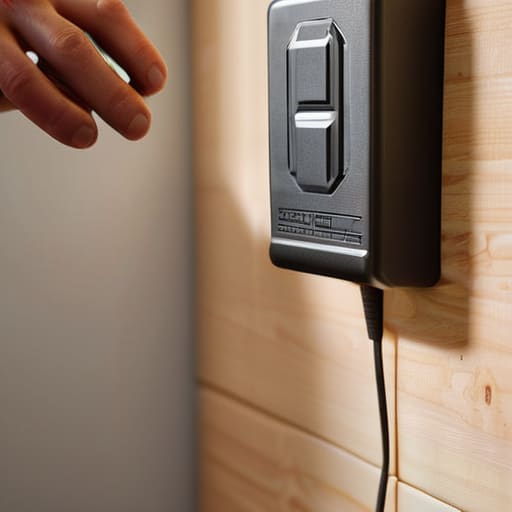
Now, let’s talk about the foundation of your project. It’s tempting to just grab a drill and start going, but if you want your new display to stay put, you really need to master a few wall stud finder techniques first. There is a massive difference between drilling into drywall vs studs; while plastic anchors might work for a light photo frame, they simply won’t hold the weight of a collection of vintage books or heavy stoneware. Finding that solid wood behind the plaster is the difference between a successful DIY and a midnight cleanup of fallen debris.
Once you’ve located your studs, take a moment to consider your hardware. If you’re planning on displaying something substantial, investing in some heavy duty shelf mounting hardware is a small, intentional choice that pays off in long-term stability. I always tell my clients that the “measure twice, drill once” mantra isn’t just a cliché—it’s about respecting the materials you’re working with. Taking that extra minute to ensure your placement is secure ensures your sustainable home remains a place of calm, rather than a source of constant repairs.
Choosing Sustainable Shelf Bracket Types and Uses
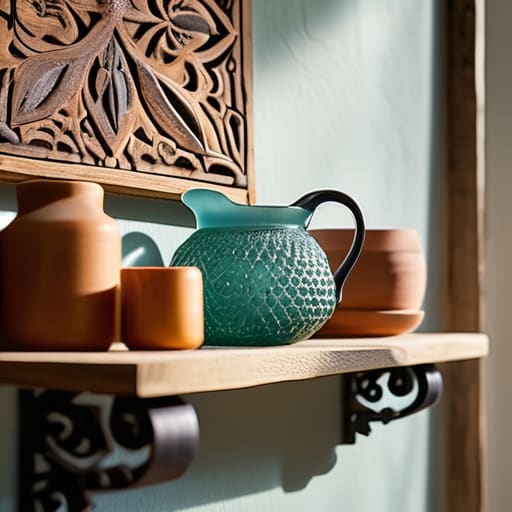
When we move beyond the technicalities of finding a stud, the real magic happens in the selection process. Choosing the right shelf bracket types and uses isn’t just about structural integrity; it’s about aligning your decor with your values. I’m a huge advocate for repurposing what you already have. Instead of buying mass-produced plastic or cheap alloy supports, look for vintage cast iron brackets at local thrift stores or even reclaimed wood scraps from a local carpenter. These pieces don’t just hold your books; they tell a story. If you’re planning on displaying a collection of heavy stoneware or even my favorite sea glass jars, you’ll want to opt for heavy duty shelf mounting hardware to ensure everything stays exactly where you intended.
Keep in mind that the aesthetic of your bracket should complement the “eco-chic” vibe of your space. For a more minimalist, modern look, you might experiment with leveling a floating shelf using hidden supports, which creates a seamless, airy feel. However, if you’re leaning into a more rustic, coastal aesthetic, visible, hand-forged metal brackets can add that much-needed warmth and character to your walls.
Small Wins, Big Impact: Pro-Tips for a Flawless Finish
- Measure twice, cut once, and breathe—it sounds cliché, but taking that extra moment to double-check your spacing ensures your shelf isn’t just functional, but a balanced piece of intentional design in your space.
- Embrace the beauty of reclaimed materials; if you’re using a piece of driftwood or salvaged timber, remember that the natural imperfections are what give the shelf its soul, so adjust your mounting points to honor those unique curves.
- Don’t overlook the “weight test” before you go live; once the hardware is in, give it a gentle, mindful press to ensure it’s truly ready to hold your favorite ceramic mugs or well-loved books without a wobble.
- Mind your aesthetics by matching your screw heads to your shelf’s vibe—using brass or dark wood finishes can turn a simple piece of hardware into a subtle, eco-chic design detail rather than a clunky necessity.
- Keep a small “oops kit” nearby, consisting of a bit of wood filler or some leftover paint, because in the spirit of resourceful living, we don’t fear mistakes—we just learn how to beautifully integrate them into our journey.
Small Wins, Lasting Impact: My Final Thoughts
Remember that sustainability isn’t about perfection; it’s about the intentionality behind your choices, from the reclaimed wood you pick to the way you secure it to your walls.
Prioritize stability by respecting your home’s structure—taking that extra moment to find a stud is a small investment that prevents waste and ensures your eco-chic setup lasts for years.
Let your shelves be a canvas for your values, blending functional organization with meaningful materials that tell a story of mindful living and resourceful beauty.
## The Philosophy of the Perfect Placement
“Installing a shelf isn’t just about finding a stud or driving a screw; it’s about creating a dedicated space for the things that ground us, turning a blank wall into a curated reflection of a life lived with intention and care.”
Jordan Mitchell
Bringing Your Vision to Life
As we wrap up this little project, take a moment to appreciate the work you’ve put in. From the precision of locating those essential wall studs to the conscious decision of selecting sustainable brackets, you haven’t just put up a piece of wood; you’ve curated a space that reflects your values. Remember, the secret to a shelf that actually lasts isn’t just about the hardware, but about the intentionality behind every measurement and every screw. By choosing materials that respect our planet and techniques that ensure stability, you’ve successfully bridged the gap between practical home improvement and mindful living.
I often think back to those quiet mornings on the Maine coast, watching how the tide reshapes the shoreline—one small grain of sand at a time. Your home is much the same. Installing a single shelf might feel like a minor task in the grand scheme of things, but it is a beautiful testament to the idea that small, purposeful actions build the foundation of a meaningful life. Every time you reach for a book or a hand-thrown ceramic mug on those new shelves, let it serve as a gentle reminder that you are the architect of your own sustainable sanctuary. Keep creating, keep dreaming, and never underestimate the power of a well-placed, eco-conscious touch.
Frequently Asked Questions
How can I ensure the materials I’m using for my DIY shelf are truly eco-friendly and not just greenwashed?
It’s so easy to get swept up in beautiful “eco” labels, but we have to look closer. To avoid the greenwashing trap, skip the vague buzzwords and hunt for specific certifications like FSC for wood or OEKO-TEX for finishes. I always ask: where did this come from, and how much energy did it take to get here? When in doubt, I lean toward reclaimed materials or local timber—it’s the most honest way to honor the planet.
What should I do if I can't find a stud in the exact spot where I want my shelf to live?
Don’t let a missing stud dampen your creative spark! If your perfect vision doesn’t align with the house’s bones, reach for heavy-duty drywall anchors. I love using toggle bolts—they grip the back of the wall to distribute weight safely. It’s a little bit of digital-age problem-solving applied to your physical space. Just remember: the heavier the shelf and its treasures, the more robust your anchor needs to be. Let’s keep building!
Are there ways to upcycle old wood or found objects into shelving without compromising the structural integrity of the wall?
Absolutely! Upcycling is where the real magic happens. To keep things sturdy, I recommend using found wood—like reclaimed barn wood or driftwood—for the shelf itself, but pairing it with heavy-duty, eco-friendly metal brackets anchored directly into your studs. If you’re feeling adventurous, you can even use thick, salvaged nautical rope for a floating look, provided your knots are secure and your wall anchors are rock-solid. It’s all about balancing that rustic soul with structural smarts.
