How to Weatherstrip a Door and Cut Your Energy Bill
I was standing in my hallway last November, wrapped in a thick wool sweater and clutching a mug of tea, wondering why my living room felt more like a drafty Maine coastal cabin than a cozy home. Every time the wind picked up outside, I could practically feel the warmth escaping through the cracks, a silent thief stealing my energy and my comfort. It’s a common frustration: we often think we need massive, expensive renovations to fix a home’s efficiency, but the truth is that weatherstripping a door is one of those small, intentional wins that makes a massive difference. It isn’t about high-tech gadgets; it’s about sealing those tiny, invisible gaps that disrupt your home’s natural rhythm.
In this guide, I’m stripping away the complicated jargon to give you a straightforward, no-nonsense approach to upgrading your space. I’ll walk you through selecting the right materials for your specific door type and the exact steps to ensure a seamless, lasting seal. My goal is to help you master the art of weatherstripping so you can stop fighting the elements and start living more sustainably without breaking the bank. Let’s turn those drafts into a much more mindful, energy-efficient sanctuary.
Table of Contents
- Step-by-Step Instructions
- Choosing Your Materials Foam vs Rubber Weatherstripping
- Mastering Door Jamb Sealing Techniques for Lasting Warmth
- Pro-Tips for a Seamless, Sustainable Seal
- Small Steps, Big Impact: Your Sustainable Sealing Checklist
- ## The Beauty of the Small Fix
- Small Wins, Big Impact
- Frequently Asked Questions
Guide Overview
Tools & Supplies
- Measuring tape for door dimensions
- Scissors or utility knife for cutting material
- Screwdriver if using screw-on strips
- Cleaning cloth for surface preparation
- Weatherstripping roll (adhesive or tension type)
- Door sweep (for the bottom gap)
- Rubbing alcohol for cleaning the frame
Step-by-Step Instructions
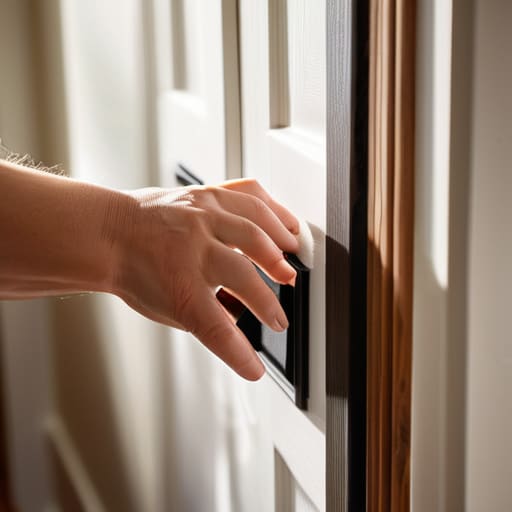
- 1. Before we dive into the fun part, we need to clear the canvas. Grab a damp cloth and some mild soap to wipe down the door frame and the door itself, especially where the new stripping will sit. You want to ensure all that lingering dust and grime is gone, because adhesion is everything if you want this project to last through the seasons.
- 2. Once everything is bone-dry, it’s time to play detective. Take a piece of paper or a thin ribbon and try to slide it through the gaps around your door when it’s closed. If the paper slides through easily without any resistance, you’ve found a leakage point that needs your attention. This little test helps you decide exactly where you need more coverage.
- 3. Now, let’s talk selection. Head to your local hardware store and look for weatherstripping that matches your door’s vibe—whether it’s a classic foam roll, a durable rubber strip, or even a more aesthetic silicone seal. I personally love the self-adhesive options because they are incredibly user-friendly for anyone working on a weekend DIY project.
- 4. Measure twice, cut once—a mantra I learned back in Maine. Use a measuring tape to find the exact length of your door’s sides and the top. Use a sharp utility knife or heavy-duty scissors to cut your chosen material to size. Try to be as precise as possible; even a small gap at the corners can let the unwanted chill sneak right back in.
- 5. Start peeling the backing off your adhesive strip, but here is my pro-tip: don’t pull the whole thing off at once. Work in small, manageable sections, about six inches at a time. Press the strip firmly against the door frame, following the contour of the wood. It’s all about that steady, even pressure to ensure it stays put for years to come.
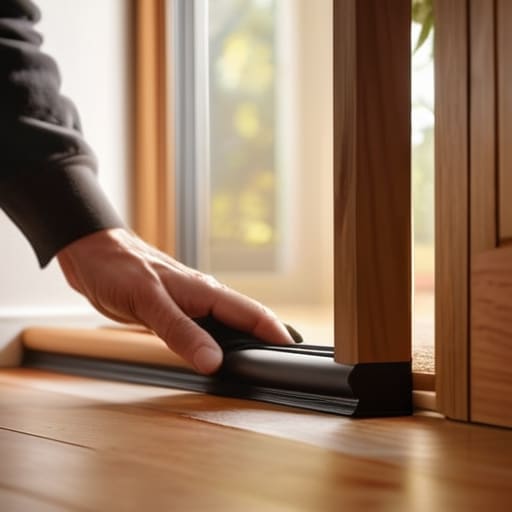
- 6. For the bottom of the door, you might want to look into a “door sweep.” This is a slightly different piece of hardware designed to bridge that larger gap between the door and the floor. Installing a sweep is one of those simple, intentional wins that makes a massive difference in how much heat your home actually retains.
- 7. Finally, give the door a few gentle test closes. Open and shut it a couple of times to make sure the new seals aren’t making the door too difficult to operate. You want a snug, satisfying fit that feels like a warm hug for your home, without requiring a workout just to get inside.
Choosing Your Materials Foam vs Rubber Weatherstripping
When you head to the hardware store, you might feel a bit overwhelmed by the sheer variety of options available. It’s easy to grab the first thing you see, but taking a moment to consider the different types of door weatherstripping can make a world of difference in how long your project actually lasts. I usually find myself leaning toward rubber when I want something that feels substantial and resilient. Rubber is fantastic for high-traffic areas because it holds its shape beautifully over time, making it a top-tier choice for long-term energy efficient home sealing.
On the other hand, foam is a wonderful, budget-friendly alternative that’s incredibly easy to work with, especially if you’re tackling those tricky, uneven gaps. It’s a bit more delicate than rubber, but for a quick fix or a less-used door, it works wonders. If you’re specifically looking at foam vs rubber weatherstripping, think about the “personality” of your door. Is it a heavy front door that faces the elements, or a lighter interior door? Matching the material to the door’s usage is a small, intentional choice that ensures your hard work doesn’t go to waste.
Mastering Door Jamb Sealing Techniques for Lasting Warmth
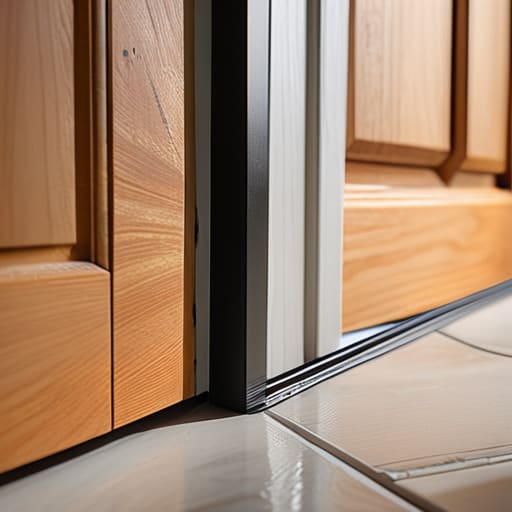
Once you’ve selected your materials, the real magic happens in the application. When practicing different door jamb sealing techniques, precision is your best friend. I always tell my clients that it’s not just about slapping the strip on; it’s about ensuring a seamless, continuous barrier. Start by cleaning the jamb thoroughly with a bit of isopropyl alcohol—this ensures the adhesive bonds deeply, preventing that frustrating peeling that happens a few months down the line. Aim for a snug fit where the door meets the frame, but don’t overstuff it to the point where you’re fighting the handle just to close the door. You want a gentle, consistent compression that keeps the air out without making your daily entry feel like a workout.
Don’t forget the most common culprit of heat loss: the floor gap. A proper door bottom seal installation is often the missing piece in a truly energy-efficient home. Whether you’re using a sweep or a more robust U-shaped gasket, focus on preventing drafts under doors by ensuring the seal makes full contact with the threshold. It’s these small, meticulous details that transform a simple DIY fix into a lasting environmental victory for your home.
Pro-Tips for a Seamless, Sustainable Seal
- Don’t forget the “Light Test”—once you’ve finished, turn off the lights in your hallway and look for any slivers of light peeking through the door frame; if you see light, you’re still losing energy.
- Clean your surfaces like your life depends on it; use a bit of rubbing alcohol to wipe down the door jambs before applying any adhesive, otherwise, that beautiful new weatherstripping won’t stay put for long.
- Take a moment to check your door sweep too, because even if the sides are perfectly sealed, a gap at the very bottom is like leaving a window wide open for the cold air to creep in.
- Aim for a snug, not a squeeze; you want the door to create a firm seal when it latches, but if you have to wrestle with the handle to close it, you’ve applied the material a bit too thick.
- Think seasonally and stay observant; as the humidity shifts or the temperature drops, take a quick peek at your seals to ensure they are still performing their job with the same efficiency.
Small Steps, Big Impact: Your Sustainable Sealing Checklist
Remember that weatherstripping isn’t just about comfort; it’s a mindful investment in energy efficiency that reduces your home’s carbon footprint one seal at a time.
Don’t settle for a “one size fits all” approach—matching the right material, like durable rubber, to your specific door type is the secret to a long-lasting, eco-friendly fix.
Consistency is key, so take a moment to inspect your seals seasonally to ensure your home remains a cozy, energy-conscious sanctuary throughout the year.
## The Beauty of the Small Fix
“Weatherstripping isn’t just about blocking a draft; it’s about the quiet, intentional act of reclaiming your space and honoring your energy, proving that even the smallest seal can make a world of difference for both your home and our planet.”
Jordan Mitchell
Small Wins, Big Impact
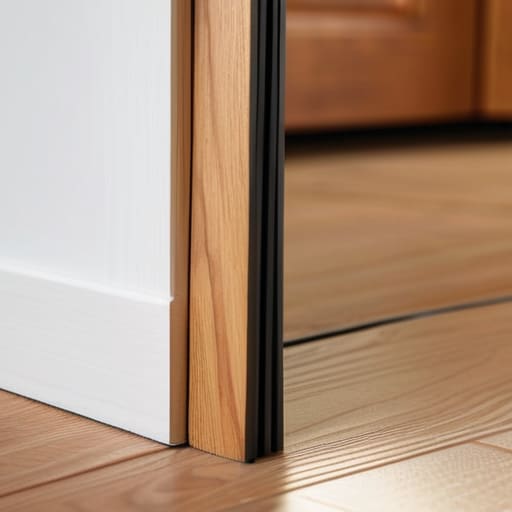
As we wrap up this project, take a moment to appreciate the work you’ve put in. By carefully selecting the right materials—whether you opted for the flexibility of foam or the durability of rubber—and mastering those door jamb techniques, you’ve done much more than just stop a draft. You have effectively transformed your entryway into a more efficient barrier, ensuring that your home’s climate control remains steady and intentional. It might seem like a minor DIY task, but sealing those gaps is a fundamental step in optimizing your home’s energy footprint and reducing unnecessary waste.
At the end of the day, I truly believe that sustainability isn’t about grand, sweeping gestures that feel out of reach; it’s about these quiet, mindful moments of stewardship. Much like the way I find beauty in a piece of weathered sea glass, there is a profound sense of satisfaction in knowing that a simple afternoon of weatherstripping contributes to a larger, global movement of conservation. Every bit of energy you save is a victory for our planet. So, step back, enjoy the newfound warmth of your cozy space, and remember that your small, everyday actions are the very things that build a greener future.
Frequently Asked Questions
How often should I realistically be replacing my weatherstripping to keep my home truly energy-efficient?
Think of weatherstripping like the soles of your favorite hiking boots—they eventually wear down from the daily trek. Realistically, I find that checking them every season is a great habit, but most people need a full replacement every five to seven years. If you notice light peeking through the cracks or feel a sudden draft, that’s your home’s way of asking for a little extra care. Don’t wait for the energy bill to tell you!
Can I still weatherstrip my door if it’s a bit older or if the frame isn't perfectly straight?
Don’t let a wonky frame discourage you! Even with an older door or a slightly crooked jamb, weatherstripping can still make a massive difference. Think of it like working with sea glass—it’s rarely perfect, but you can adapt. You might need to be a bit more intentional with thicker rubber seals or use some clever layering to bridge those uneven gaps. It’s all about finding that custom fit to reclaim your home’s cozy, efficient energy.
Is there a way to seal the gap at the very bottom of the door without having to replace the entire threshold?
Absolutely! You definitely don’t need a full threshold replacement to win this battle against drafts. I’ve found that installing a heavy-duty door sweep or a brush strip is a total game-changer. It’s a quick, resourceful fix that hugs the bottom of your door perfectly. If you want something even more low-profile, try a silicone door bottom; it’s sleek, durable, and keeps that precious warmth tucked inside without the heavy construction.
