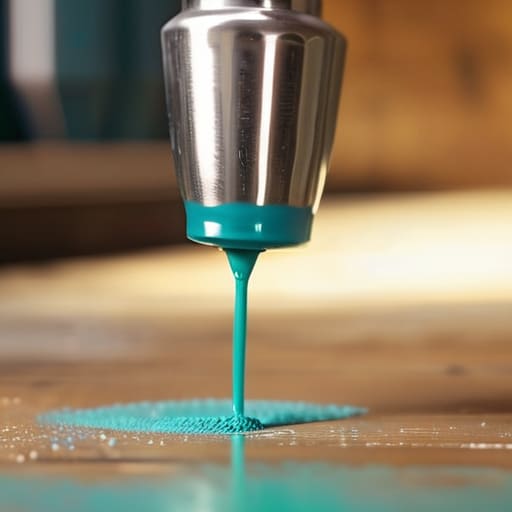
How to Spray Paint Anything for a Flawless Finish
I was standing in my small apartment last weekend, staring at a dusty, thrifted ceramic vase that had seen much better days, wondering if I was about to make a massive mistake. We’ve all been there—clutching a can of paint, terrified that a single wrong move will turn a beautiful find into a sticky, uneven mess. Most people think you need a professional studio or a mountain of expensive equipment to get those flawless, factory-smooth finishes, but the truth about how to spray paint is much simpler and far more accessible. It’s not about the gear; it’s about intentionality and understanding the rhythm of the spray.
In this guide, I’m stripping away the fluff to give you the real, no-nonsense steps for upcycling your treasures. We’re going to dive into the essential techniques for achieving a professional look while staying mindful of our footprint, including how to select the right low-VOC options. I’ll show you exactly how to spray paint with confidence, from prepping your surfaces to mastering that perfect, sweeping motion. Let’s turn those forgotten items into eco-chic statement pieces that actually tell a story.
Table of Contents
- Step-by-Step Instructions
- Curating Your Canvas Essential Spray Paint Surface Preparation
- Choosing Your Palette the Best Spray Paint for Diy Projects
- Pro-Tips for a Flawless (and Earth-Friendly) Finish
- Final Thoughts: Making Your Mark Sustainably
- ## The Art of the Second Chance
- Bringing Your Vision to Life
- Frequently Asked Questions
Guide Overview
Tools & Supplies
- Spray paint cans (various colors needed)
- Drop cloths (to protect surfaces)
- Sandpaper (to smooth surface before painting)
- Masking tape (to define edges)
- Surface cleaner/Degreaser (1 bottle)
- Primer (1-2 cans)
- Protective mask (1 unit)
- Nitrile gloves (1 pair)
Step-by-Step Instructions
- 1. First things first, we need to prep our workspace and our piece. Find a well-ventilated area—ideally outdoors or near a large window—to ensure you aren’t breathing in heavy fumes. Once you’ve cleared the space, give your item a good scrub with mild soap and water to remove any dust or oils. If you’re working with something smooth like metal or plastic, a light sanding with fine-grit sandpaper will help the paint really bond to the surface, ensuring your project lasts for years to come.
- 2. Next, let’s talk about protection. Grab some old newspapers or a reusable drop cloth to cover your work area, and don’t forget to mask off any parts of your treasure that you don’t want colored. I love using painter’s tape for this; it’s precise and keeps those edges looking sharp and intentional. If you’re upcycling an old piece of sea glass decor or a wooden frame, make sure every nook and cranny is covered so you don’t end up with accidental splatters.
- 3. Now, it’s time to choose your medium. This is where we make our most impactful eco-conscious choice: always opt for low-VOC or water-based spray paints. These options significantly reduce the amount of harmful chemicals released into our atmosphere, allowing us to be creative without compromising the air we breathe. Give the can a vigorous shake for at least a full minute; this ensures the pigments and eco-friendly binders are perfectly blended before they hit the surface.
- 4. When you’re ready to apply the color, start with a test spray on a piece of scrap material. This helps you find the right rhythm and see how the paint settles. When you move to your main project, hold the can about 8 to 12 inches away. Instead of trying to cover everything in one go, use short, sweeping motions, moving from one side to the other. It’s much better to apply several light, even coats than to try and drown the object in a single, heavy layer that might drip.
- 5. Patience is your best friend here. After your first coat, step back and let it dry completely before even thinking about a second layer. If you rush this part, you might end up with “runs” or a tacky texture that ruins the aesthetic. I usually find that waiting about 15 to 20 minutes between thin layers gives the best results, creating a finish that looks seamless and professional rather than amateur.
- 6. Once you’ve achieved that perfect hue and the paint is fully cured, carefully peel away your painter’s tape while the finish is still slightly “tack-free” to avoid chipping. If you’ve used a matte finish, you might want to add a clear, eco-friendly sealant to protect your work from the elements, especially if it’s going on a sunny windowsill. Take a moment to admire what you’ve done—you’ve just turned something old into something truly beautiful through mindful upcycling.
Curating Your Canvas Essential Spray Paint Surface Preparation
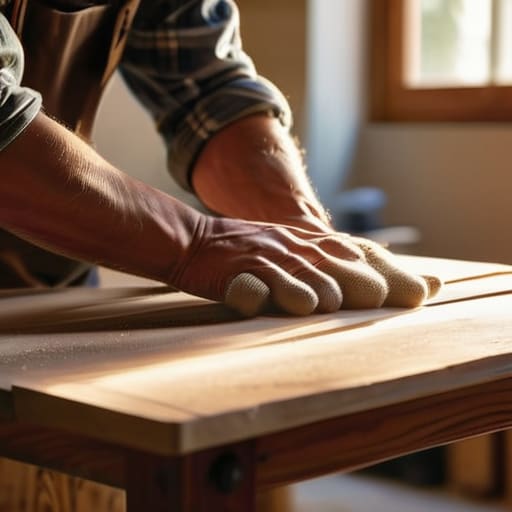
Curating Your Canvas: Essential Spray Paint Surface Preparation
Before you even think about reaching for that nozzle, we need to talk about the foundation. I’ve learned the hard way that rushing the prep phase is the quickest way to turn a beautiful upcycling project into a frustrating mess. Think of it like preparing a garden bed; if the soil isn’t right, nothing will thrive. The secret to a professional finish lies in thorough spray paint surface preparation. Start by giving your item a gentle scrub with mild soap to remove any oils or dust. If you’re working with something particularly smooth or slick, like a vintage metal lamp, a light sanding is your best friend to ensure the color actually grips the material rather than just sitting on top.
Once your surface is clean and dry, don’t skip the most important step: applying a high-quality primer for spray painting. This acts as the bridge between your object and your new color, especially if you’re trying to cover a dark shade with something lighter. Using a good primer also goes a long way in preventing spray paint drips later on, as it creates an even, receptive base. It’s all about creating that perfect, seamless canvas for your eco-chic transformation.
Choosing Your Palette the Best Spray Paint for Diy Projects
Now that your surface is pristine, it’s time for the fun part: picking your colors. When you’re searching for the best spray paint for DIY projects, I always suggest looking beyond just the color swatch. Since we’re trying to live a little more mindfully, I lean toward brands that offer water-based or low-VOC options. These are much kinder to your indoor air quality and the planet. If you’re working on something that will see heavy use, like a reclaimed wooden planter or a metal lamp, don’t skip the primer for spray painting. A good base layer ensures your color stays vibrant and adheres beautifully without needing dozens of coats.
Keep an eye on the labels for specific finishes, too. A matte finish can give an old thrifted find a sophisticated, modern edge, while gloss is great for adding a bit of coastal flair. One thing I’ve learned through trial and error is that patience is your best friend; always check the spray paint drying time before applying a second layer. Rushing the process is the quickest way to end up with a messy, uneven finish that ruins your hard work.
Pro-Tips for a Flawless (and Earth-Friendly) Finish
- Master the “Sweeping Motion” to avoid drips. Instead of pointing the nozzle directly at one spot, keep your hand moving in long, even strokes, starting and stopping the spray just outside the edges of your project. It’s all about that fluid, continuous motion!
- Embrace the “Thin Coat” philosophy. It’s tempting to want full coverage immediately, but I’ve learned that three light, airy layers are infinitely better than one heavy, gloopy one. This prevents runs and helps the paint bond more naturally to your surface.
- Mind the breeze—and the neighbors! If you’re working outdoors, try to find a spot shielded from heavy gusts to prevent your beautiful new finish from being peppered with dust or pollen. Plus, it keeps that lovely scent from drifting into everyone’s yard.
- Don’t forget the “Shake and Test” ritual. Give your can a good, vigorous shake for at least a full minute to ensure the pigments are perfectly blended. I always recommend doing a quick test spray on a scrap piece of wood or cardboard first to see how the color actually settles.
- Practice mindful cleanup to protect our ecosystems. When you’re done, turn the can upside down and spray for a second until only clear gas comes out; this keeps the nozzle from clogging, meaning you can reuse that can for your next upcycling adventure instead of tossing it!
Final Thoughts: Making Your Mark Sustainably
Remember that the magic is in the prep; taking those extra few minutes to clean and prime your surface ensures your project lasts a lifetime rather than becoming tomorrow’s landfill.
Always opt for low-VOC or water-based spray paints whenever possible to protect both your indoor air quality and the delicate ecosystems we’re working so hard to preserve.
Don’t fear the mistakes—upcycling is all about the journey, so treat every “oops” as a chance to layer on more color and continue your creative, eco-conscious evolution.
## The Art of the Second Chance
“Spray painting isn’t just about a fresh coat of color; it’s about seeing the hidden potential in what others might call ‘old’ and giving it a vibrant, sustainable new chapter.”
Jordan Mitchell
Bringing Your Vision to Life
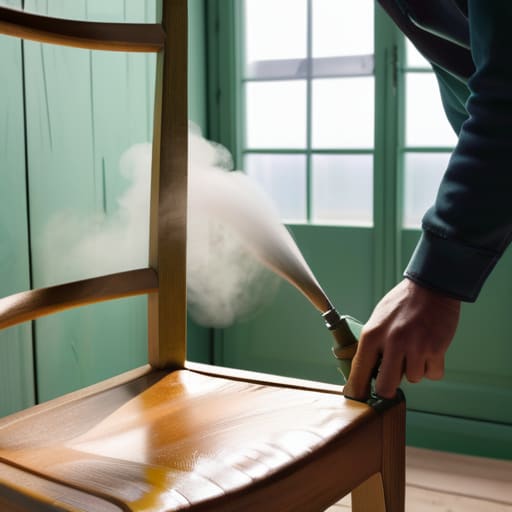
As you wrap up your project, remember that the secret to a professional finish lies in the details we covered—from that crucial initial cleaning to selecting the right low-VOC pigments. By focusing on thorough surface preparation and choosing high-quality, eco-friendly sprays, you’ve ensured that your upcycled treasure isn’t just beautiful, but also built to last. It’s easy to get caught up in the excitement of the final coat, but taking those extra moments to let layers dry properly is what truly separates a quick fix from a sustainable masterpiece.
At the end of the day, spray painting is about so much more than just changing a color; it’s about seeing the hidden potential in something others might have cast aside. Every time you choose to refresh an old lamp or breathe new life into a thrifted vase, you are actively participating in a larger movement of mindful consumption. I truly believe that these small, creative victories add up to a much bigger impact on our planet. So, go ahead, grab your gear, and let your creative spirit run wild—one colorful, conscious transformation at a time.
Frequently Asked Questions
How can I tell if I've applied too many layers without getting those annoying drips or runs?
That’s such a common frustration, but honestly, it’s all about reading the surface. You’ll know you’re pushing it if the finish starts looking “wet” or heavy rather than a fine, even mist. If you see any pooling or a glossy buildup in one spot, stop immediately! Instead of one thick coat, aim for several light, translucent layers. It takes a bit more patience, but it keeps your projects looking polished and professional.
Are there specific ways to clean up my tools or workspace if I'm working with eco-friendly, low-VOC paints?
Even with low-VOC paints, we want to keep our creative spaces as clean as our conscience. Instead of reaching for harsh chemical solvents, try using warm, soapy water and a bit of biodegradable dish soap for your brushes or cloths. For your workspace, a simple damp rag works wonders. If you’ve had a little spill, a dash of vinegar can help lift residue without introducing toxins into your home or the ecosystem.
What’s the best way to protect my outdoor plants or nearby garden beds while I'm working on a project outside?
Protecting our little green sanctuaries is so important—I’ve definitely learned that the hard way! The best approach is to create a physical barrier. Use old, reclaimed drop cloths or even some large, recycled cardboard sheets to cover your garden beds and nearby foliage. If you’re working near delicate leaves, a light mist of water on the plants beforehand can help settle dust, but a solid cover is your best bet to keep those ecosystems safe and clean.
