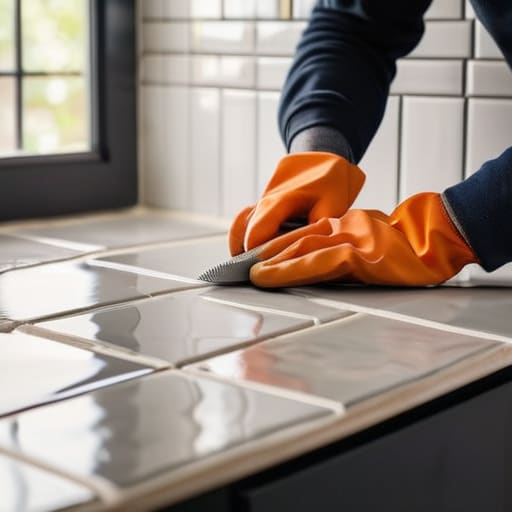
How to Tile a Backsplash Without Hiring a Pro
I remember standing in my first tiny apartment, staring at a bare, grease-stained wall and feeling completely overwhelmed by the idea of a DIY renovation. Most people will tell you that learning how to tile a backsplash is a high-stakes, professional-only endeavor that requires a massive budget and a contractor on speed dial, but they couldn’t be more wrong. To me, tiling isn’t just about home improvement; it’s a way to layer beauty and purpose into the heart of your home, transforming a sterile kitchen into a space that feels truly lived-in and intentional.
In this guide, I’m stripping away the intimidation and the unnecessary jargon to give you a straight-talking, practical roadmap. I’ll walk you through everything from selecting eco-friendly materials to the actual rhythmic process of setting your tiles, ensuring you feel confident every step of the way. My goal is to show you that you don’t need a construction degree to achieve an elevated, sustainable aesthetic—just a bit of patience and the right approach. Let’s turn that blank wall into a soulful centerpiece, one tile at a time.
Table of Contents
- Step-by-Step Instructions
- Essential Tiling Tools List for Your Creative Journey
- Backsplash Layout Planning for a Harmonious Kitchen Space
- Five Soulful Tips for a Flawless Finish
- Embracing the Beauty of Intentional Creation
- The Art of the Small Detail
- The Beauty of a Finished Project
- Frequently Asked Questions
Guide Overview
Tools & Supplies
- Tile cutter or wet saw for precise cuts
- Notched trowel for applying adhesive
- Rubber grout float for spreading grout
- Spacers to maintain even gaps
- Level to ensure straight lines
- Backsplash tiles (10% extra for breakage)
- Tile adhesive or thin-set mortar
- Grout (color of choice)
- Tile sealer for protection
- Caulk for corner finishing
Step-by-Step Instructions
- 1. Before we dive into the actual installation, we need to prepare our canvas. Clear your countertops entirely and give the wall a deep clean with a degreaser; any lingering oil from cooking will prevent the adhesive from truly bonding with your tiles. Once it’s dry, map out your layout by lightly marking the wall with a pencil. I always recommend starting from the center of your focal point and working outwards to ensure your cuts look intentional and balanced rather than accidental.
- 2. Next, it’s time to mix your thin-set mortar. Think of this like preparing a fine compost for a garden—it needs the perfect consistency to thrive. Using a small bucket and a mixing paddle, blend the mortar until it reaches a peanut butter-like texture. You’ll want to avoid anything too runny, as you want the tiles to stay exactly where you place them without sliding down the wall.
- 3. Now, let’s begin the application. Using a notched trowel, spread a thin, even layer of mortar onto a small section of the wall. Aim for rhythmic, consistent lines with your trowel, as these grooves are what allow the tile to seat properly. Avoid spreading too much at once, or the mortar might skin over and lose its grip before you can get the tiles down.
- 4. Gently press your first tile into the mortar, applying a bit of pressure to ensure it’s well-seated. If you’re using spacers—and I highly suggest you do—slide them into the gaps between the tiles. These little tools are the unsung heroes of a DIY project, ensuring your grout lines remain perfectly uniform and visually soothing. It’s all about that sense of order and calm.
- 5. As you work your way across the wall, keep a damp sponge nearby to wipe away any excess mortar that squeezes up through the joints. It’s much easier to clean this up now than to struggle with it once it hardens. I like to take a moment after every few rows to step back and reflect on the pattern emerging; it’s a small, meditative way to connect with the craft you’re creating.
- 6. Once your tiles are all in place, you’ll need to let them cure completely. This usually takes about 24 hours, depending on the humidity in your home. During this time, resist the urge to touch them! We need that bond to be absolute and unwavering before we move on to the final, beautiful step of grouting.
- 7. Finally, once the mortar is rock solid, it’s time for the grout. Mix your grout to a smooth consistency and use a rubber grout float to push it into the crevices at a 45-degree angle. After a short period, wipe the surface with a slightly damp sponge to remove the haze. This is the moment where all your hard work transforms into a polished, soulful feature that will anchor your kitchen for years to come.
Essential Tiling Tools List for Your Creative Journey
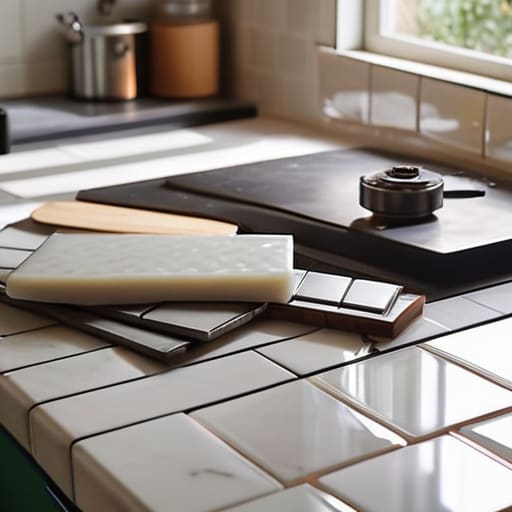
Before you dive into the actual installation, I find it incredibly grounding to gather all my supplies first. There is a certain meditative quality to organizing your space, much like preparing a new hive for the season. Beyond the basics like a notched trowel and spacers, your essential tiling tools list should definitely include a high-quality tile cutter. If you’re working with classic ceramics, knowing how to cut subway tiles with precision will save you so much frustration and prevent unnecessary material waste—a win for both your project and the planet.
I also can’t stress enough the importance of the “prep” phase. I always recommend spending a little extra time on your backsplash layout planning before any adhesive touches the wall. Grab a handful of spacers and a level; these small tools are your best defense against preventing tile misalignment as you work your way up. Think of it as setting the foundation for a coastal garden; if the layout is intentional and steady, the final aesthetic will feel effortless and soulful rather than rushed.
Backsplash Layout Planning for a Harmonious Kitchen Space
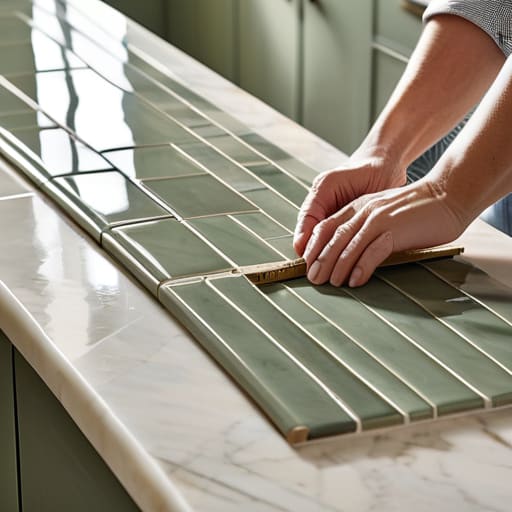
Before you even touch a trowel to a wall, I want you to take a moment to visualize the flow of your kitchen. Much like mapping out a new garden bed, backsplash layout planning is about more than just aesthetics; it’s about rhythm and balance. I always recommend a “dry run” where you lay your tiles out on a flat surface or even temporarily tape them to the wall. This allows you to see how the patterns interact with your outlets and corners, helping you avoid those awkward, tiny slivers of tile at the edges that can disrupt the visual harmony of your space.
Precision during this stage is your best defense against frustration later on. A common pitfall is rushing into the glue, but taking the time to find your center point is the secret to preventing tile misalignment throughout the entire project. If you’re working with classic subway tiles, try starting from the middle of the most visible wall and working your way outward. This ensures that any necessary cuts are tucked away in less prominent areas, keeping your kitchen looking intentional, soulful, and beautifully seamless.
Five Soulful Tips for a Flawless Finish
- Embrace the beauty of imperfection by choosing tiles with natural variations; much like the unique shapes of sea glass I find on the Maine coast, subtle irregularities can give your kitchen a lived-in, organic warmth that factory-perfect lines often lack.
- Don’t rush the grouting process—it’s the meditative final layer of your project—and remember to use a sponge that is damp, not soaking wet, to avoid washing the pigment out of your grout and muddying those intentional lines you worked so hard to create.
- Think about the lifecycle of your materials by opting for eco-friendly, low-VOC grouts and recycled ceramic tiles, ensuring that the beauty you bring into your home doesn’t come at a cost to the planet we’re all working to protect.
- Always do a “dry lay” before you even touch the adhesive; spreading your tiles out on the counter first allows you to visualize the flow of patterns and catch any awkward slivers at the edges before they become permanent mistakes.
- Treat your spacers like the tiny, essential guardians of your design; keeping them consistent is the difference between a backsplash that feels chaotic and one that feels like a harmonious, intentional piece of art.
Embracing the Beauty of Intentional Creation
Approach your backsplash project not just as a home renovation, but as a mindful act of transformation that brings both style and soulful purpose to your kitchen.
Remember that true sustainability lies in the details—choosing quality materials and planning your layout carefully ensures your hard work stands the test of time.
Don’t fear the imperfections; much like the weathered beauty of sea glass, the small nuances in a handmade tile installation are what give your space its unique, lived-in character.
The Art of the Small Detail
“Tiling a backsplash isn’t just a home improvement task; it’s an exercise in mindfulness. Much like finding that perfect piece of sea glass washed up on a Maine shore, each tile you set is a small, intentional act of creation that turns a functional space into a soulful sanctuary.”
Jordan Mitchell
The Beauty of a Finished Project
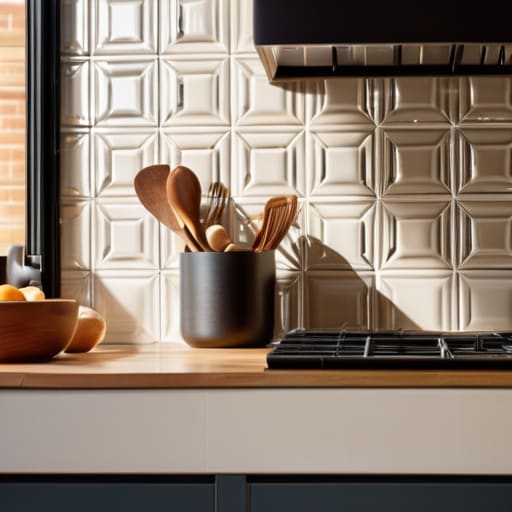
As you step back to admire your hard work, take a moment to appreciate the journey from a blank wall to a finished masterpiece. We’ve navigated through the essential toolkits, mapped out harmonious layouts, and carefully applied each tile to create something truly unique. It wasn’t just about following a set of instructions; it was about the intentionality you brought to every grout line and every cut. By choosing your materials thoughtfully and taking the time to plan, you haven’t just updated a kitchen—you’ve invested in a space that feels personal, durable, and deeply connected to your lifestyle.
Ultimately, tiling a backsplash is a beautiful metaphor for the way we approach sustainability in our wider lives. Just as a single tile contributes to a stunning mosaic, our small, daily choices form the foundation of a much larger, positive impact on our planet. I hope this project reminds you that you have the power to reshape your environment, one meaningful change at a time. Whether you’re repurposing vintage tiles or selecting eco-friendly materials, remember that your home is a canvas for your values. Keep creating, keep dreaming, and never underestimate the ripple effect of a little bit of creativity and care.
Frequently Asked Questions
How can I choose eco-friendly or low-VOC grouts and adhesives to keep my kitchen air quality as clean as possible?
When selecting your grout and adhesives, think of it as protecting the very air your family breathes. I always opt for low-VOC (Volatile Organic Compound) options to prevent those harsh, chemical odors from lingering in your kitchen. Look for brands that prioritize natural binders and mineral-based pigments. It’s a small, intentional choice, but by choosing non-toxic materials, you’re ensuring your beautiful new backsplash supports both a soulful home and a healthier planet.
What’s the best way to handle tricky corners or outlets without feeling overwhelmed by the technical side?
Dealing with outlets and corners can feel a bit daunting, like navigating a rocky coastline, but don’t let the technicalities dim your creative spark. My secret? Approach it with patience rather than perfection. Use a tile nipper for those small, intentional cuts around outlets—it’s much more forgiving than a saw. For corners, think of them as natural transitions. If a cut isn’t quite seamless, embrace it; a little character adds soul to your space.
If I’m working with reclaimed or vintage tiles, how do I ensure they bond properly to a modern surface?
Working with reclaimed tiles is like breathing new life into a story, but they can be a bit temperamental. Since vintage surfaces are often more porous or irregular, your best bet is a high-quality, polymer-modified thin-set mortar; it offers that extra grip they crave. Before you dive in, give each piece a gentle scrub to remove old residue and a quick soak if they’re particularly thirsty. It’s all about prepping the foundation to honor their history.
